12 Hairstyles for Relaxed Hair That Look Polished and Healthy
Hairstyles for Relaxed Hair
Hairstyles for relaxed hair can be sleek, soft, voluminous, or elegantly pinned while still prioritizing moisture, protected ends, and controlled heat. The smooth texture makes it easy to move between blunt bobs, roller-set curls, ponytails, buns, and classic waves, so a thoughtful routine can create many polished looks from one haircut.
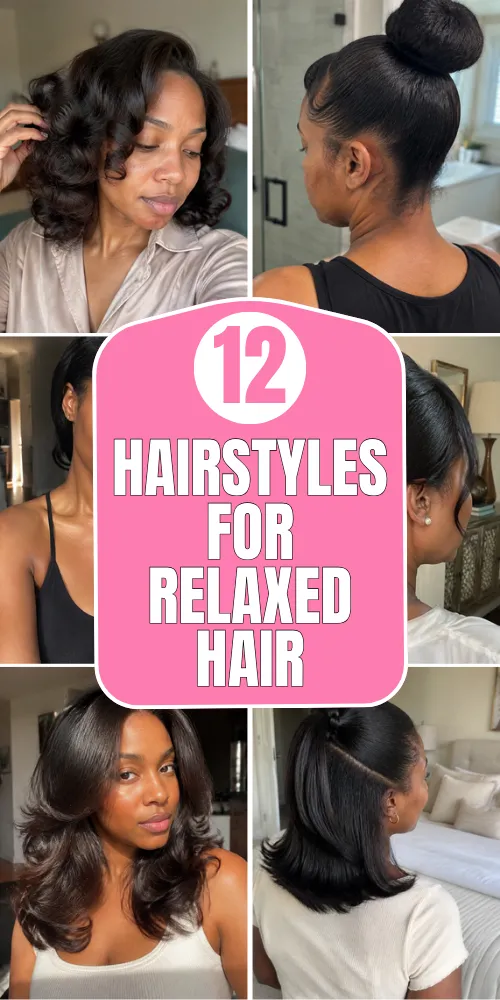
Because chemically relaxed hair can be more delicate, each idea below focuses on gentle handling and realistic styling habits rather than constant high heat. You will find a clear how-to, useful maintenance tips, and a focused product or tool list for twelve wearable styles that complement short, medium, and longer relaxed hair.
1. Sleek Chin-Length Bob
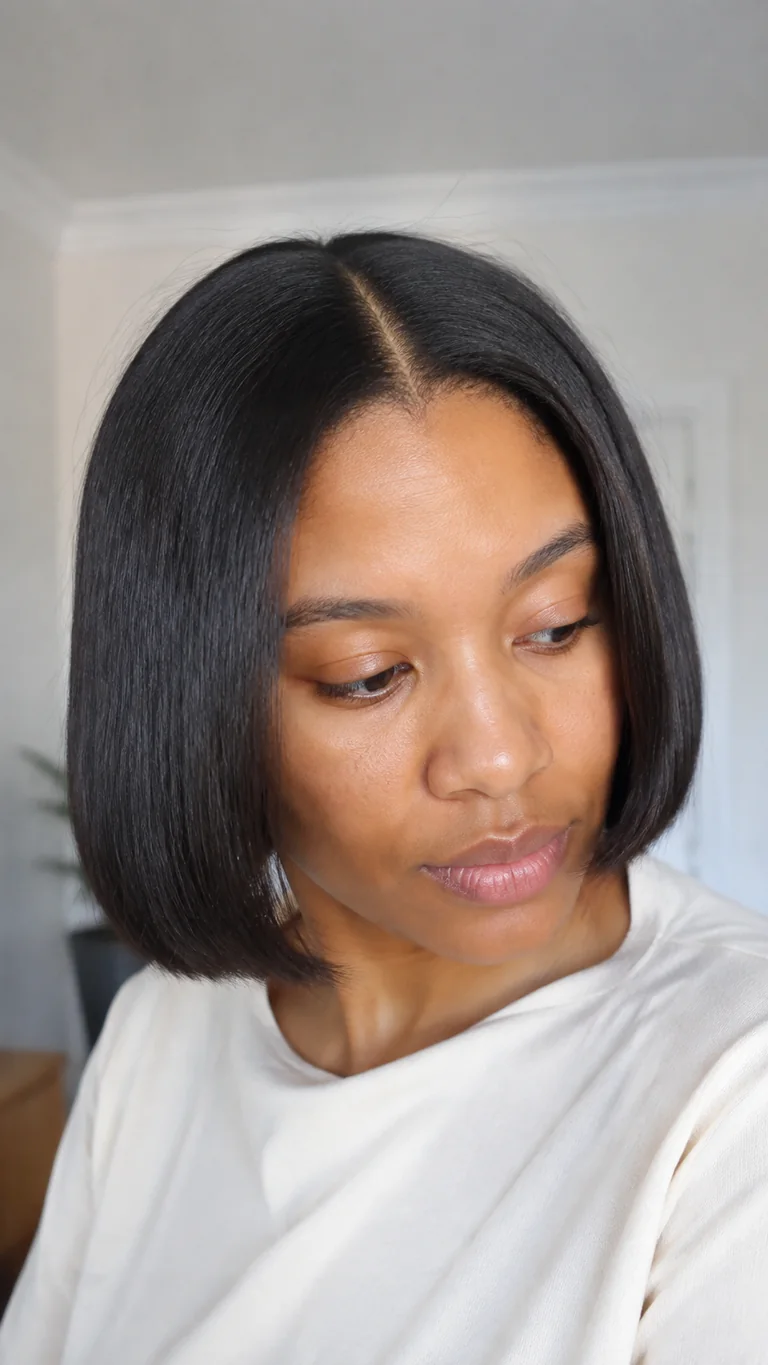
A sleek chin-length bob gives relaxed hair a clean, modern shape while keeping daily styling simple. The blunt perimeter makes the ends appear fuller, and a precise center part creates balanced framing around the face. A soft bend under the jaw prevents the cut from looking stiff and shows off healthy movement and shine.
How-To
Apply heat protectant to clean, conditioned hair and blow-dry with a paddle brush on moderate heat. Create a center part, smooth small sections with one controlled pass of a flat iron, and curve the ends gently under. Finish with a tiny amount of lightweight serum through the mid-lengths and ends.
Tips
Regular trims keep the blunt line sharp and prevent thin ends. Use the lowest effective heat setting and wrap the bob at night to preserve smoothness without daily ironing.
Items Used
- Moisturizing shampoo and conditioner
- Heat protectant
- Paddle brush
- Flat iron
- Lightweight serum
- Satin scarf
2. Wrapped Pixie Cut
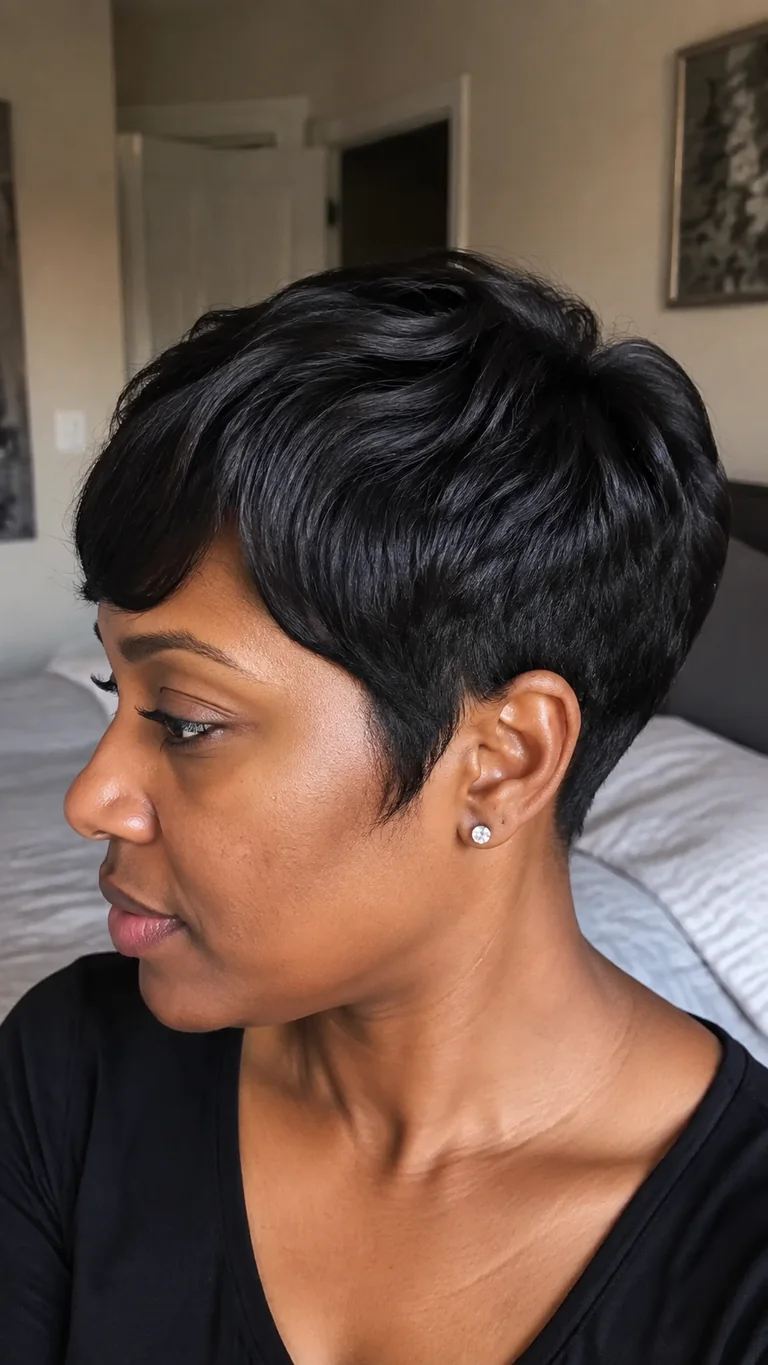
A wrapped pixie is polished, light, and especially flattering when you want relaxed hair off the neck. Side-swept layers create softness around the eyes, while the molded sides and nape define the short silhouette. The style can look elegant or playful depending on how much texture is added through the top.
How-To
Distribute a small amount of wrap foam through damp hair, then comb the sides and back smoothly around the head. Shape the top forward and sweep the fringe to one side. Dry under a hooded dryer on a comfortable setting, then separate the layers lightly with fingers and add a drop of serum.
Tips
Avoid saturating fine relaxed hair with heavy oils. At night, smooth the pixie into its direction with a narrow satin scarf so the shape only needs light finger styling in the morning.
Items Used
- Wrap foam
- Fine-tooth comb
- Hooded dryer
- Small styling brush
- Light serum
- Narrow satin scarf
3. Shoulder-Length Silk Press
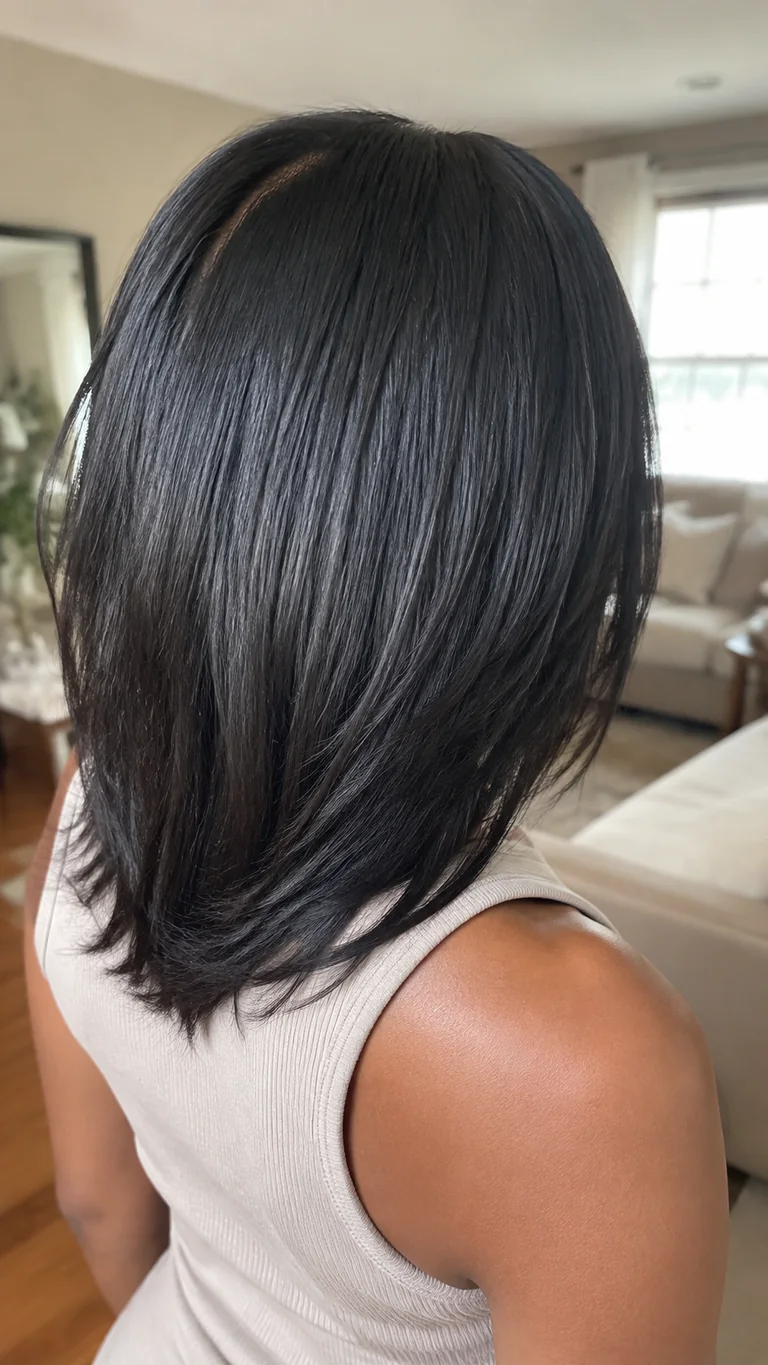
A shoulder-length silk press emphasizes the smooth texture of relaxed hair while retaining enough length for ponytails and updos. Light body at the roots and softly beveled ends keep the finish from falling flat. The medium length is versatile, easy to trim regularly, and ideal for showing healthy movement without excessive weight.
How-To
Begin with a moisturizing wash and deep conditioner, then blot rather than rub the hair. Apply heat protectant, blow-dry in sections with gentle tension, and smooth each section with one deliberate flat-iron pass. Use a round brush or the iron edge to create a slight bend at the ends.
Tips
Choose moderate heat and avoid repeated passes over the same section. Wrap the hair smoothly at night and use a shower cap in humid bathrooms to help the press last longer.
Items Used
- Moisturizing wash products
- Deep conditioner
- Heat protectant
- Blow-dryer with nozzle
- Paddle brush
- Flat iron
4. Deep Side-Part Long Bob
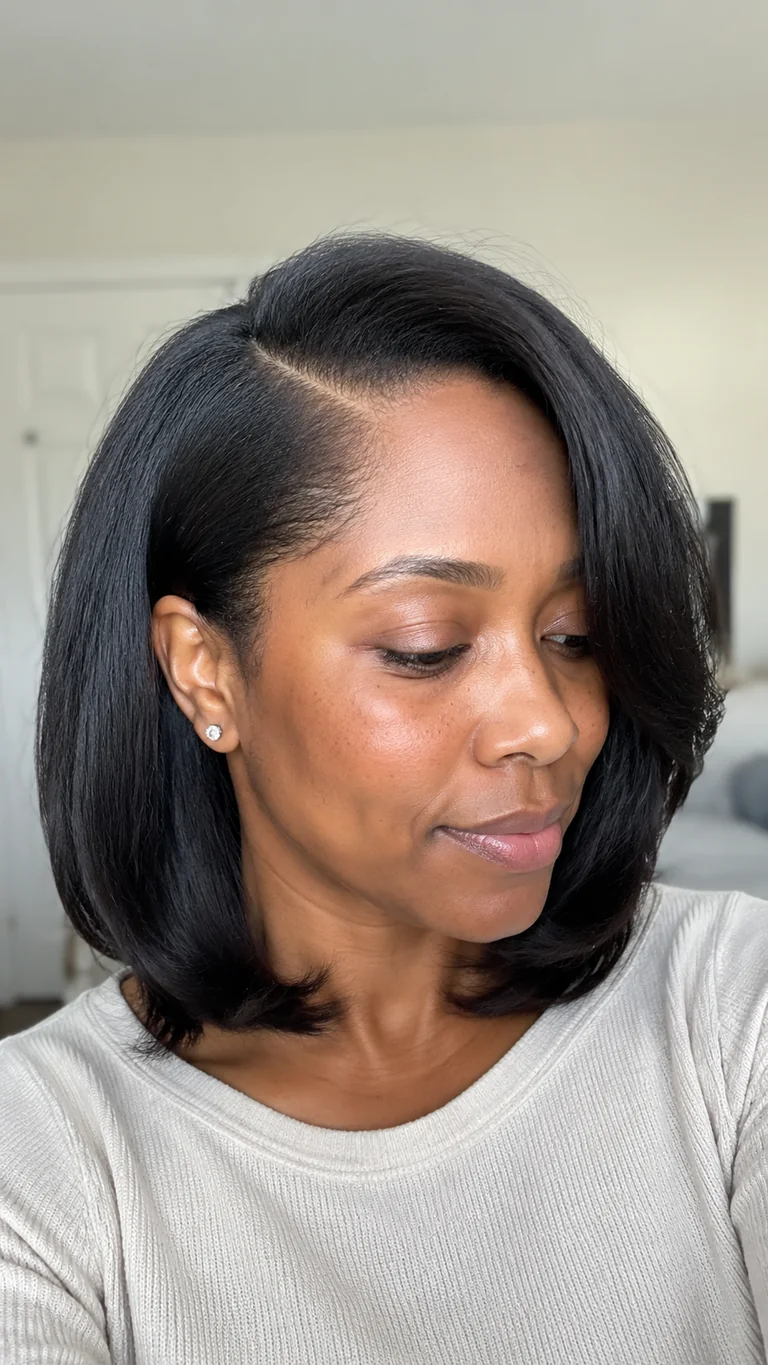
A deep side-part lob adds instant movement to straight relaxed hair without complicated styling. The heavier side sweeps softly across the forehead, while one side can be tucked behind the ear for an elegant asymmetry. Finishing the length just above the shoulders keeps the ends from constantly rubbing against clothing and looking dry.
How-To
Create the side part while the hair is damp so the direction sets naturally. Apply heat protection, blow-dry the roots toward the chosen side, and smooth the lengths in medium sections. Curve the ends under with a round brush or flat iron, then tuck the lighter side behind the ear.
Tips
Alternate the part occasionally if one side of the hairline feels stressed. Keep the finish touchable by using serum sparingly, especially near the roots.
Items Used
- Tail comb
- Heat protectant
- Blow-dryer
- Medium round brush
- Flat iron
- Light finishing serum
5. Soft Roller-Set Curls
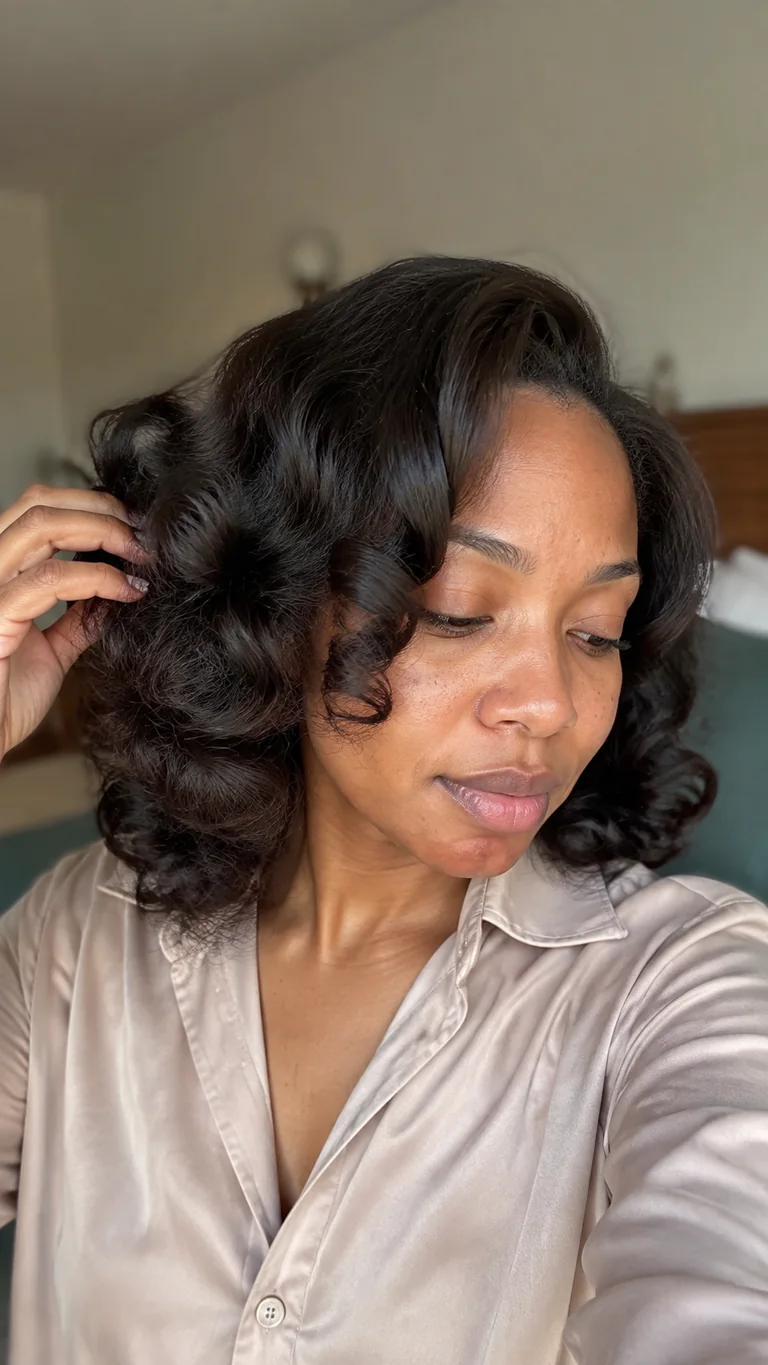
Soft roller-set curls give relaxed hair bounce and shape with less direct heat than repeated flat ironing. Medium curls can be separated into a smooth, airy silhouette that looks equally suitable for the office or an evening event. A side part and slightly varied curl directions keep the finished style natural rather than overly uniform.
How-To
Apply leave-in conditioner and setting foam to damp, detangled hair. Wrap smooth sections around magnetic rollers, keeping the ends flat, and dry completely under a hooded dryer. Remove the rollers carefully, separate each curl with lightly oiled fingers, and shape the sides without brushing away all the definition.
Tips
Hair must be completely dry before the rollers come out or the roots may swell and the curls may drop. Use larger rollers for softer volume and smaller ones for tighter definition.
Items Used
- Leave-in conditioner
- Setting foam
- Magnetic rollers
- Roller clips
- Hooded dryer
- Light hair oil
6. Feathered Relaxed-Hair Layers
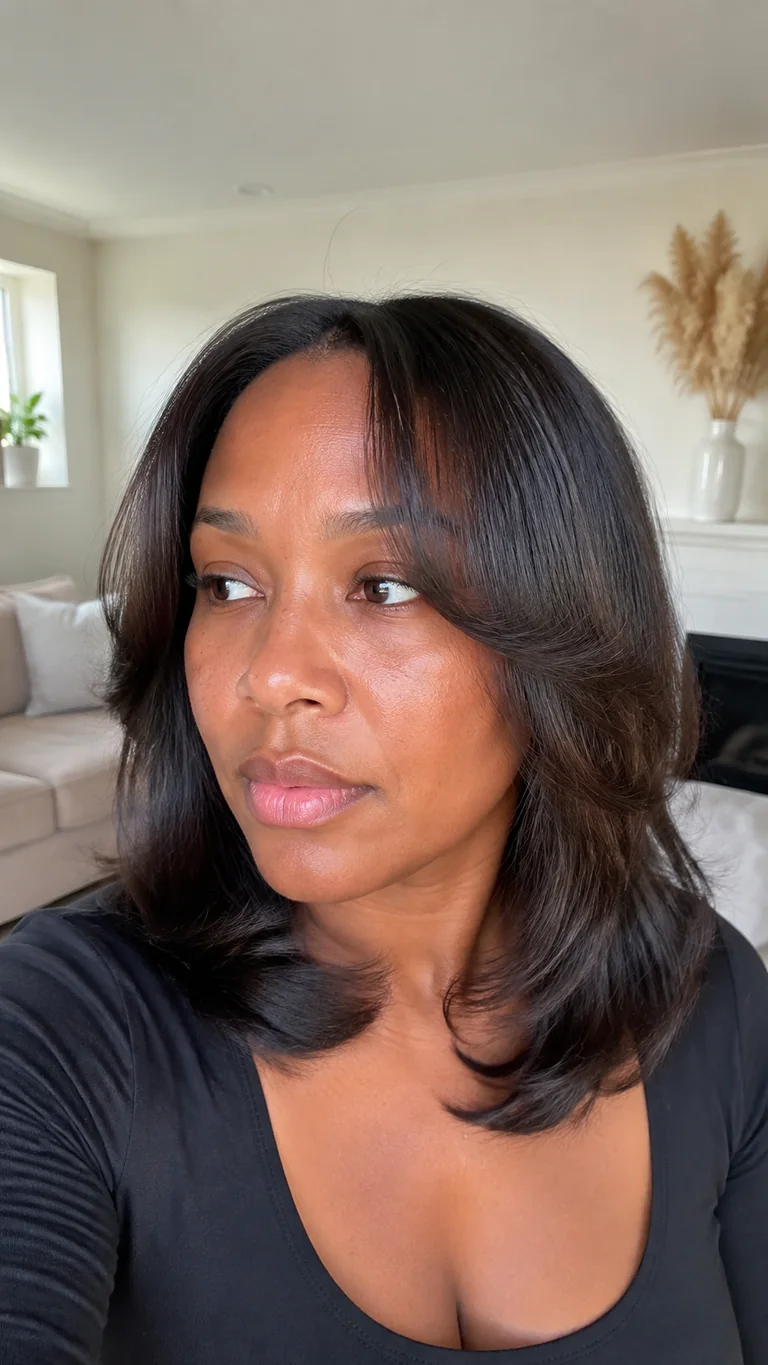
Feathered layers bring softness and movement to medium relaxed hair, especially around the cheekbones and jaw. The ends turn away from the face in light pieces, creating volume without a heavy rounded shape. This cut works beautifully with a center or soft off-center part and can make straight hair look fuller through the sides.
How-To
Apply heat protectant and blow-dry the hair until smooth. Working from the bottom upward, wrap each layered section around a medium round brush and direct the ends away from the face. Set the front pieces briefly in large Velcro rollers, allow them to cool, then release and separate with fingers.
Tips
Ask for long, blended layers instead of very short pieces if the ends are delicate. Cooling each section in its shape improves hold without needing excessive hairspray.
Items Used
- Heat protectant
- Blow-dryer with nozzle
- Medium round brush
- Large Velcro rollers
- Sectioning clips
- Flexible-hold spray
7. Low Sleek Ponytail
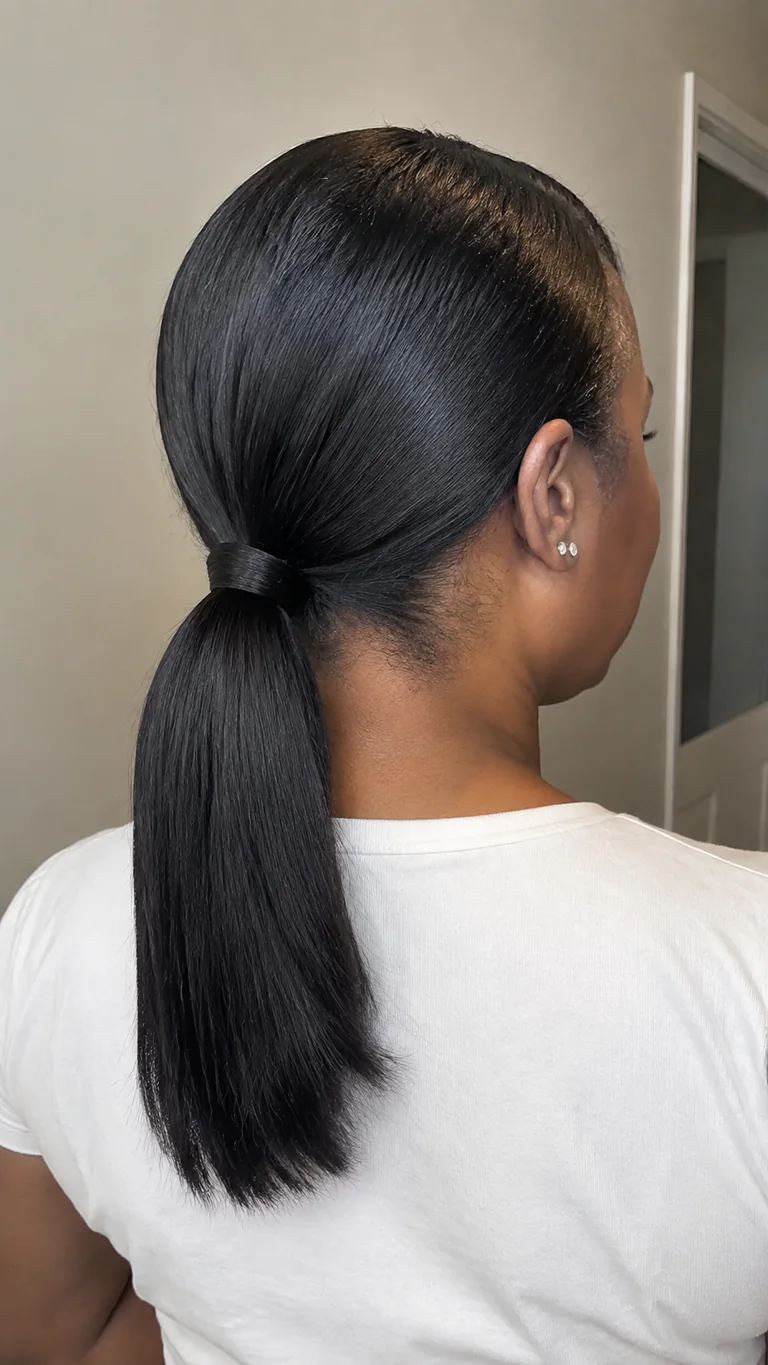
A low sleek ponytail is one of the easiest ways to make relaxed hair look refined while protecting the lengths from constant handling. A soft side part adds interest, and wrapping a small section around the base conceals the elastic. The straight tail keeps the silhouette simple enough for work, errands, or formal styling.
How-To
Smooth detangled hair toward the nape with a boar-bristle brush and a small amount of lightweight styling cream. Secure it with a fabric-covered elastic, leaving the base comfortable. Wrap a narrow hair section around the band and pin underneath, then smooth the ponytail with a drop of serum.
Tips
Do not place the ponytail in the exact same spot every day. Rotate between low styles and loose wraps, and use soft elastics that do not pinch or cut the hair.
Items Used
- Wide-tooth comb
- Boar-bristle brush
- Light styling cream
- Fabric-covered elastic
- Bobby pin
- Lightweight serum
8. Half-Up Style With Flipped Ends
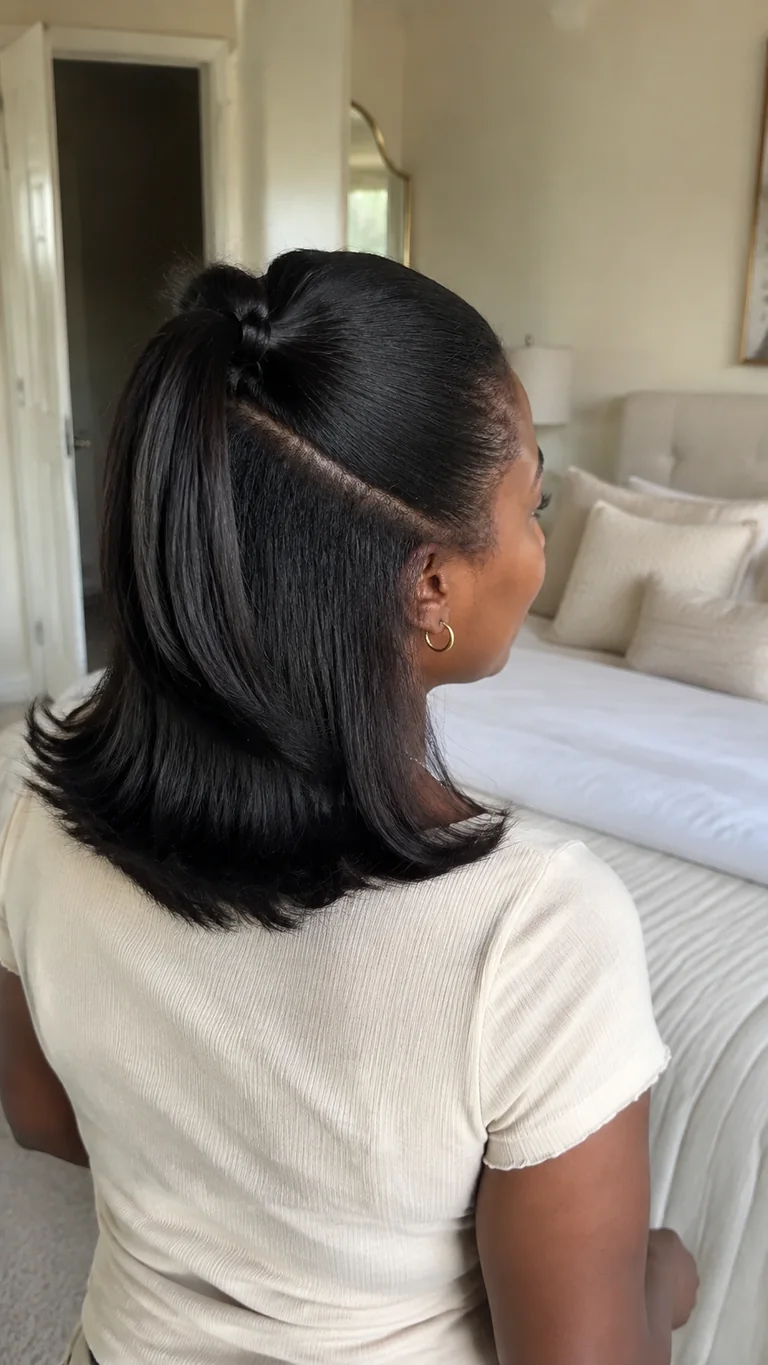
A half-up style with flipped ends gives shoulder-length relaxed hair a playful retro finish. Pulling back the crown opens the face while the loose lower section keeps the style soft. The outward curve at the ends creates movement and makes an everyday half ponytail feel intentional without adding complicated accessories.
How-To
Part off the top section from temple to temple and secure it loosely at the crown with a soft elastic. Apply heat protectant to the ends and turn them outward with a round brush or a quick flat-iron curve. Smooth the crown gently and wrap a small piece of hair around the elastic if desired.
Tips
Keep the top section loose enough to avoid stress at the temples. Flip only the final inch or two so the ends look buoyant rather than stiff.
Items Used
- Tail comb
- Soft elastic
- Heat protectant
- Round brush or flat iron
- Bobby pin
- Flexible-hold spray
9. Classic French Roll
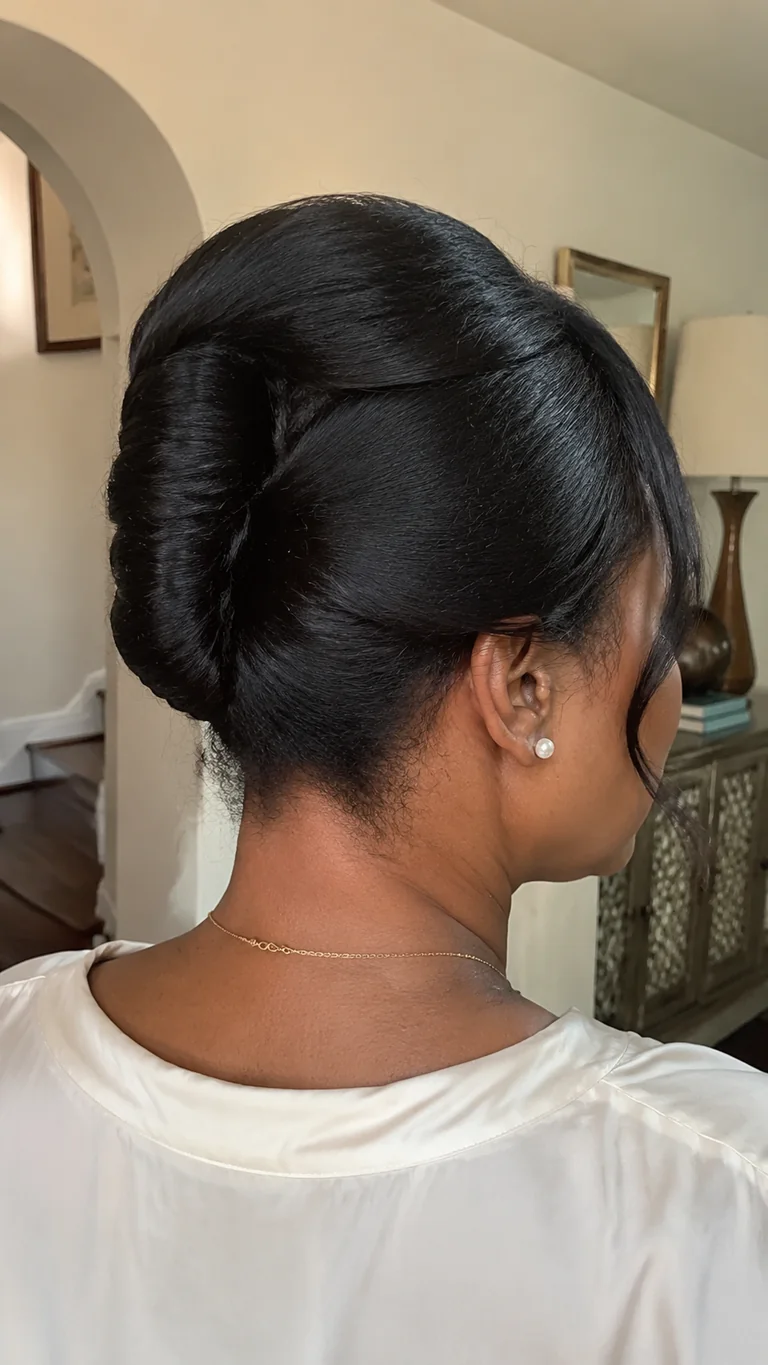
A classic French roll turns smooth relaxed hair into a graceful vertical updo that suits weddings, dinners, and professional events. The tucked shape protects the ends inside the roll, while a soft side part and one light front piece prevent the style from looking severe. It is elegant without needing ornate accessories.
How-To
Gather the hair toward one side at the back and place a vertical row of bobby pins through the center. Fold the remaining lengths over the pins, tuck the ends into the roll, and secure the seam with long hairpins. Smooth the surface lightly and arrange the front section in a soft sweep.
Tips
Practice the direction of the roll before adding pins, and use more small pins instead of forcing one large pin. Remove every pin gently to avoid snagging relaxed ends.
Items Used
- Smoothing brush
- Bobby pins
- Long U-shaped pins
- Tail comb
- Light pomade
- Flexible-hold spray
10. Polished High Bun
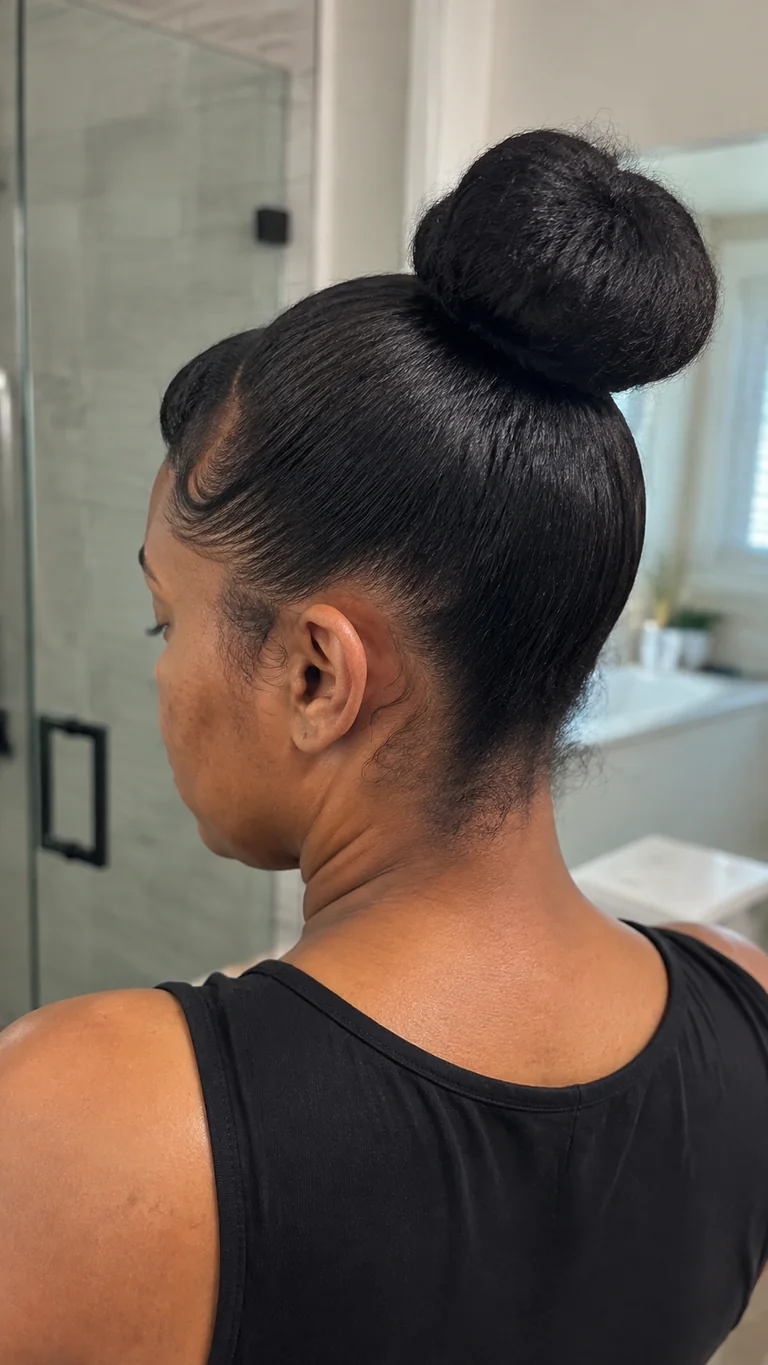
A polished high bun lifts relaxed hair into a clean silhouette while keeping the ends tucked away. The medium-size bun looks balanced and secure rather than oversized, and soft natural edges make the finish wearable. This is a useful option for warm days, workouts with low friction, or occasions that call for a neat updo.
How-To
Smooth the hair upward with a brush and secure a comfortable high ponytail using a soft elastic. Twist the ponytail loosely, wrap it around the base, and tuck the ends beneath the bun with pins. Smooth flyaways with a small amount of styling cream and leave the hairline softly natural.
Tips
Avoid creating the bun on soaking-wet hair or pulling tightly around the perimeter. Change its placement and take it down at night so the same areas are not under constant tension.
Items Used
- Smoothing brush
- Light styling cream
- Soft elastic
- Hairpins
- Satin edge scarf
- Light finishing spray
11. Bouncy ’90s Blowout
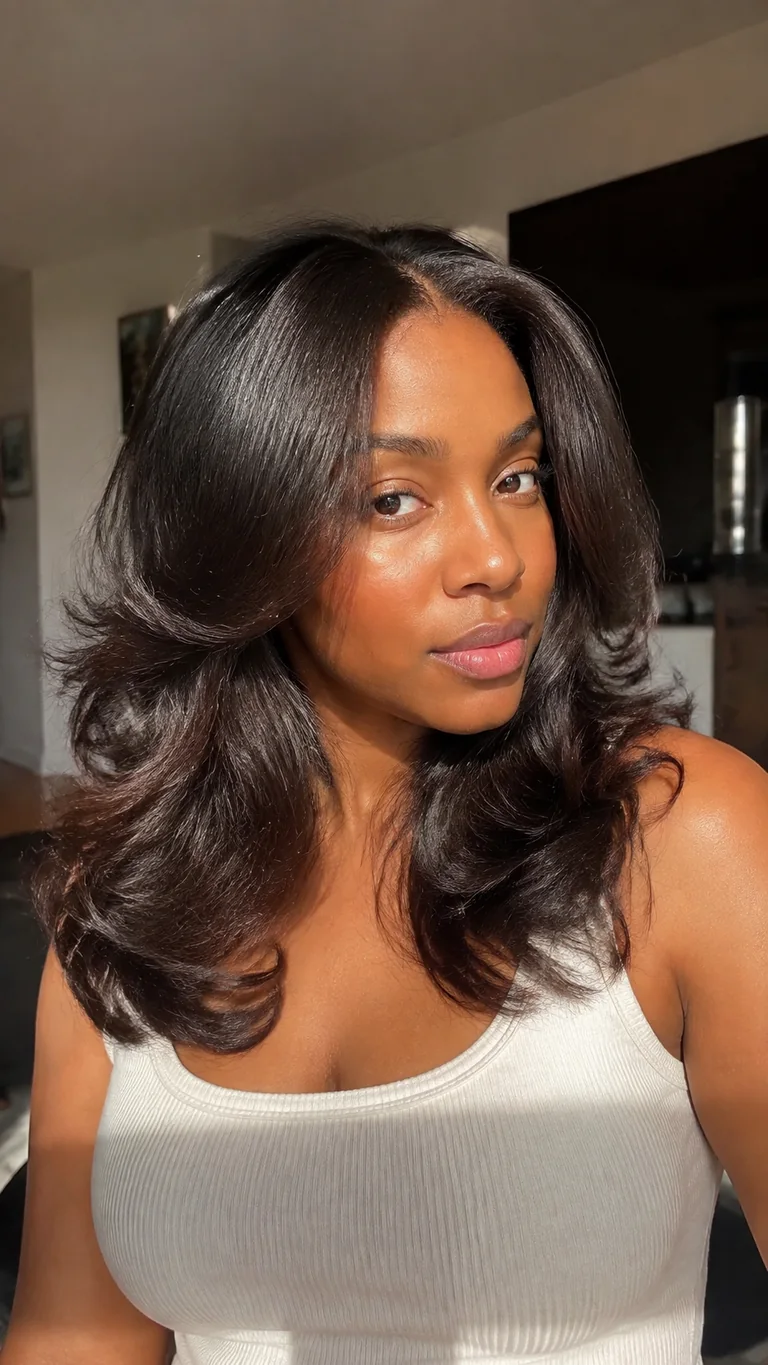
A bouncy ’90s blowout gives relaxed hair airy volume, rounded ends, and face-framing movement. Large bends rather than tight curls create the recognizable full shape while keeping the finish soft and touchable. The style is ideal when you want straight hair with more life through the crown and sides.
How-To
Apply heat protectant and rough-dry the hair most of the way on moderate heat. Divide it into large sections and use a round brush to lift the roots and curve the lengths. Set each warm section in a large Velcro roller, let the hair cool completely, then remove the rollers and blend with fingers.
Tips
Volume comes from root direction and cooling, not maximum heat. Use lightweight products and skip heavy oils before styling so the layers can move freely.
Items Used
- Volumizing leave-in
- Heat protectant
- Blow-dryer
- Large round brush
- Velcro rollers
- Sectioning clips
12. Side-Swept Waves
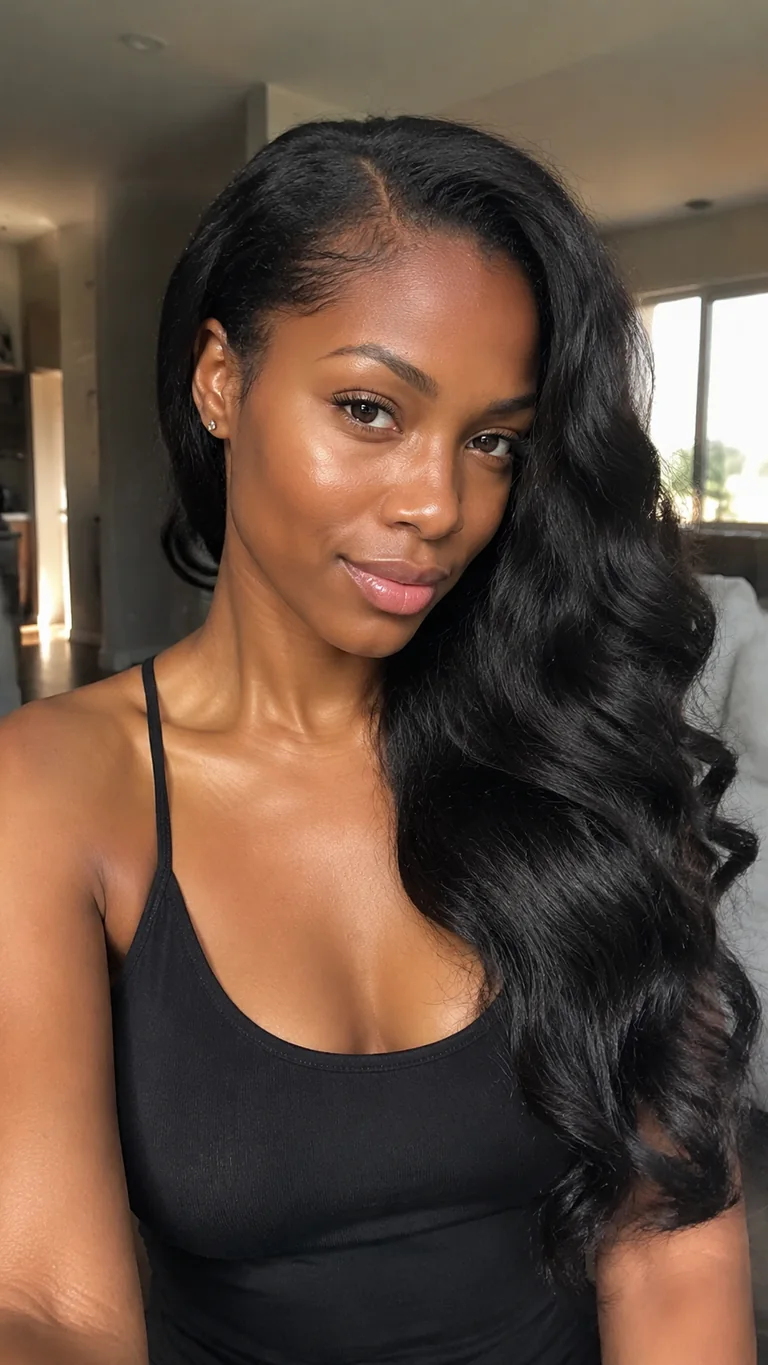
Side-swept waves create a glamorous shape by directing smooth relaxed hair over one shoulder. The deep part adds lift on the heavier side, while broad S-waves reflect light without looking stiff. Tucking the opposite side behind the ear makes the asymmetry clear and keeps the focus on the polished lengths.
How-To
Create a deep side part and apply heat protectant through completely dry hair. Curl medium sections in the same general direction with a large-barrel iron, then allow every curl to cool. Brush through gently to form broad waves, sweep the hair over one shoulder, and pin the lighter side discreetly behind the ear.
Tips
Use one controlled heat pass per section and keep the iron away from previously curled ends. A light mist of flexible spray holds the wave pattern without making relaxed hair crunchy.
Items Used
- Tail comb
- Heat protectant
- Large-barrel curling iron
- Paddle brush
- Bobby pins
- Flexible-hold hairspray
Related Content
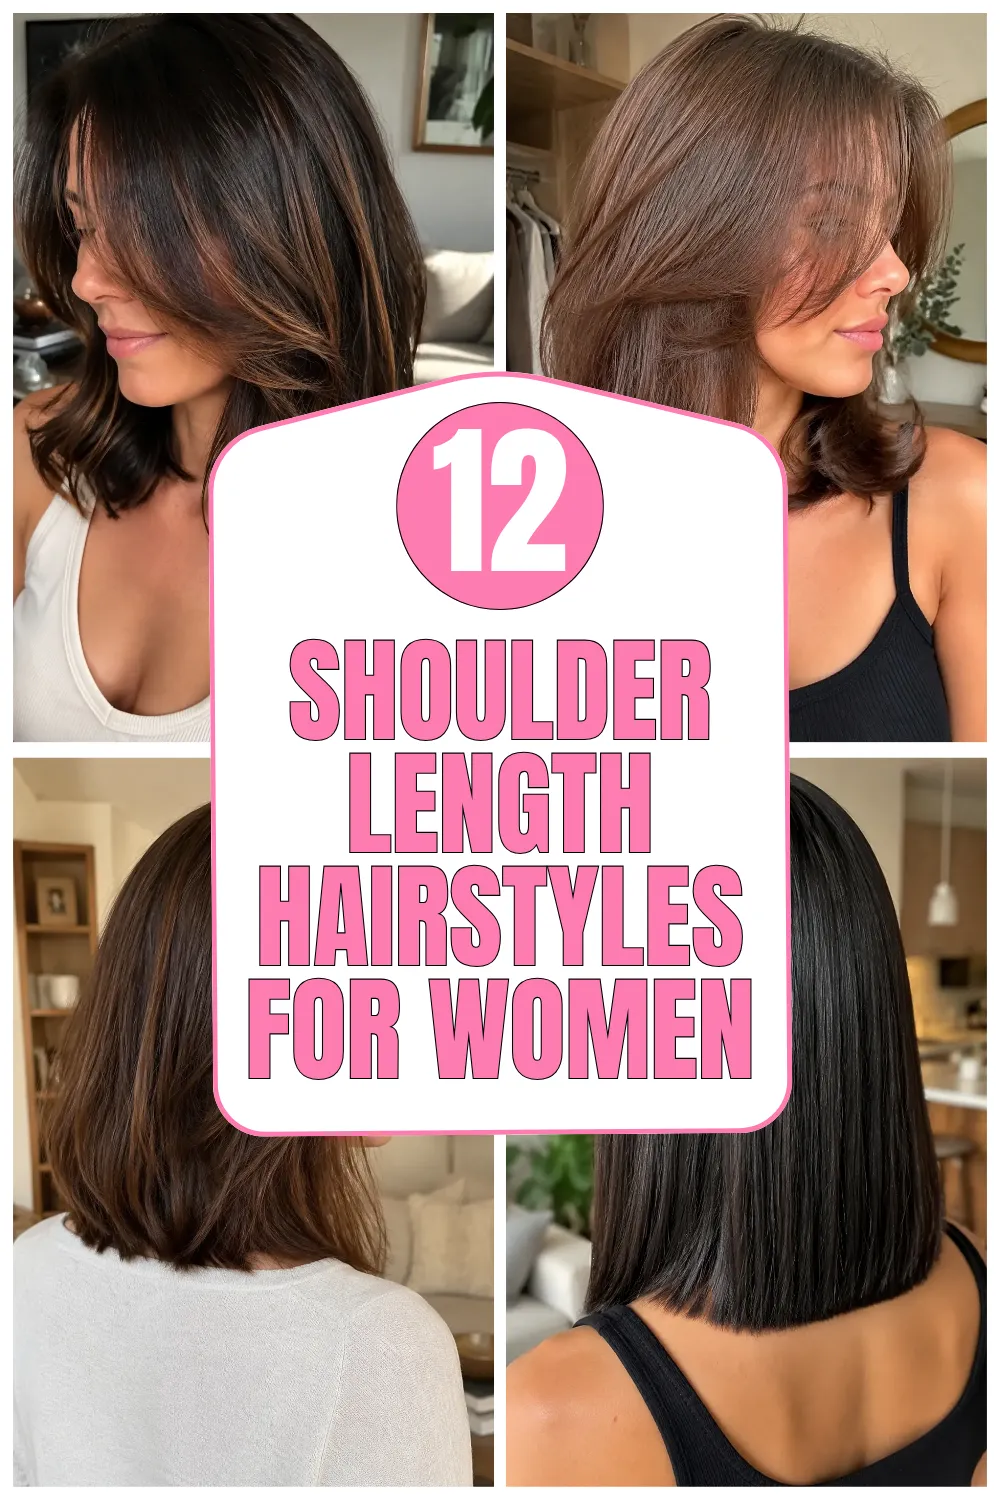
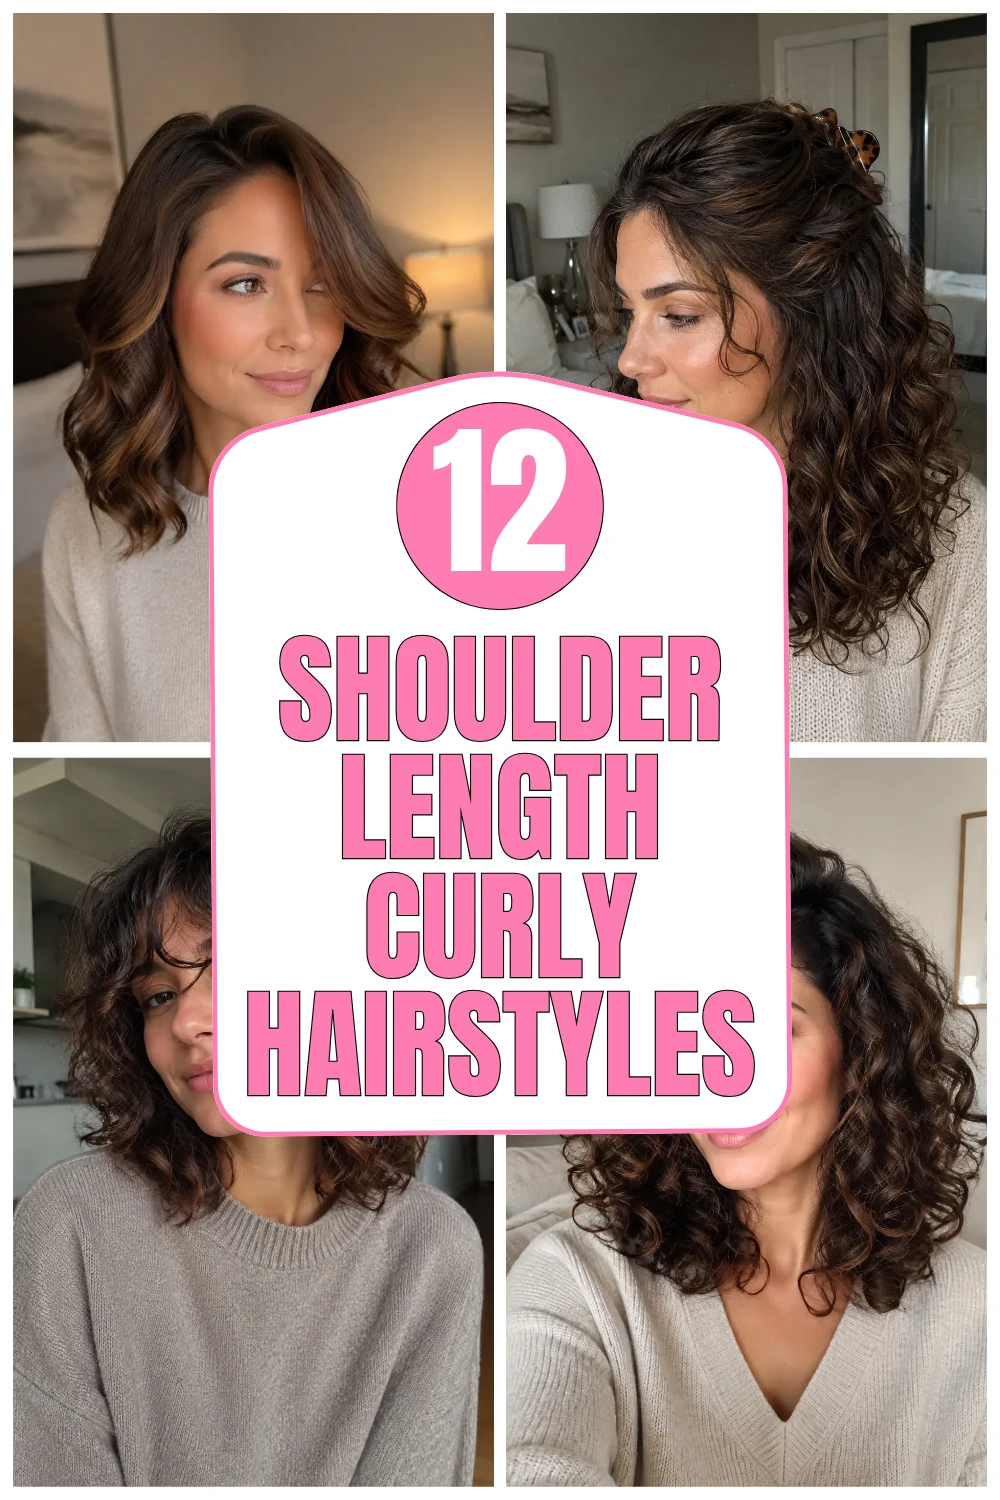
For more polished inspiration, explore these shoulder-length hairstyles for women, discover butterfly haircut layers, or browse the complete hairstyles collection.
FAQs
How often should relaxed hair be styled with direct heat?
There is no universal schedule, but frequent high heat can increase dryness and breakage. Use the lowest effective temperature, apply heat protectant, limit repeated passes, and choose wraps, roller sets, buns, or ponytails between heat-styled days.
What hairstyles help protect relaxed ends?
Low buns, French rolls, wrapped pixies, and comfortable tucked styles keep the ends from rubbing against clothing. The style should not feel tight, and pins or elastics should be smooth enough that they do not snag the hair.
How can I add volume without making relaxed hair stiff?
Use root direction, round-brush styling, and large rollers rather than heavy product. Let each section cool in its lifted shape, then separate with fingers. Lightweight foam or flexible spray usually preserves more movement than thick oils and firm gels.
Can relaxed hair hold curls?
Yes. Roller sets and cooled heat curls can hold very well when the hair is fully dry, lightly conditioned, and not coated in heavy products. Pinning or loosely rolling the curls at night helps extend the shape.
How do I keep relaxed hair smooth overnight?
Wrap straight styles around the head and secure them with a satin scarf. For curls or blowouts, use large rollers or loose pin curls and sleep on satin. Avoid tight bands that leave dents or put stress on fragile sections.
Closing Thoughts
The most flattering hairstyles for relaxed hair combine shape with healthy styling habits. Choose a sleek bob or low ponytail for simple polish, a roller set or ’90s blowout for volume, and a French roll or high bun for an elegant updo. Protect the hair from repeated heat, keep the ends conditioned, and let comfort guide every style.