12 Classy Pink Nails That Look Beautiful and Sophisticated

Classy Pink Nails
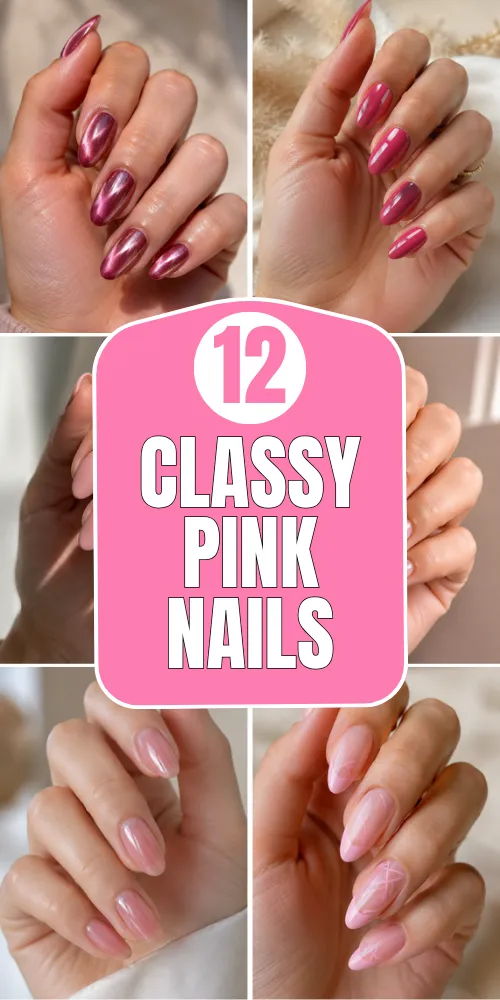
Classy pink nails rely on proportion, undertone, and finish more than complicated decoration. Sheer blush, ballet pink, dusty rose, and deep berry tones can all look refined when the cuticle line is immaculate and the design supports the natural shape of the hand. These twelve ideas range from barely-there gloss to velvet cat-eye, with practical details for getting a polished salon result.
When choosing classy pink nails, match the pink to your skin rather than choosing from the bottle alone. Cool blush and mauve flatter rosy undertones, while peachy pink and rose gold bring warmth to golden complexions. Test one thin coat first, because sheer formulas often shift once they sit over the natural nail. For longevity, keep every layer thin and seal the sidewalls without flooding them.
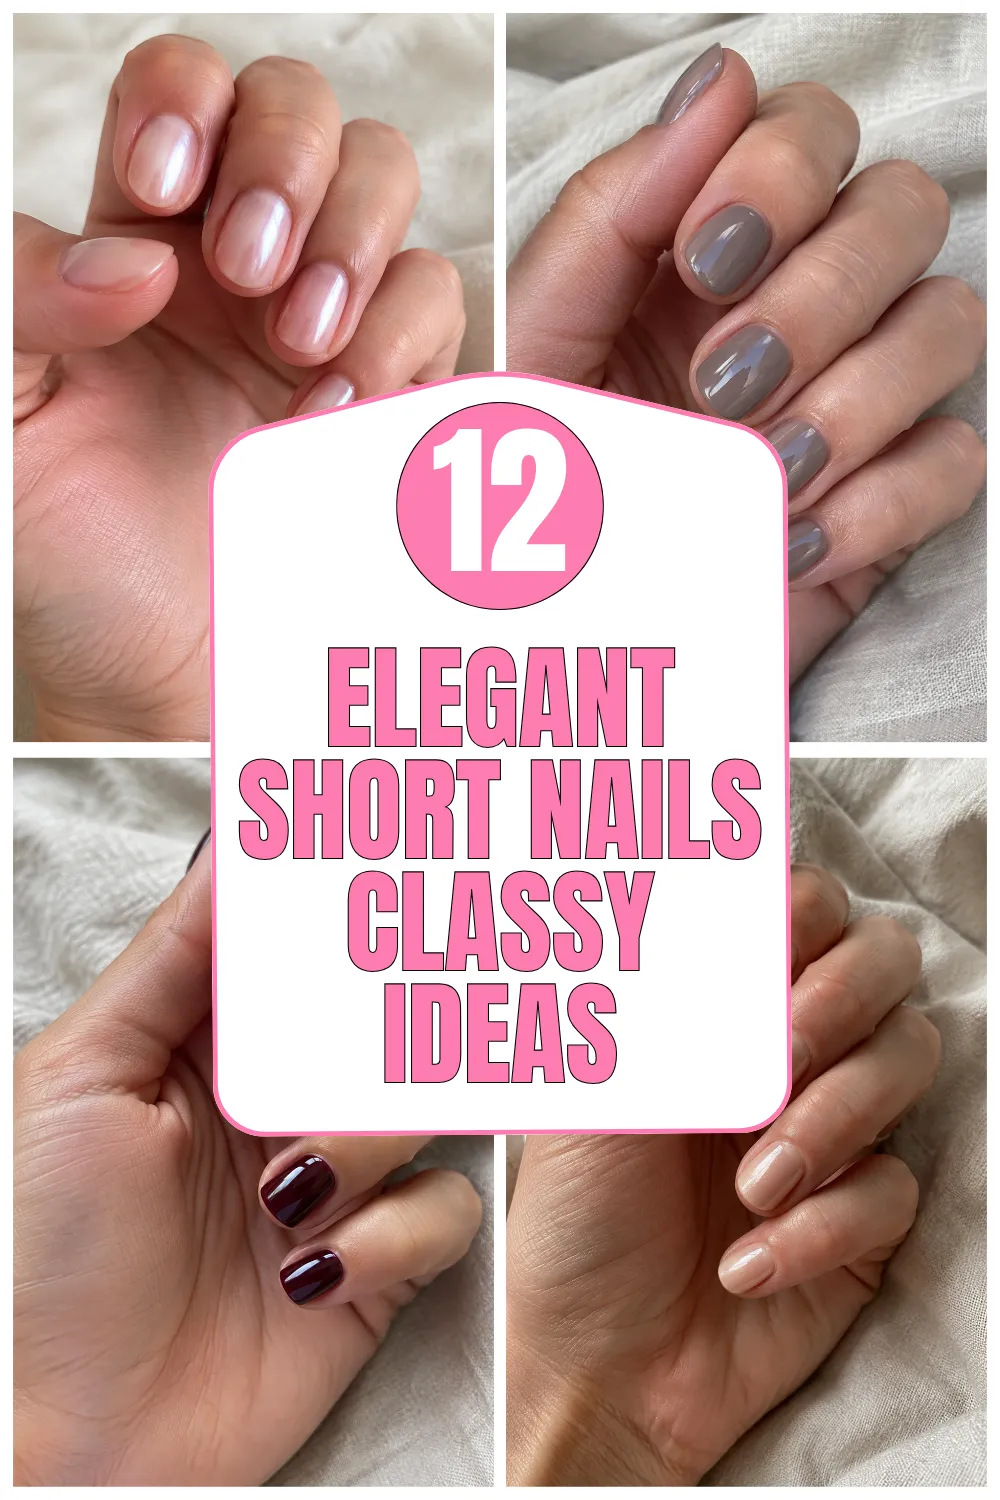
1. Sheer Blush Almond Nails
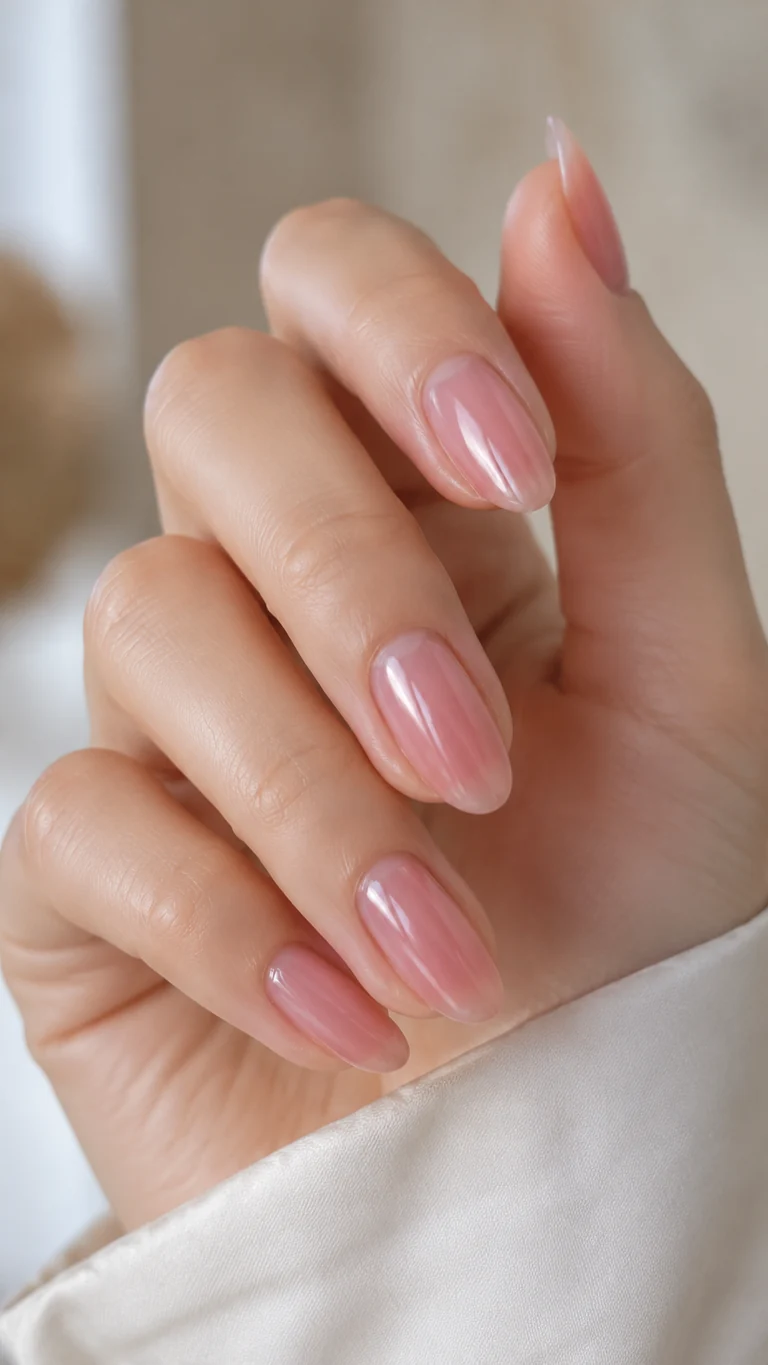
Minimal classy pink nails use a translucent blush manicure to make the nail plate look smoother and healthier without appearing heavily painted. Medium almond shaping adds elegance while the glassy finish keeps the color fresh. Choose a formula that builds evenly in two or three coats; streaky sheer polish is usually caused by overworking a coat that has already started to level.
How-To
File each nail to the same taper, refine the cuticle area, and apply a smoothing base. Float two thin coats of sheer blush from the center outward, allowing each layer to settle before adding the next.
Tips
Use long, light strokes and stop brushing once the surface begins to level. A ridge-filling base prevents natural texture from showing through the sheer color.
Items Used
- glass nail file
- ridge-filling base
- sheer blush polish
- high-gloss top coat
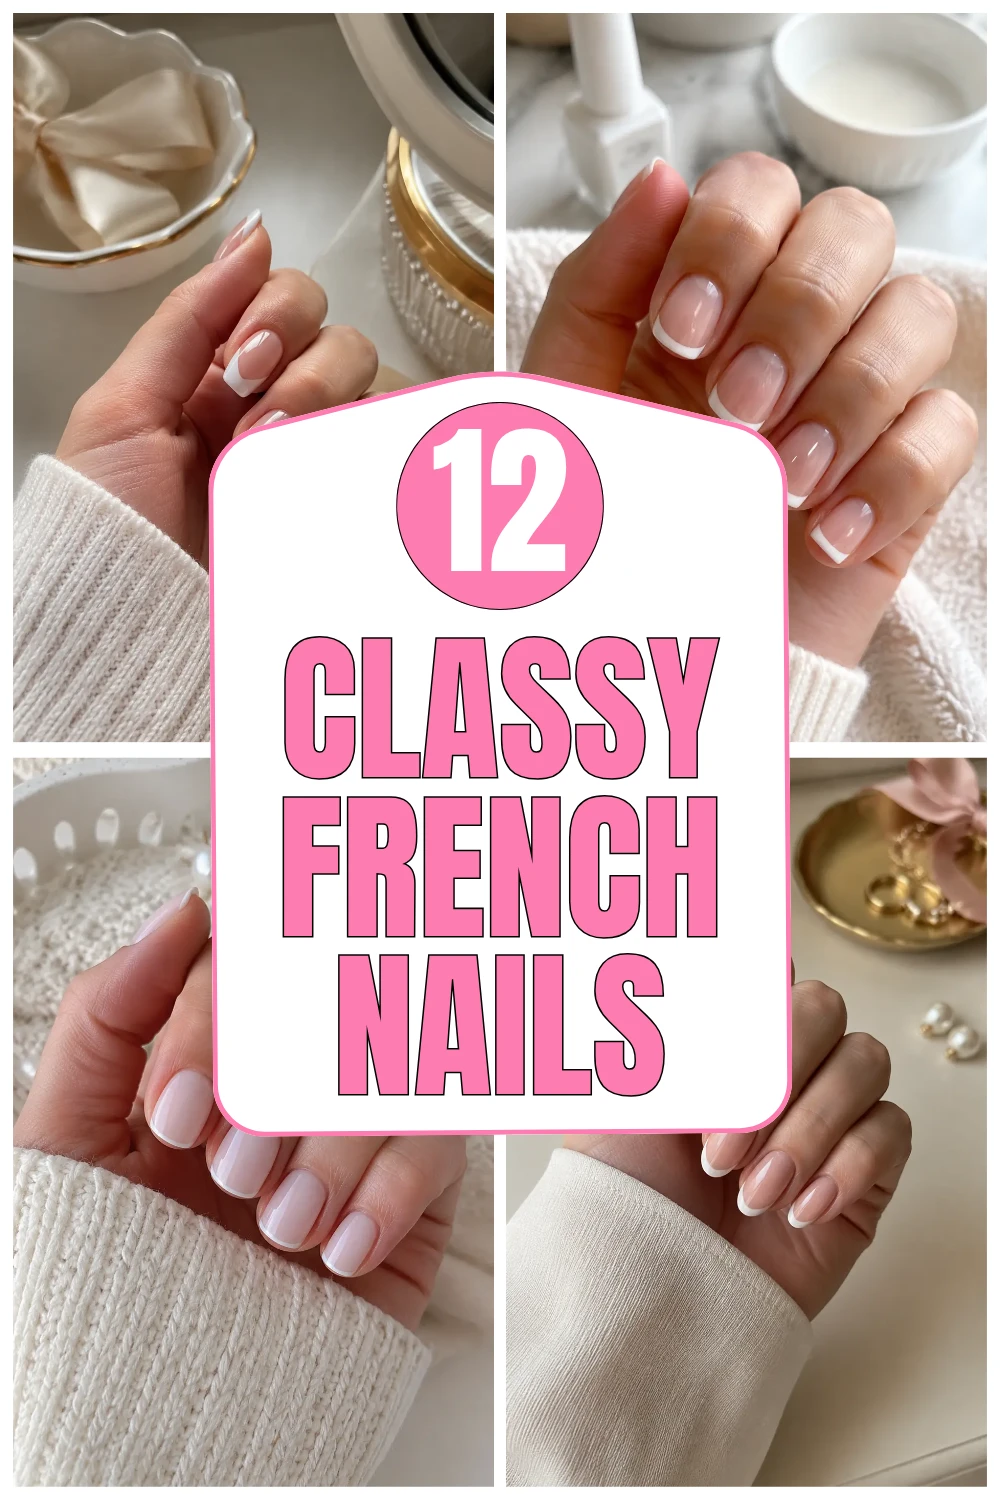
2. Pink Micro-French Tips
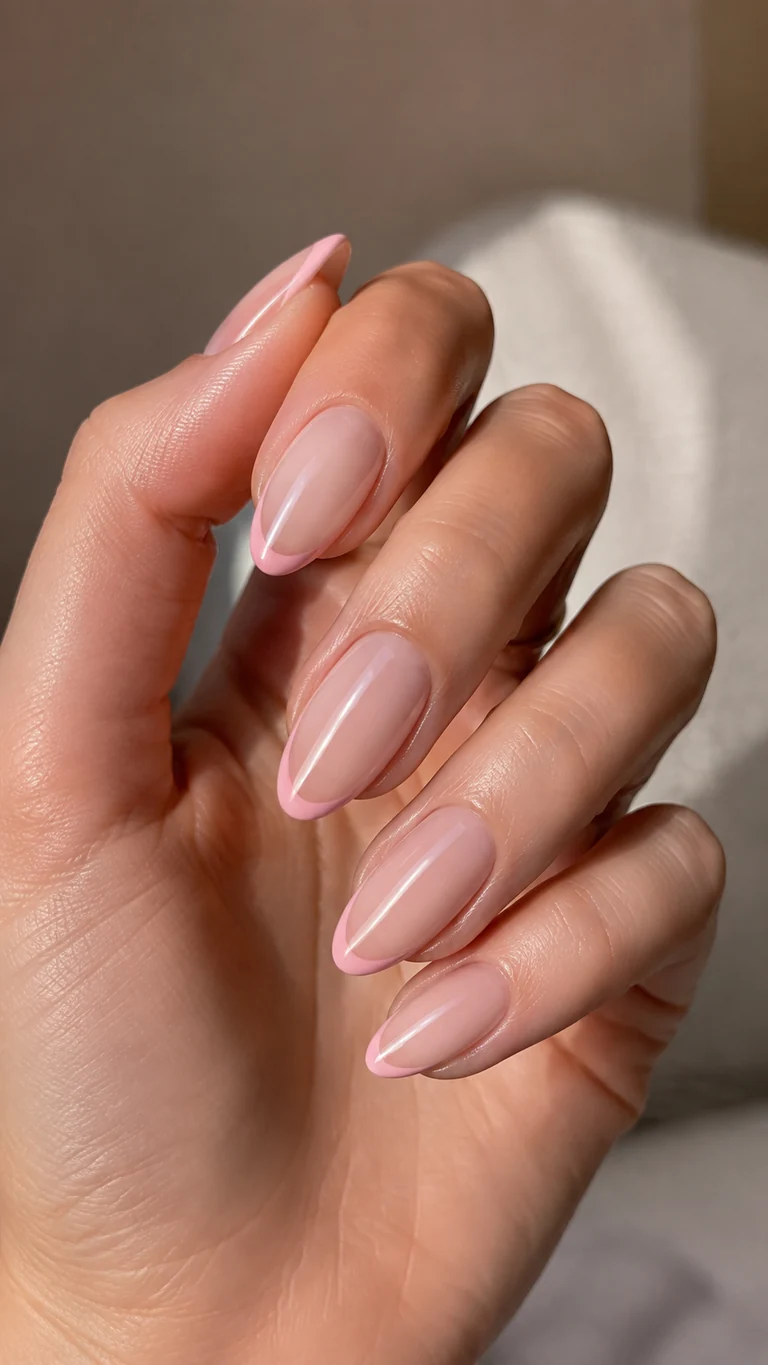
Modern classy pink nails use a fine pink micro-French line to define the free edge without shortening the nail bed. The look feels modern because the tip is narrow and slightly translucent rather than a thick opaque band. Follow the natural smile line, then correct both sides until the curve appears even when viewed straight on.
How-To
Apply a nude-pink base and let it cure. With a short liner brush, mark the center of the tip, connect each side in one smooth arc, and fill only the tiny free-edge space. Clean the line before curing.
Tips
Rotate the finger as you paint instead of dragging the brush at an angle. Keep all five lines equal in depth, even if the natural free edges differ.
Items Used
- nude-pink base
- soft pink liner gel
- short liner brush
- cleanup brush
3. Rose Quartz Marble
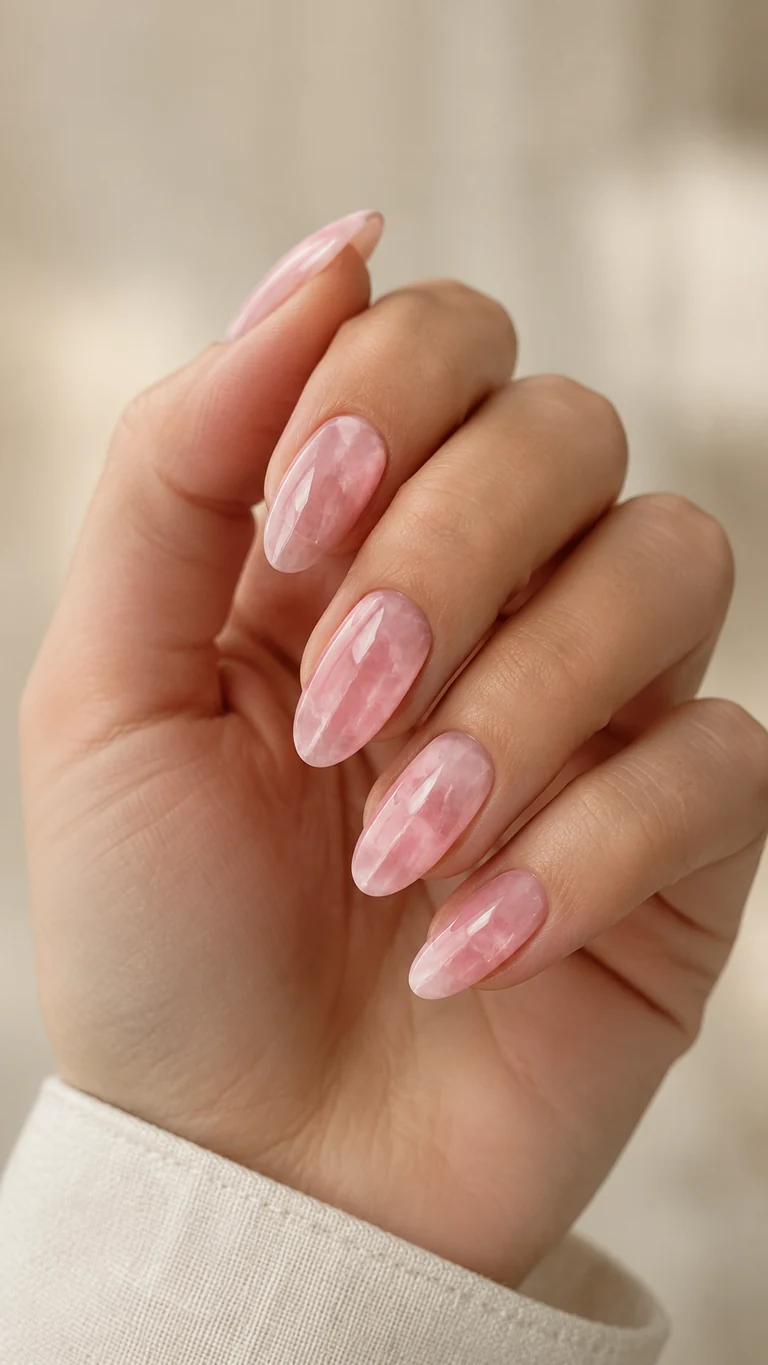
Stone-inspired classy pink nails use cloudy white veining and translucent pink layers to imitate polished stone. The design should look soft and embedded, not like sharp stripes sitting on top. Vary the veining on every nail and leave some areas almost clear; that uneven depth is what makes the gemstone effect believable.
How-To
Apply a sheer rose layer, then draw broken white lines into a thin uncured clear coat. Blur selected edges with a clean brush, cure, and sandwich the veining under another translucent pink layer.
Tips
Use less white than you think you need. If every vein is equally bright, glaze the nail with one more sheer pink coat to push the detail backward.
Items Used
- sheer rose gel
- milky white art gel
- fine liner
- clear builder gel
4. Blush Chrome Glaze
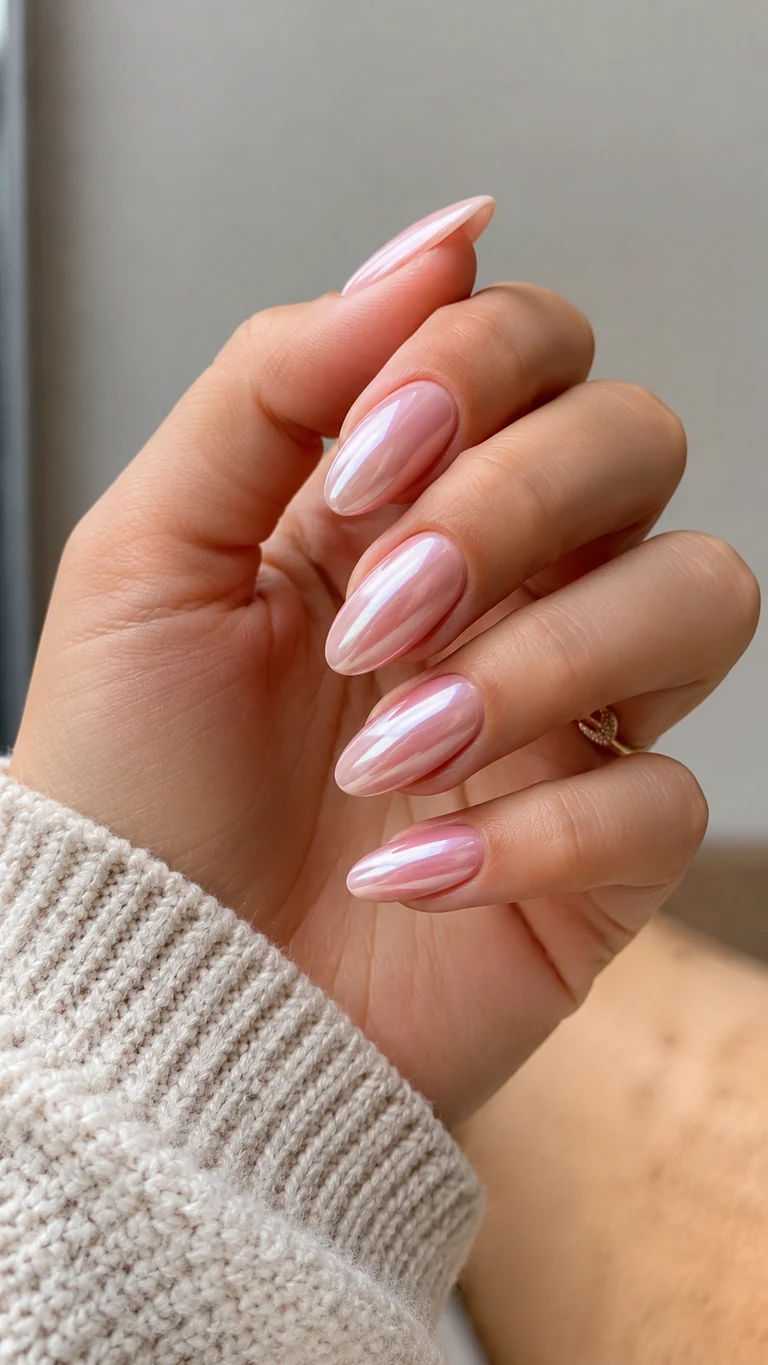
Reflective classy pink nails can use a pearly blush chrome to add a soft reflective veil rather than a mirror-metal effect. The most elegant version starts with an even pink base and uses a finely milled powder that shifts white in direct light. Any bumps become more visible under chrome, so surface refinement is more important than adding extra pigment.
How-To
Apply and cure a smooth blush base, then use a compatible no-wipe top coat. Rub a small amount of pearl chrome evenly over the nail, dust away excess, and seal the free edge before top coating.
Tips
Keep the chrome away from the skin and do not over-rub the sidewalls. File the free edge lightly before the final seal to reduce early chipping.
Items Used
- blush gel polish
- no-wipe top coat
- pearl chrome powder
- silicone applicator
5. Soft Pink Ombre Fade
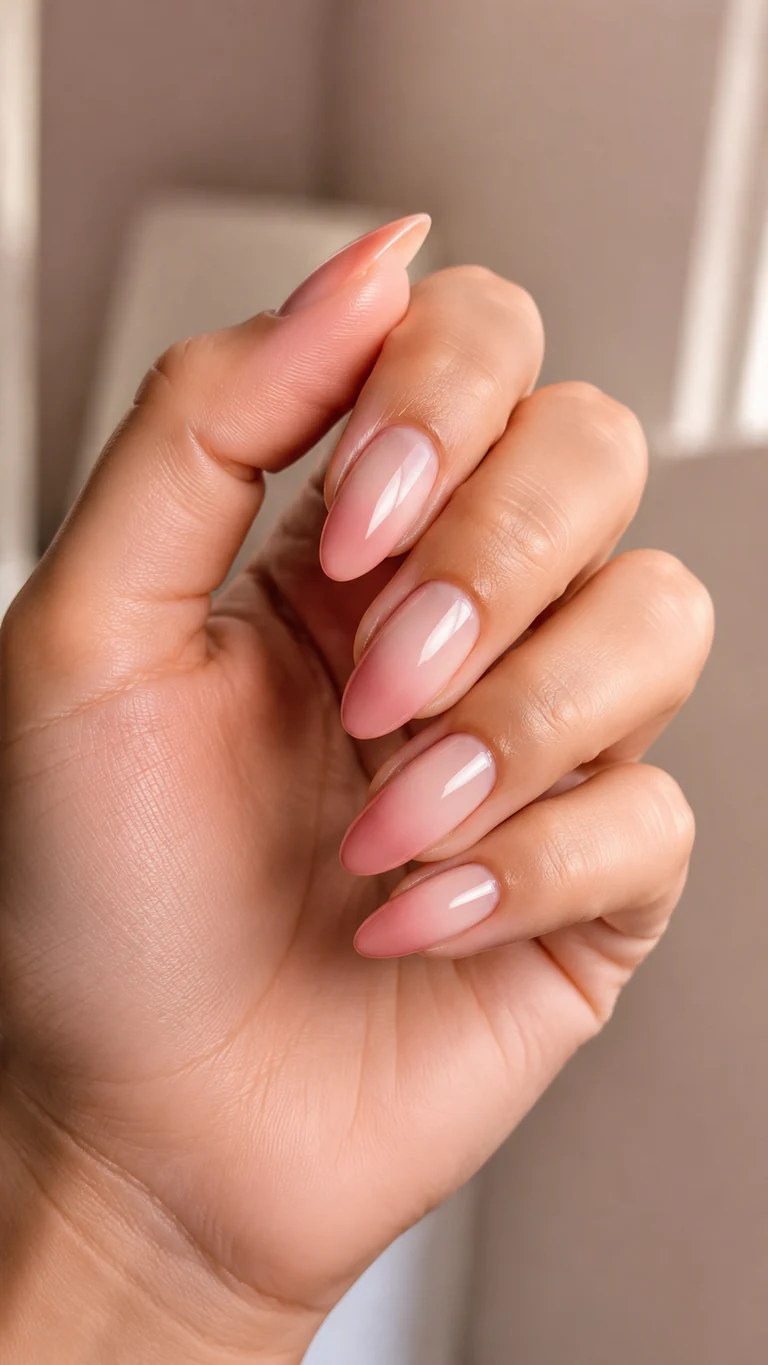
Ombre classy pink nails fade from milky nude at the cuticle to soft rose at the tip elongates the nail and disguises regrowth. The fade should be seamless through the center, with neither shade forming a hard band. Thin airbrushed layers are easiest to control, but a nearly dry sponge can create a similar effect at home.
How-To
Apply the nude base, then blend rose color from the tip upward in several light passes. Let each pass cure or dry before increasing saturation at the free edge. Finish with a leveling clear coat.
Tips
Use less product through the transition zone and check both sidewalls for matching color depth. Heavy sponge pressure creates texture that requires extra top coat.
Items Used
- milky nude polish
- soft rose color
- ombre sponge or airbrush
- leveling top coat
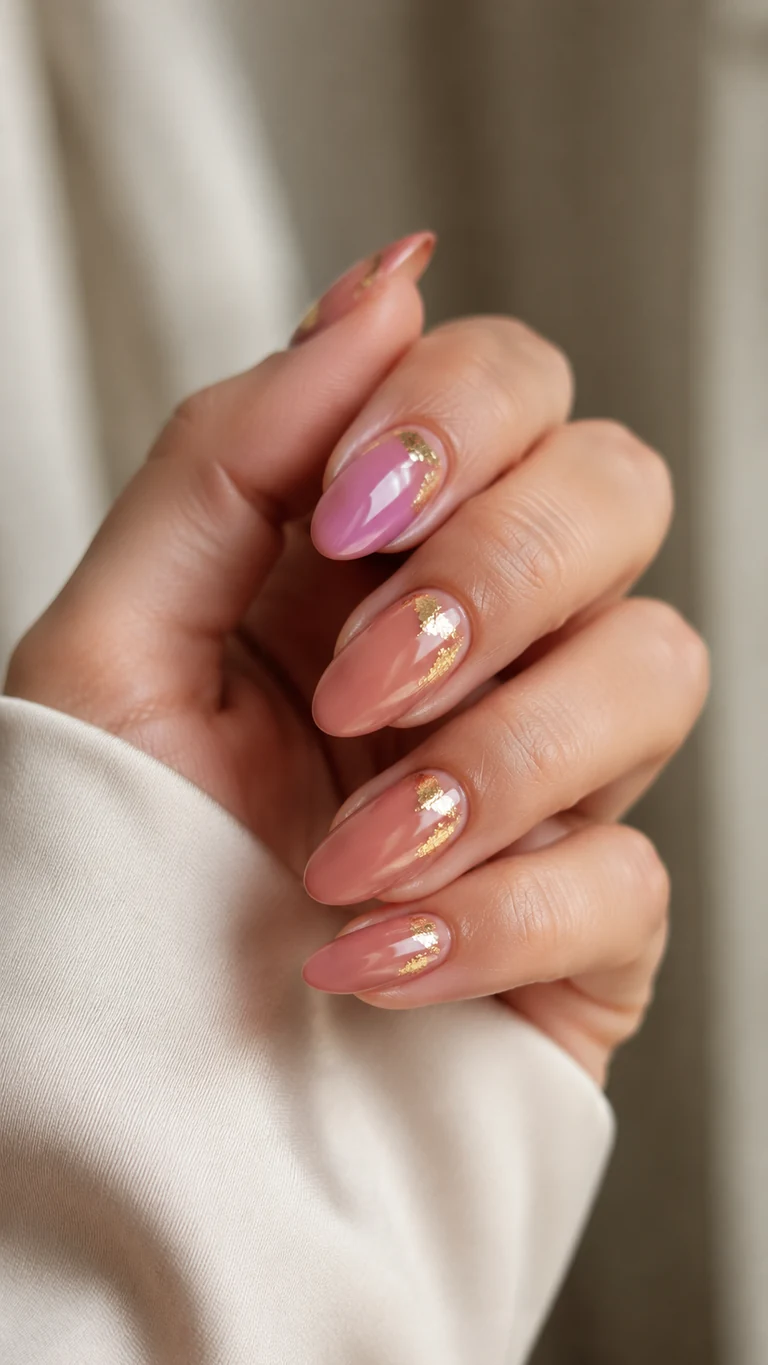
6. Dusty Rose With Gold Foil
Metallic classy pink nails pair dusty rose with a sophisticated foundation for irregular touches of gold foil. Positioning the foil near two or three cuticles gives a jewelry-like effect while leaving the remaining nails quiet. The pieces should be thin, flat, and different in size; identical gold patches can make the manicure look manufactured.
How-To
Apply dusty-rose color, then press tiny foil fragments into a tacky clear layer. Concentrate them near selected cuticles and break large pieces with tweezers. Encapsulate completely with clear builder or two thin top coats.
Tips
Flatten every foil edge before sealing. Keep metallic detail slightly away from the skin so it does not lift as the nail grows.
Items Used
- dusty rose gel
- gold foil flakes
- precision tweezers
- clear builder gel
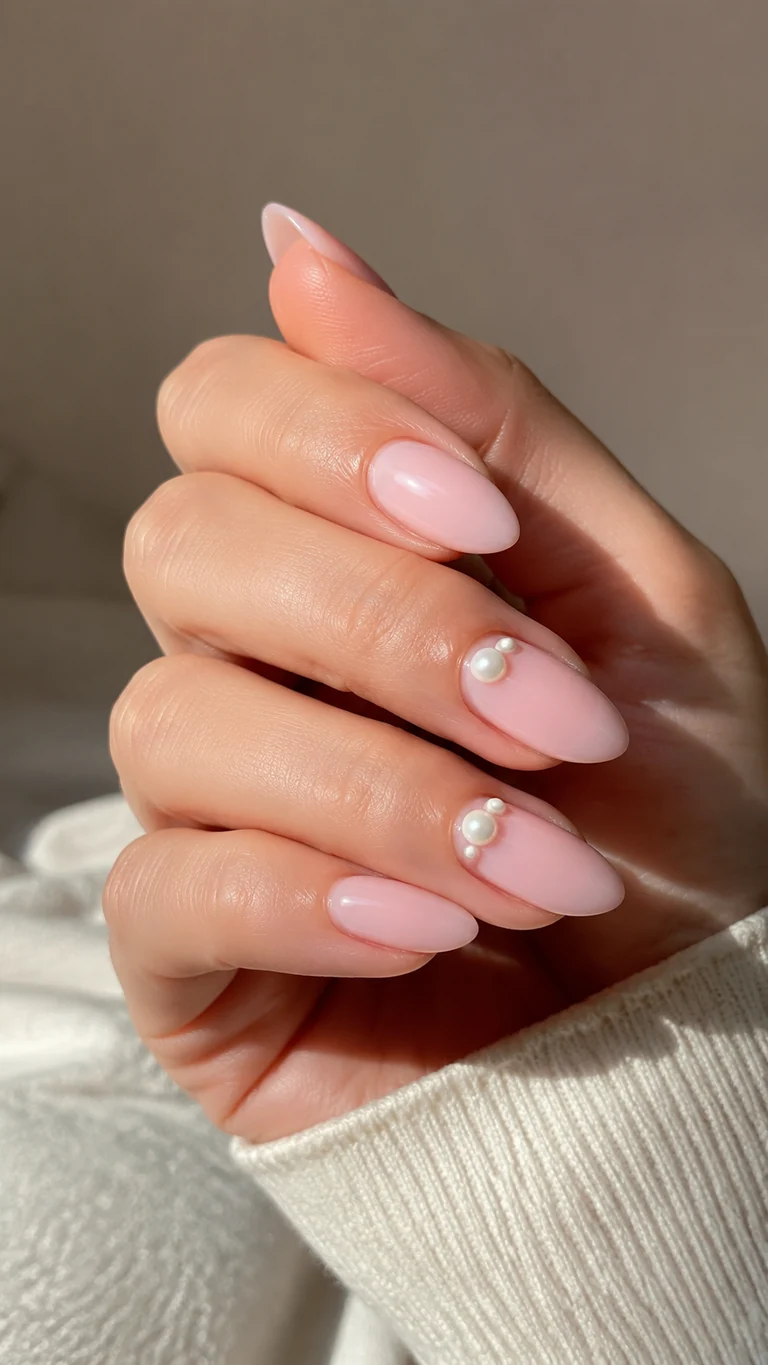
7. Pearl Pink Accent Nails
Small ivory pearls add a refined bridal touch to pale pink nails when they are used sparingly. Placing one or two pearls close to the cuticle mimics fine jewelry and protects them from direct impact at the tip. Keep the rest of the manicure glossy and simple so the dimensional accent remains intentional.
How-To
Finish the pink color first. Place a small bead of gem gel near the cuticle, set low-profile pearls into it, and flash-cure before the piece shifts. Seal around each pearl with a fine brush.
Tips
Do not cover the top of the pearl with top coat because it dulls the luster. Check the full perimeter for gaps that could catch hair.
Items Used
- pale pink gel
- flat-back ivory pearls
- gem gel
- wax pickup pencil
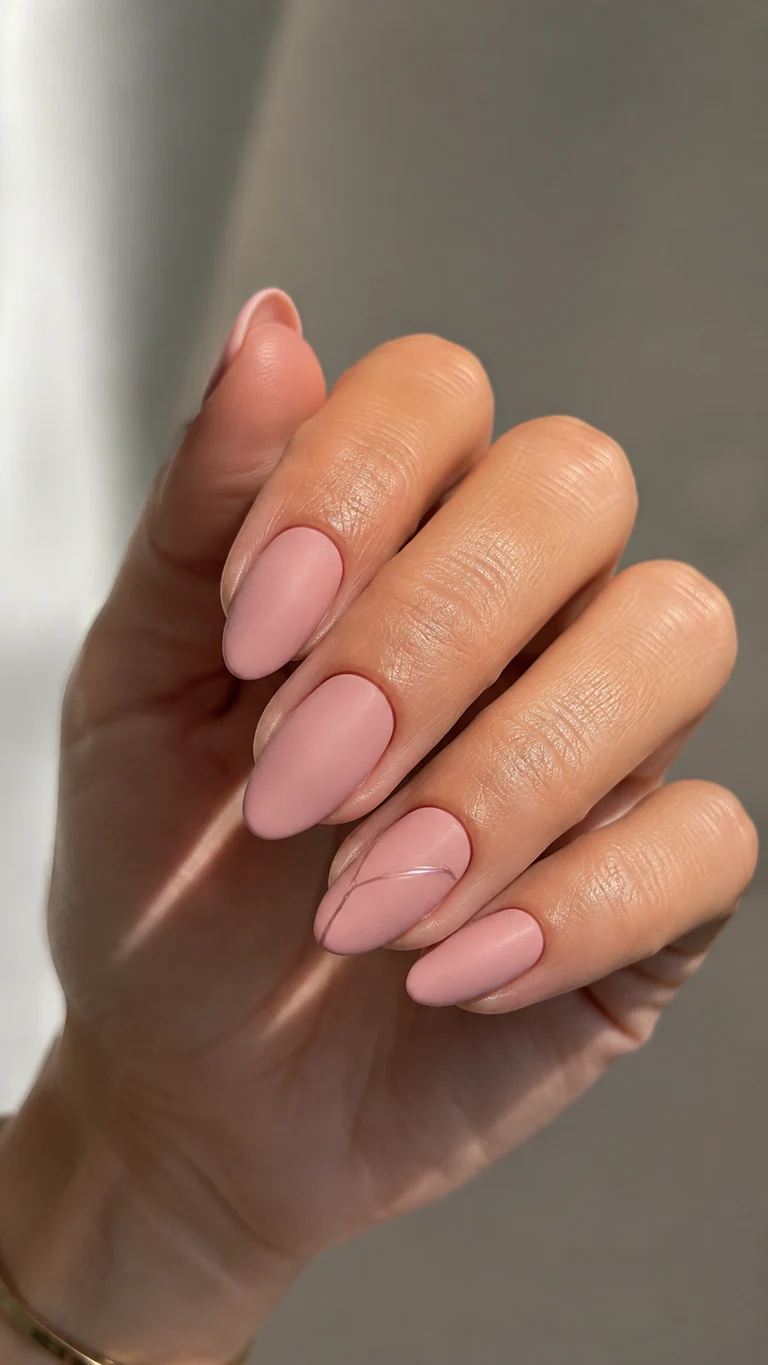
8. Matte Mauve Minimalism
Muted mauve becomes modern with a velvety matte finish and one restrained glossy line. Matte surfaces reveal every ridge, so the color and structure underneath must be completely smooth. A thin diagonal accent adds movement without turning the design into busy nail art, making this an easy choice for work or events.
How-To
Apply two thin mauve coats and refine the surface with clear gel if needed. Finish with matte top coat, cure, then draw one ultra-fine diagonal line in glossy clear gel on selected nails.
Tips
Wipe dust and oil away before the matte layer. Avoid cuticle oil until after photographing because it temporarily creates shiny patches on the finish.
Items Used
- mauve gel polish
- matte top coat
- clear art gel
- long liner brush
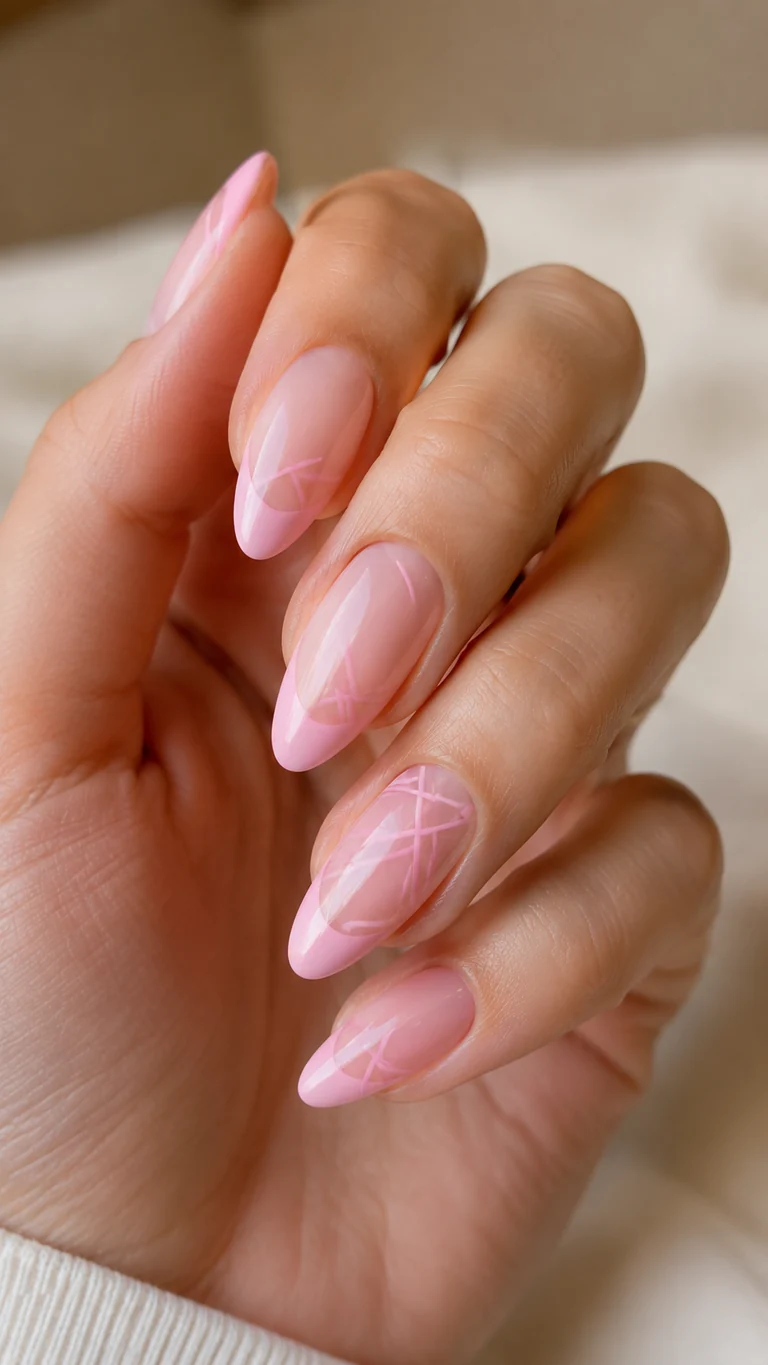
9. Negative-Space Pink Lines
Fine blush lines over a sheer base create a tailored geometric manicure with plenty of breathing room. The pattern looks most elegant when lines follow the nail’s length and meet at deliberate angles. Repeating one diagonal direction across the hand creates cohesion, even when each nail has a slightly different layout.
How-To
Apply a sheer nude base. Plan each design with two tiny guide dots, connect them using a long liner and blush gel, and add no more than three lines per nail. Cure, then seal with glossy top coat.
Tips
Keep line pressure light so the width stays consistent. If a line wobbles, erase it before curing rather than trying to thicken the entire pattern.
Items Used
- sheer nude base
- blush art gel
- long liner brush
- detail cleanup brush
10. Ballet Pink French Manicure
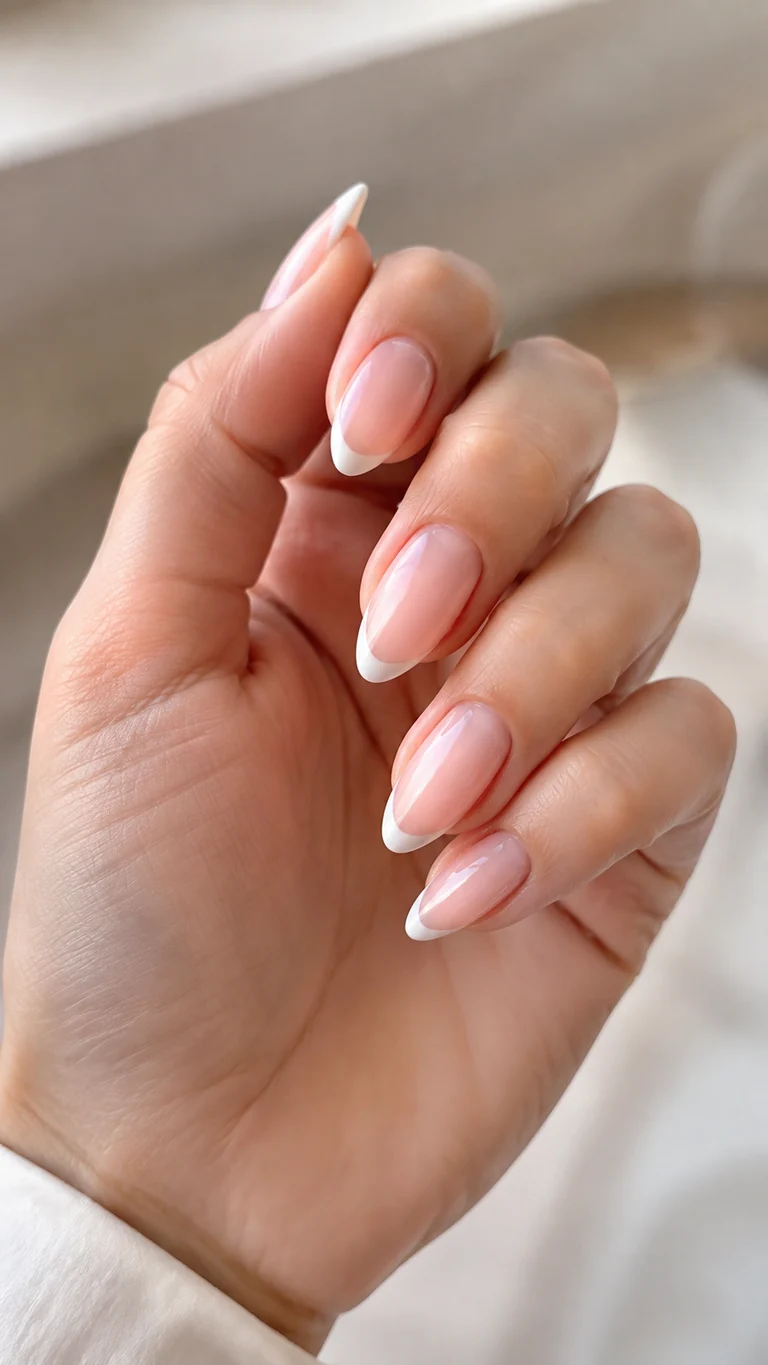
Ballet pink and creamy white create a timeless French manicure that feels softer than stark white. The ideal tip follows the almond shape and narrows gently at both sidewalls. A translucent pink overlay can blend the transition and give the whole set a natural, polished depth.
How-To
Build an even ballet-pink base, then paint curved creamy-white tips. Refine the smile lines with a cleanup brush and cure. Add one sheer pink glaze over the full nail if you want a softer blended finish.
Tips
Match tip thickness to nail length; shorter nails need a shallower smile line. Check the hand from a distance before sealing to spot uneven proportions.
Items Used
- ballet pink polish
- soft white gel
- French detail brush
- sheer pink glaze
11. Rosy Velvet Cat-Eye
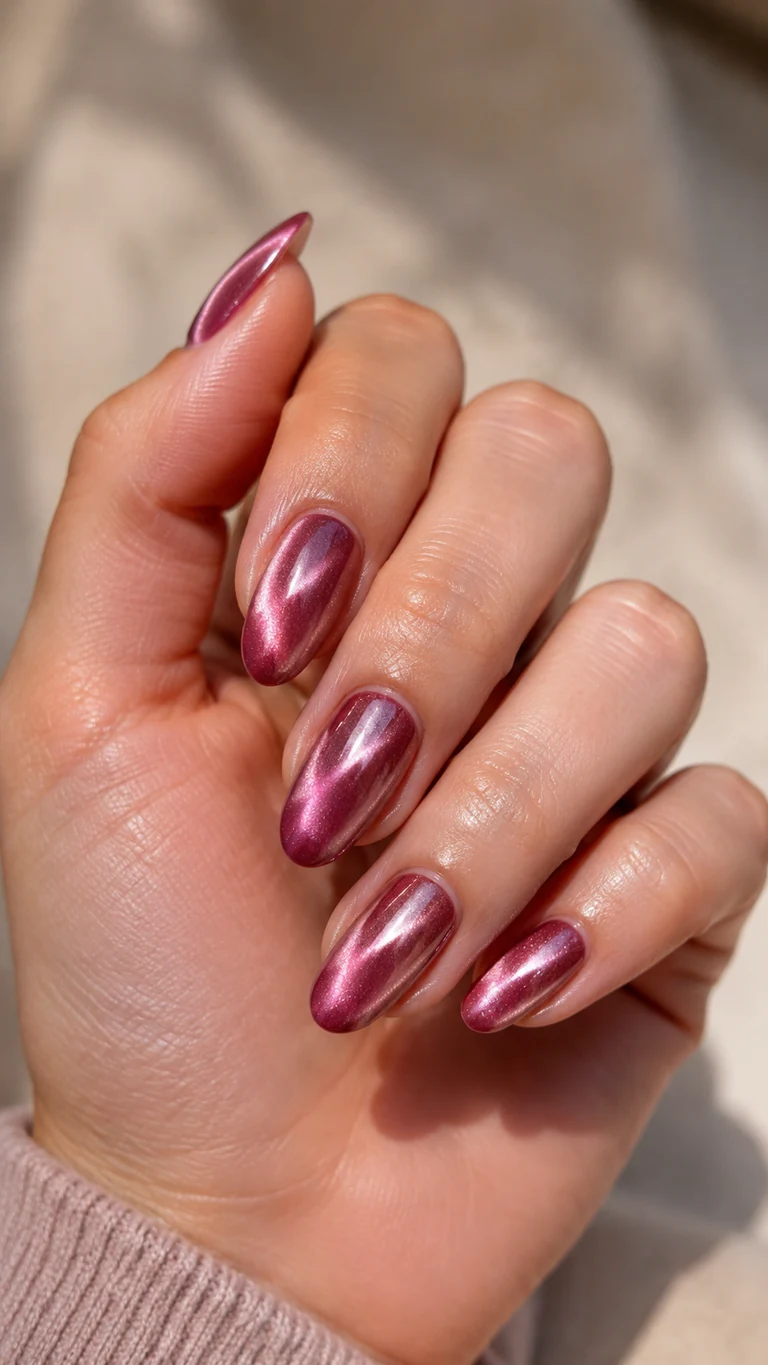
Magnetic rose polish produces a velvet ribbon of light that shifts as the hand moves. The classy version uses a fine shimmer and a soft central glow rather than a dramatic high-contrast stripe. A deeper rose base adds richness and allows the magnetic particles to look dimensional in both daylight and evening light.
How-To
Apply the rose base and one layer of magnetic polish. Hold the magnet close to each side, then above the center, until a soft vertical glow forms. Flash-cure each nail immediately so the particles do not spread.
Tips
Work one nail at a time and keep the magnet from touching wet gel. Re-magnetize the final layer before curing if the velvet effect softens.
Items Used
- rose base color
- magnetic cat-eye gel
- velvet-effect magnet
- glossy top coat
12. Deep Rose High Gloss
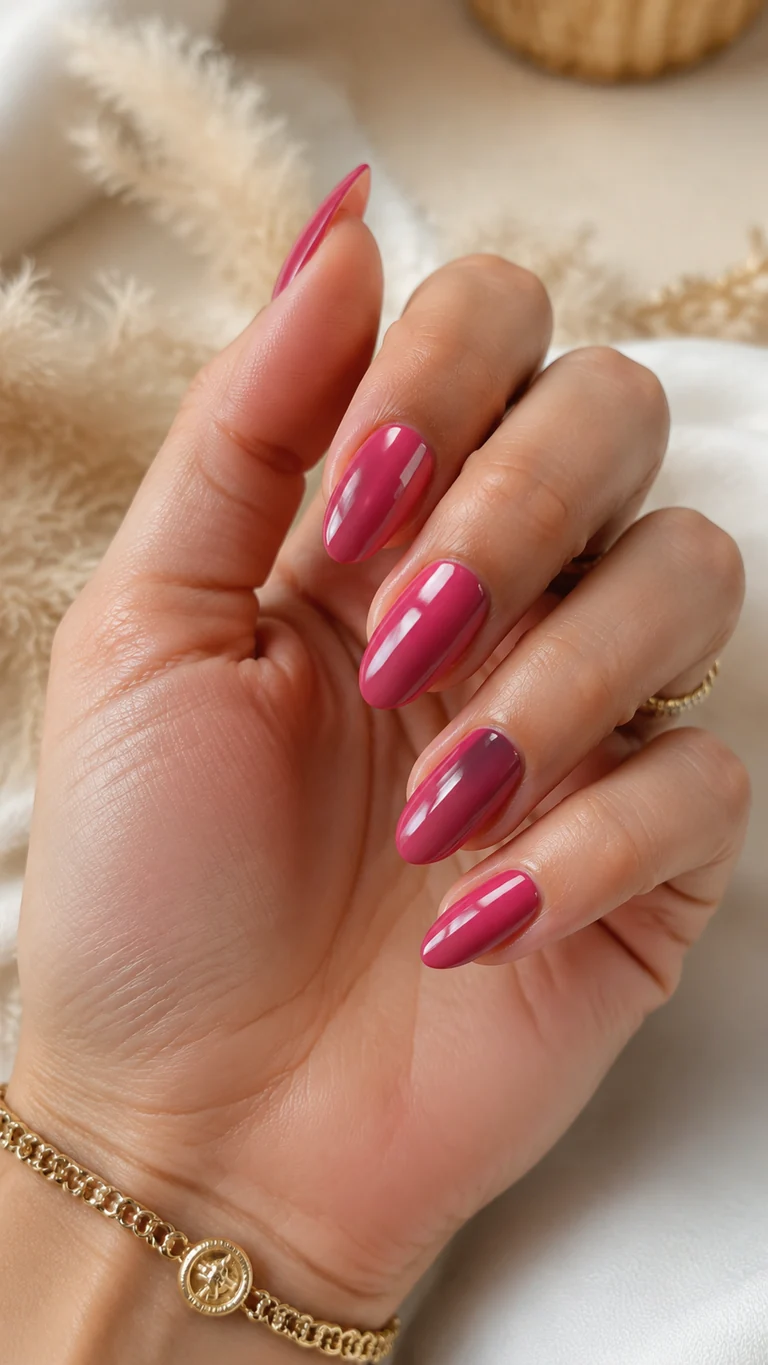
A saturated deep-rose manicure proves that a single color can feel just as luxurious as detailed art. Precise cuticle work, consistent almond shaping, and a glass-like surface carry the entire look. Choose a rose with balanced berry and pink tones so it remains rich without reading as red or purple.
How-To
Prep and shape carefully, apply a stain-blocking base, then paint two very thin color coats. Keep a hairline margin around the cuticle and cap the free edge. Finish with a self-leveling high-gloss top coat.
Tips
Correct any flooded sidewall before curing. Dark pink shows uneven edges immediately, so use a fine cleanup brush rather than relying on the top coat to disguise them.
Items Used
- stain-blocking base
- deep rose gel polish
- cleanup brush
- self-leveling top coat
Frequently Asked Questions
What shade of pink looks most elegant? Sheer blush, ballet pink, dusty rose, and balanced deep rose are reliable choices. The most flattering option is the one that complements your skin undertone.
Which nail shape works best with classy pink designs? Almond and soft oval shapes create an elongated look, while a short squoval gives the same polish with easier everyday maintenance.
How do I keep pale pink polish from looking streaky? Use a smoothing base, apply thin floating coats with minimal brush pressure, and allow each layer to level before adding the next one.
Related Content
- Elegant almond nail ideas
- Simple bridal manicure inspiration
- Soft neutral nails for every season
Closing
The most sophisticated classy pink nails are not necessarily the most complicated one. Clean shaping, a flattering undertone, and a controlled finish make the real difference. Choose the idea that fits your routine, adapt the shade to your skin, and share the pink set you decide to wear.