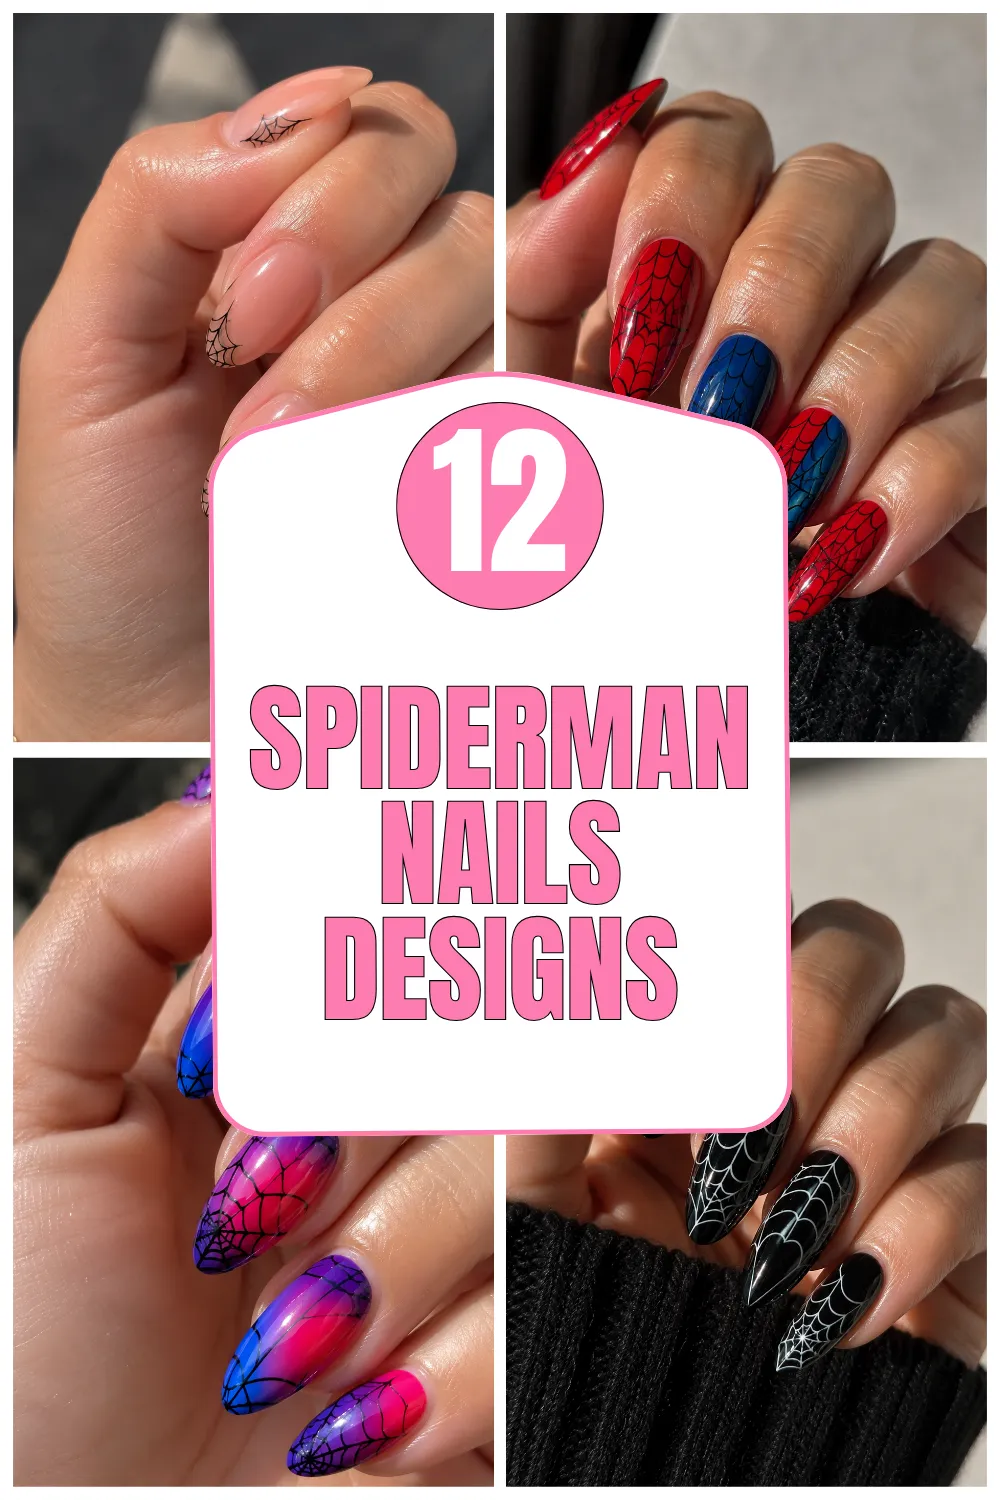
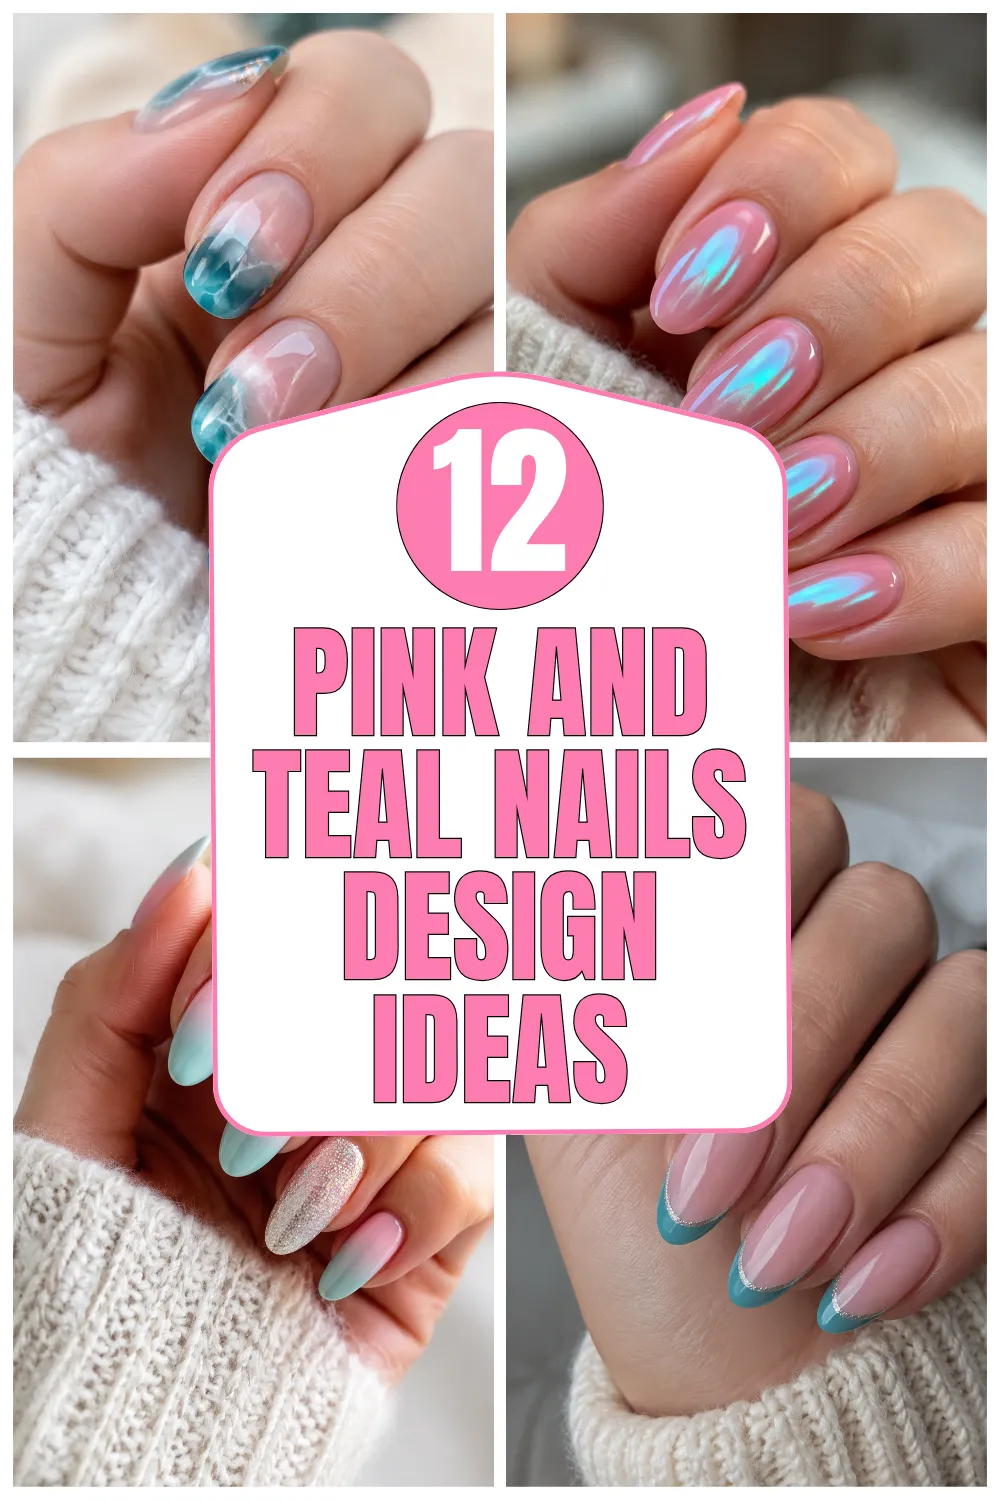
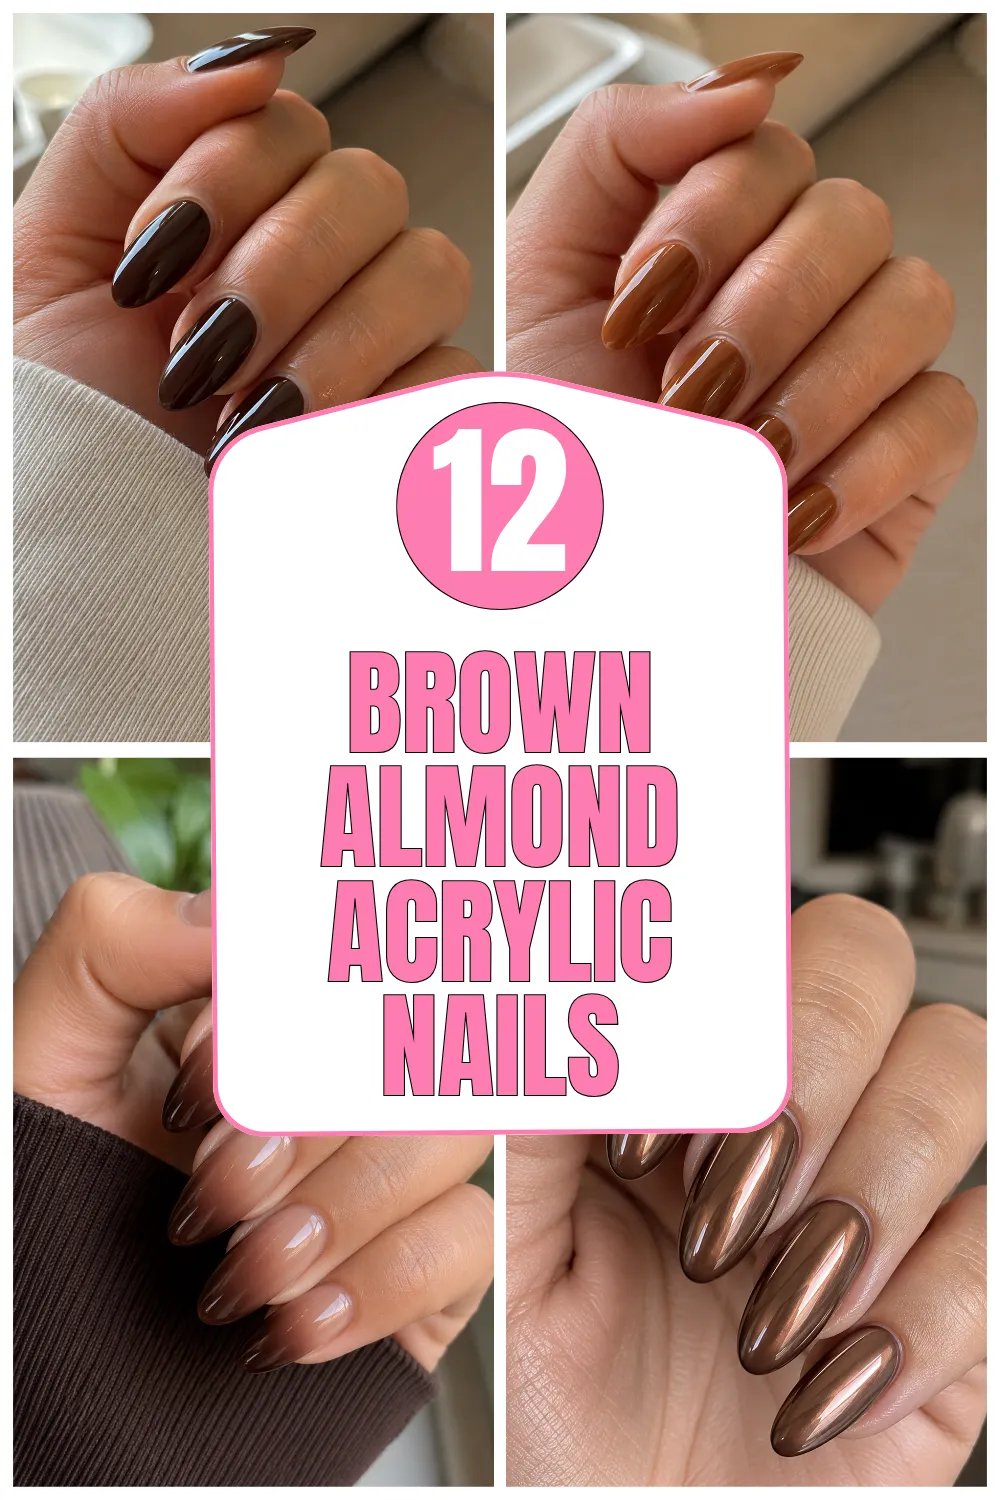
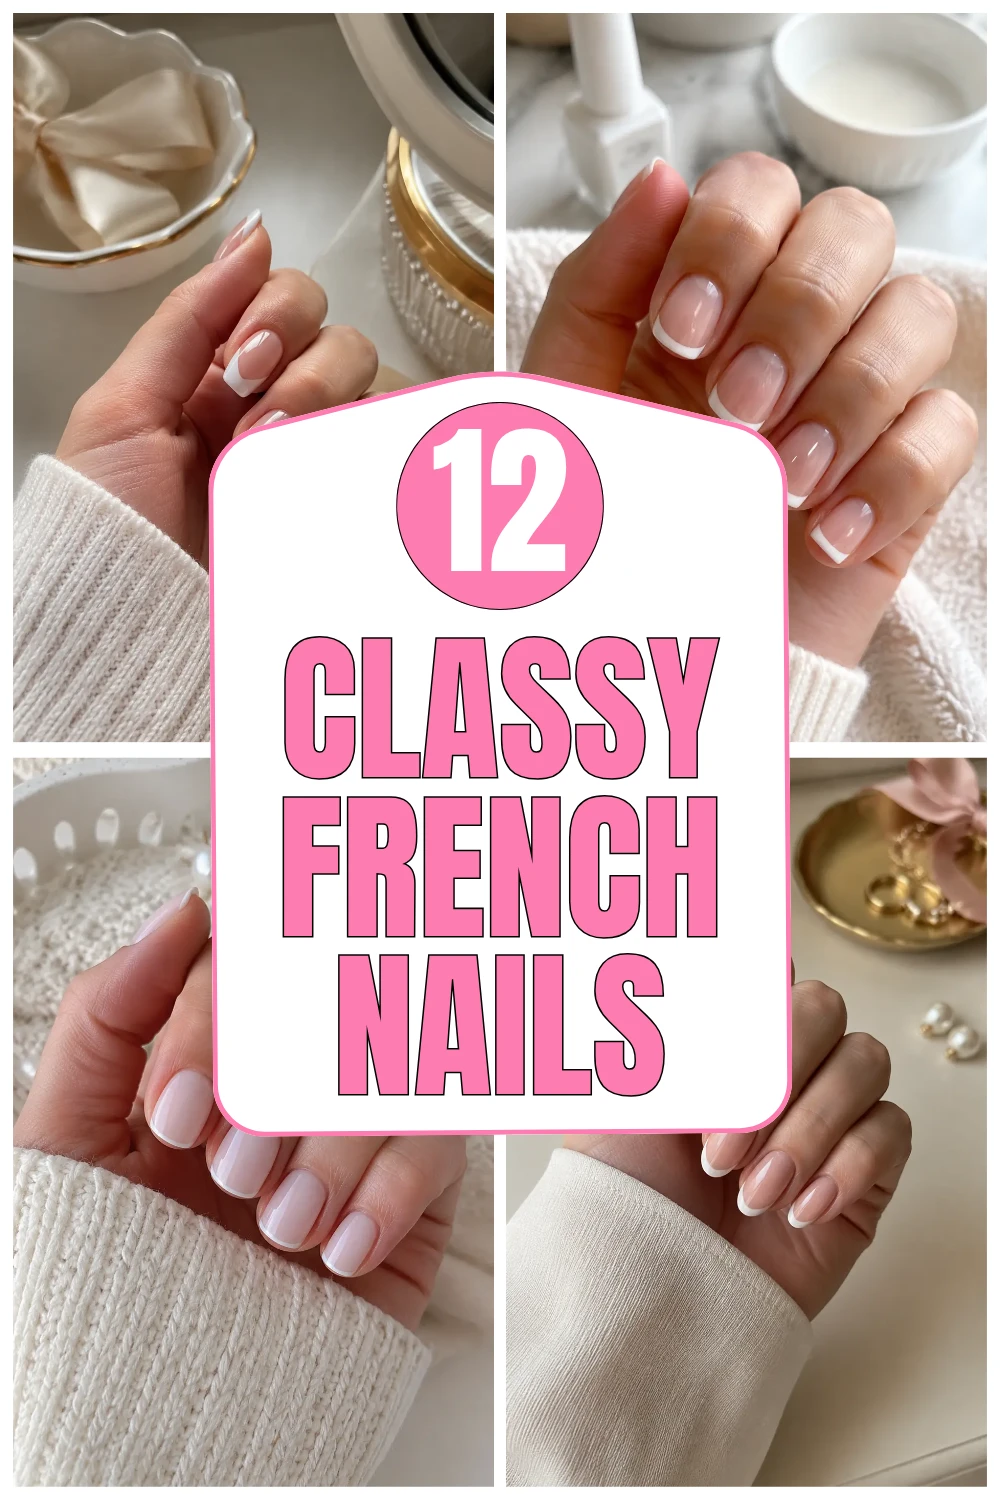
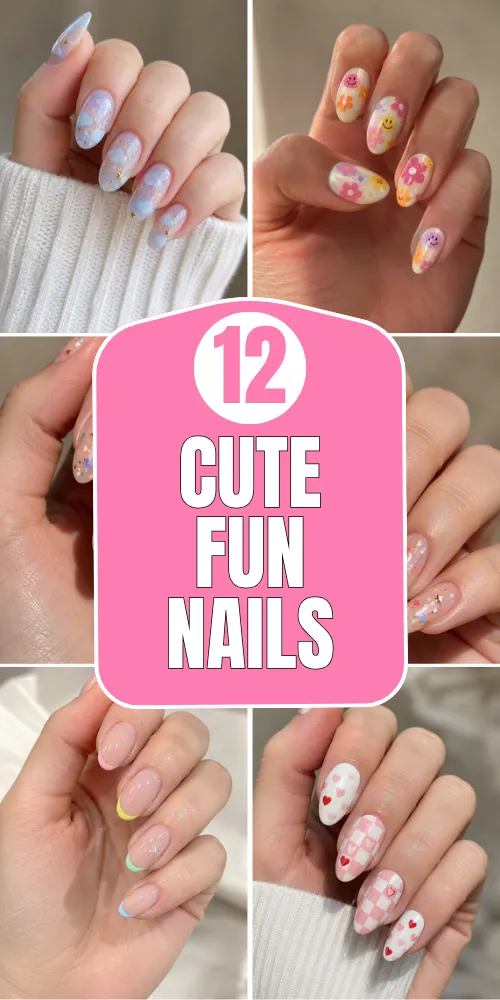
12 Cute Fun Nails That Are Playful and Trendy
Cute Fun Nails
Cute fun nails are at their best when the playful detail is balanced by clean shaping and a controlled color palette. Tiny cherries, smiley flowers, frogs, fruit, clouds, and candy-like accents can still look polished when the base is sheer and the artwork has breathing room. These twelve ideas include salon-ready inspiration plus practical application tips for creating crisp details that last.
When planning cute fun nails, choose two or three hero colors before you begin, and repeat them across the set so every nail feels connected. A thin art gel offers more control than regular polish for small shapes, while a glossy leveling top coat smooths raised lines and decals. Leave a tiny margin around the cuticle and sidewalls; that clean border is what separates intentional nail art from a crowded manicure.
1. Cherry Smiley Mix
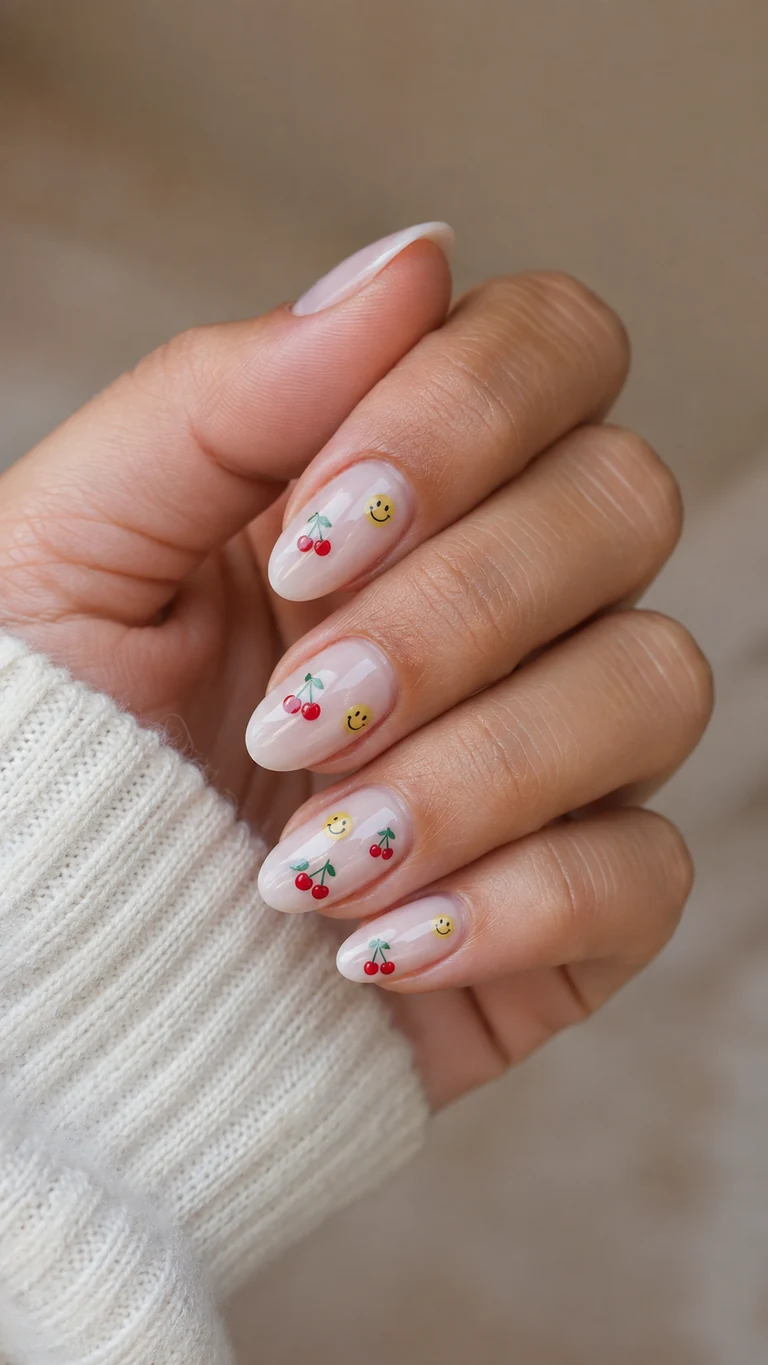
Tiny cherries and yellow smiley faces create a cheerful mixed manicure without overwhelming the hand. A translucent milky-pink base keeps the set fresh and lets the red fruit stay vivid. Repeat one motif on several nails and vary its position, rather than making every nail completely different; the repetition gives the playful artwork a professional rhythm.
How-To
Apply two thin coats of sheer pink. Dot two red circles, connect them with fine green stems, and add miniature smiley faces using yellow dots and a black liner. Cure or dry each color before adding the next detail.
Tips
Keep the faces simple and leave negative space around each motif. A thick top coat can drag black lines, so float the brush gently over the art.
Items Used
- sheer pink polish
- red and yellow art gel
- fine liner brush
- glossy top coat
2. Pastel Retro Squiggles
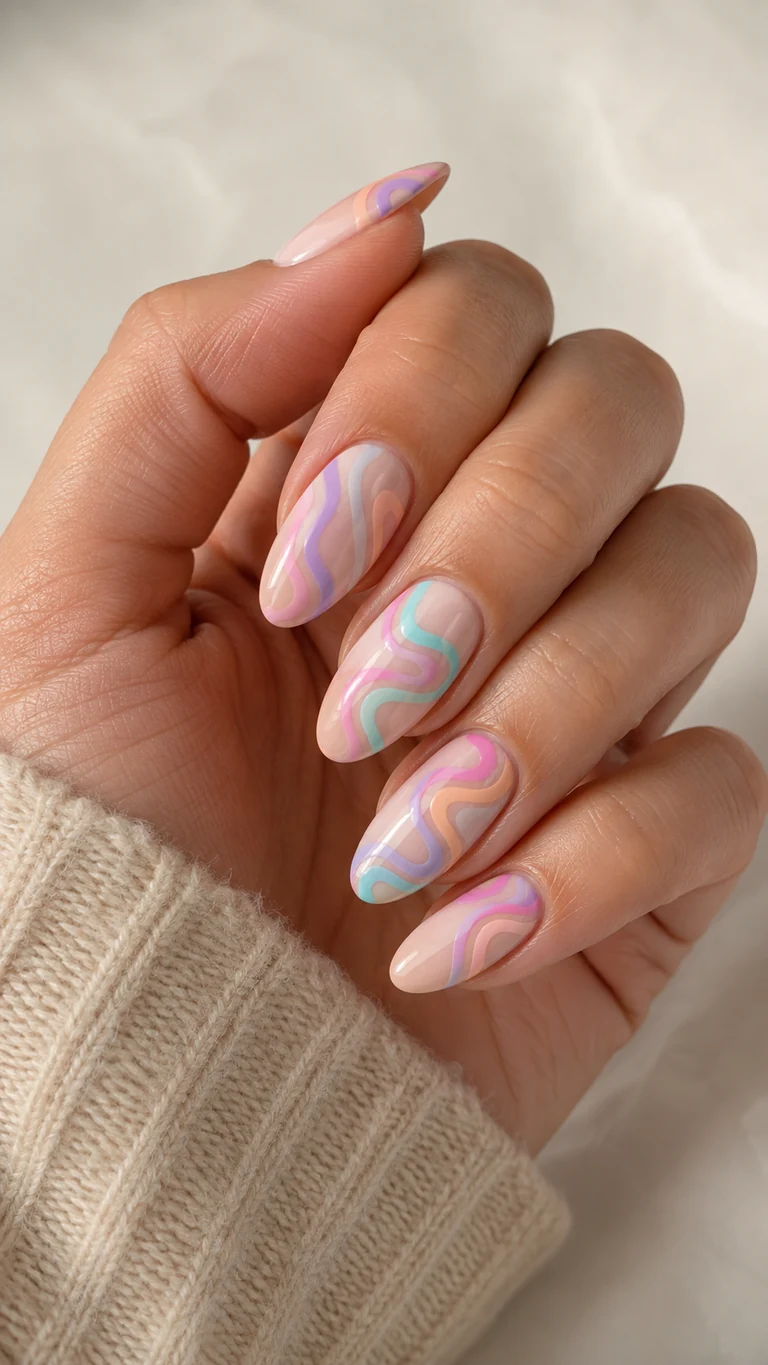
Colorful cute fun nails use layered pastel curves to bring a retro mood to almond nails while the nude base keeps them wearable. The cleanest squiggles change direction slowly and maintain a consistent width. Use four colors across the whole set, but limit each nail to two or three shades so the design stays lively rather than visually noisy.
How-To
Paint and cure a nude base. With a long liner brush, pull one relaxed S-curve from cuticle to tip, then add parallel waves in contrasting pastels. Leave narrow gaps of the base showing between colors.
Tips
Load only the tip of the liner brush and rotate the finger as you paint. Correct uneven edges before curing with a small brush dipped in cleanser.
Items Used
- nude base color
- pastel art gels
- long liner brush
- detail cleanup brush
3. Daisy Picnic Nails
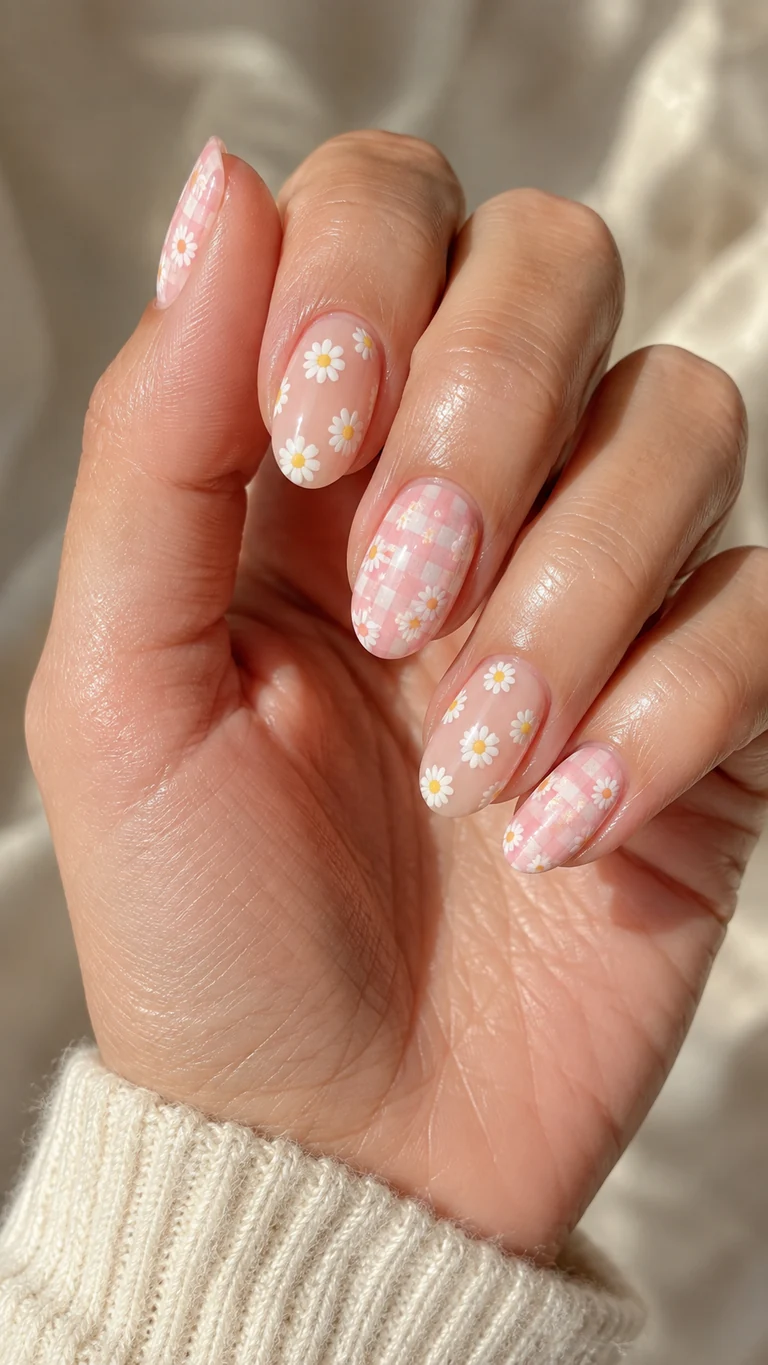
Fresh cute fun nails pair white daisies with soft pink checks feel like a miniature summer picnic. The set works because the floral nails are airy while the gingham accents add structure. Keep the white petals small and use a warm yellow center; oversized flowers can cover the base and make short nails look wider.
How-To
Create sheer-pink floral nails and pale-pink gingham accents. Build each daisy from five white dots pulled slightly inward, then place a yellow center. For checks, paint translucent vertical and horizontal stripes, curing between directions.
Tips
Use diluted pink for gingham so overlapping squares become naturally darker. Space daisies irregularly instead of arranging them in rigid rows.
Items Used
- sheer blush polish
- white and yellow gel paint
- pale pink art gel
- dotting tool
4. Checkerboard Hearts
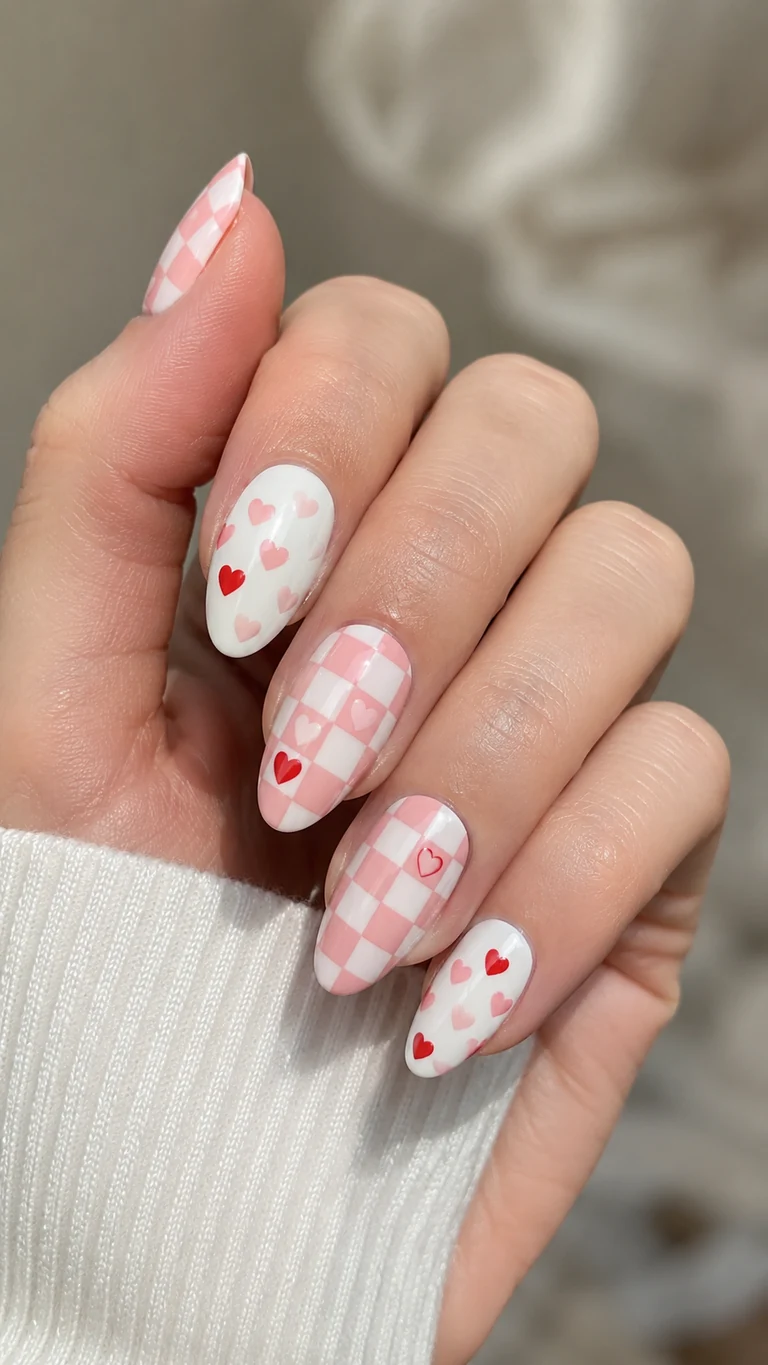
Graphic cute fun nails with pink checkerboards and scattered hearts deliver a graphic look with a sweet finish. Alternating solid white accent nails with checked nails prevents the pattern from becoming too busy. The best checkerboard starts with a grid that follows the nail’s center line, so the squares remain visually straight even on a curved surface.
How-To
Paint a white or pale-pink base. Mark the center with two fine guide lines, divide the nail into squares, and fill alternating boxes. Add tiny red and blush hearts on selected negative-space areas before sealing.
Tips
Work from the center outward and keep the outer squares partial rather than squeezing them to fit. Use highly pigmented gel so each square needs only one thin coat.
Items Used
- white gel polish
- pink and red art gels
- square detail brush
- fine liner
5. Tiny Fruit Salad
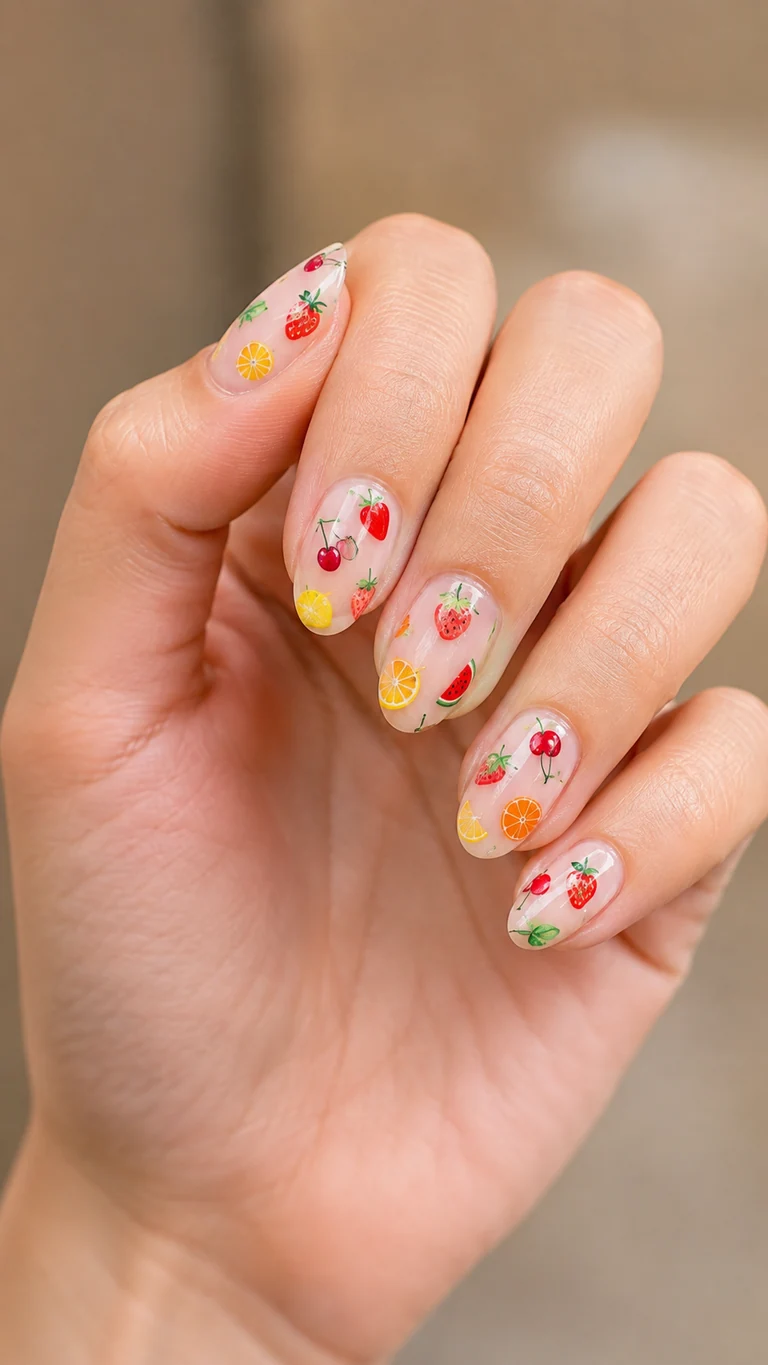
Fruit-inspired cute fun nails use mini strawberries, citrus slices, cherries, and watermelon turn a clear manicure into bright wearable art. Fruit looks most convincing when each piece has one recognizable detail—seeds, a rind, or a stem—rather than complicated shading. Spread the motifs at different angles and leave at least half of each nail uncovered.
How-To
Begin with a sheer nude base. Block in simple fruit shapes using bright gel colors, cure, then add seeds, stems, and rind lines with a tiny brush. Finish with a leveling top coat to smooth every painted detail.
Tips
Sketch placement with tiny color dots before building the shapes. Avoid putting the largest fruit near every cuticle, which makes the set feel bottom-heavy.
Items Used
- sheer nude polish
- bright art gels
- micro detail brush
- leveling top coat
6. Cloud and Star Sparkle
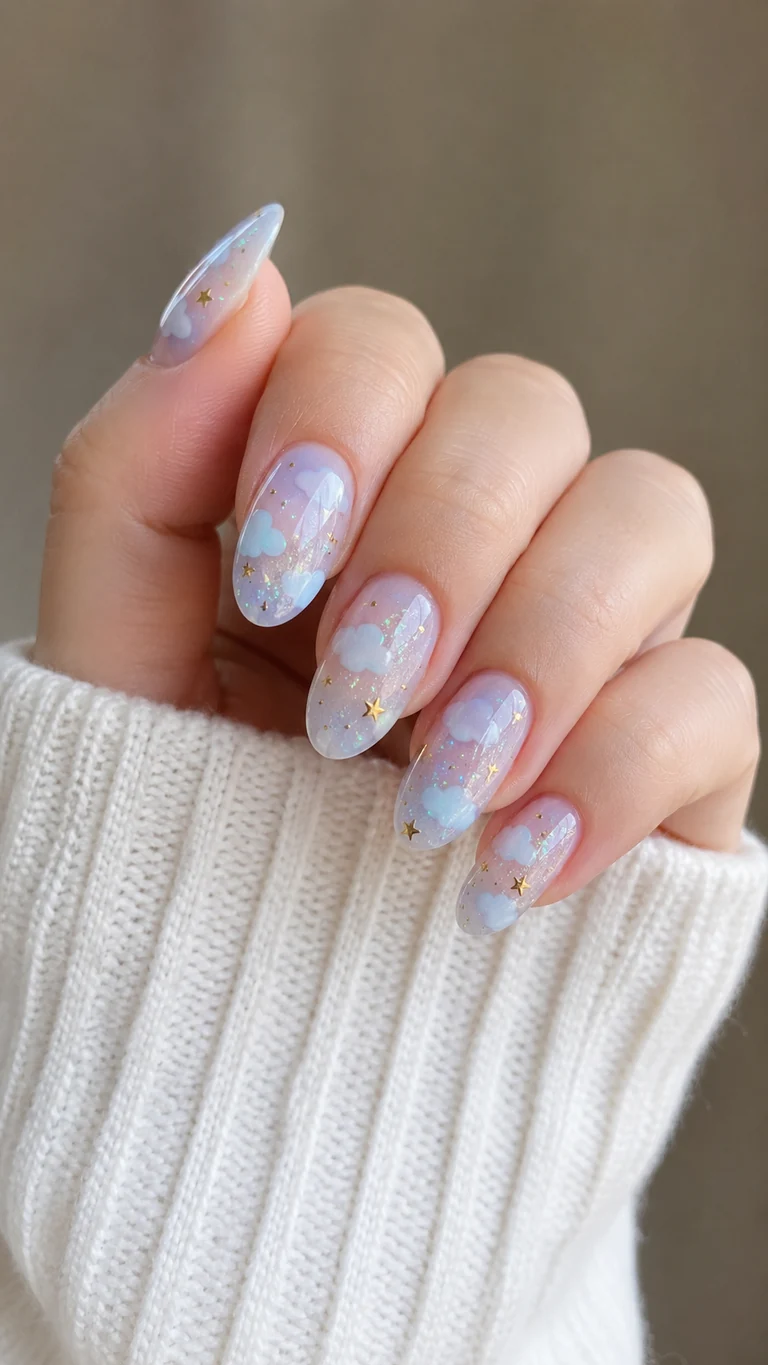
Dreamy cute fun nails combine soft blue clouds, gold stars, and iridescent flakes create a dreamy design that changes subtly in the light. A translucent lavender base adds atmosphere without competing with the details. Keep the glitter concentrated through the center of the nail and use only a few metallic stars so the finished set feels magical, not chunky.
How-To
Layer sheer lavender over a clear base. Tap on small iridescent flakes, paint rounded cloud shapes with diluted white gel, and place flat gold stars into a thin uncured layer. Encapsulate with builder or thick top coat.
Tips
Press every star flat before curing and cap the free edge. If a metal corner still catches, file the cured top coat lightly and reseal it.
Items Used
- sheer lavender polish
- iridescent flakes
- white art gel
- flat gold stars
7. Cute Frog Accents
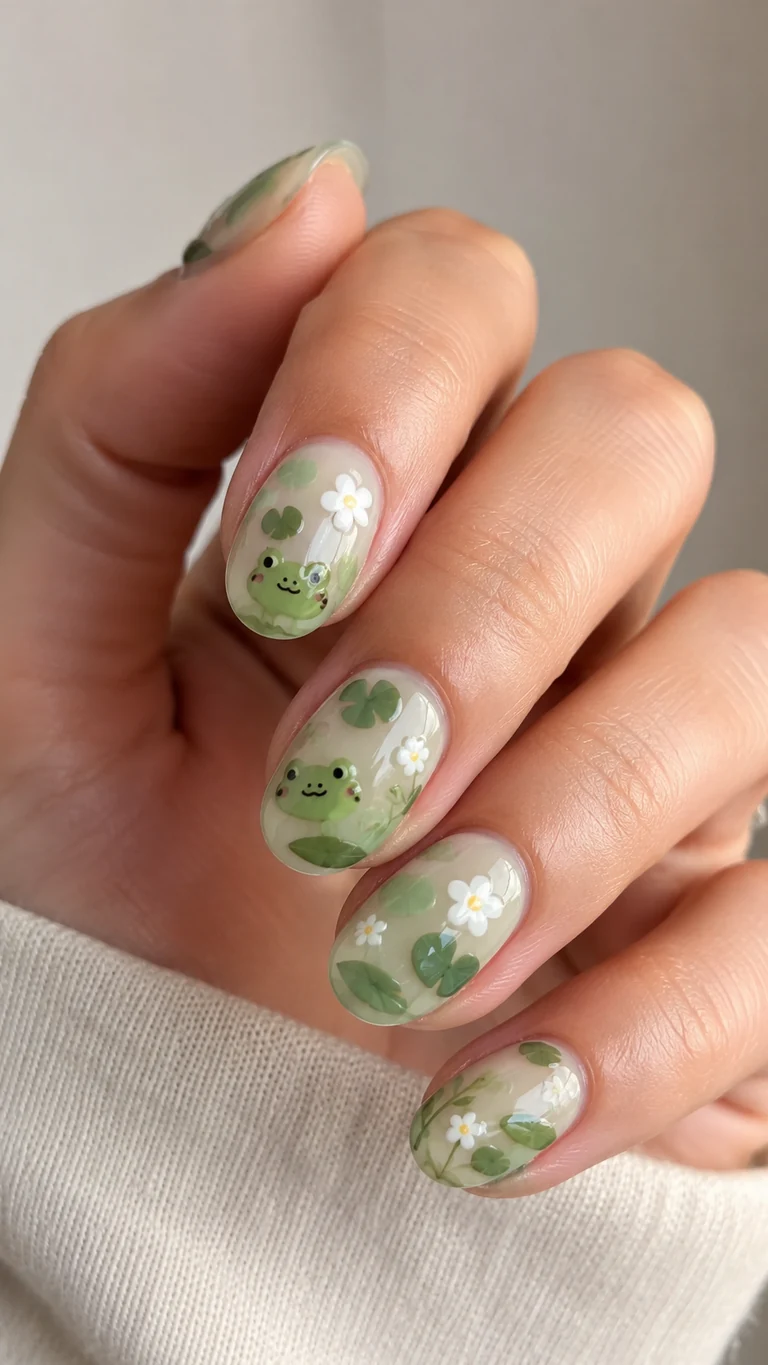
Garden-themed cute fun nails feature tiny green frogs, lily pads, and white flowers make a charming garden manicure with a soft storybook feel. Limiting frog faces to two accent nails keeps the characters readable and lets the botanical nails support the theme. A pale green wash under the artwork adds color while preserving the light, translucent finish.
How-To
Apply a milky base and a thin pale-green wash. Build frog heads from rounded green shapes, then add eyes, cheeks, and a small mouth. Paint simple lily pads and five-dot flowers on the remaining nails.
Tips
Use a needle-fine tool for facial features and cure the eyes before drawing the mouth. Place both eyes at the same height to keep the expression balanced.
Items Used
- milky base polish
- green gel paint
- micro dotting tool
- fine detail brush
8. Confetti Glitter Party
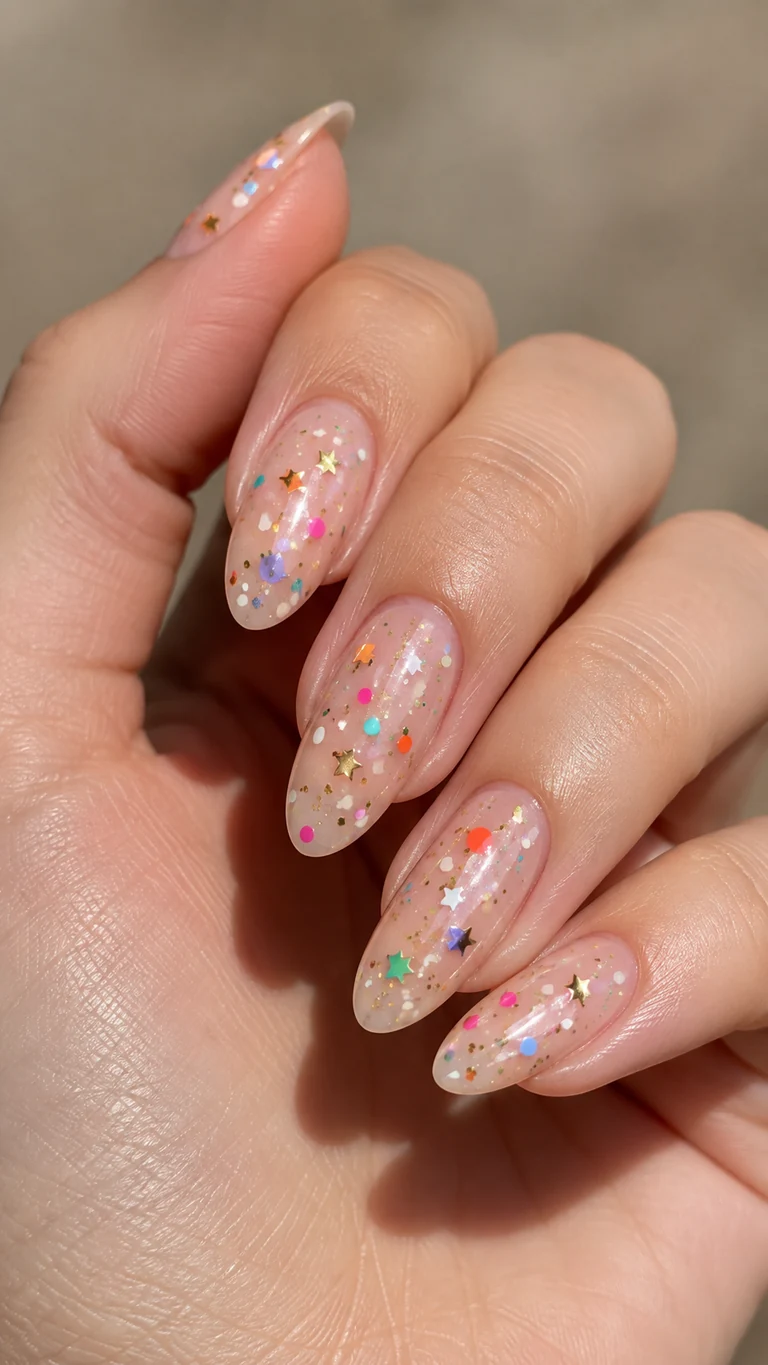
Colorful dots, metallic stars, and scattered gold flecks give sheer nude nails a festive finish that still feels light. The difference between confetti and clutter is scale: mix a few medium pieces with many tiny ones, and leave open areas near the sidewalls. A clear base allows the colors to look suspended.
How-To
Paint one layer of sheer nude. Place larger stars first, then fill selected gaps with tiny colored dots and foil flecks. Keep the decoration denser near the center and fade it toward the edges before encapsulating.
Tips
Turn reflective pieces face-up with a wax pencil. Do not brush top coat repeatedly over loose glitter; float one generous layer to avoid shifting the arrangement.
Items Used
- sheer nude polish
- confetti glitter
- wax pickup pencil
- thick glossy top coat
9. Candy Bear Charm Nails
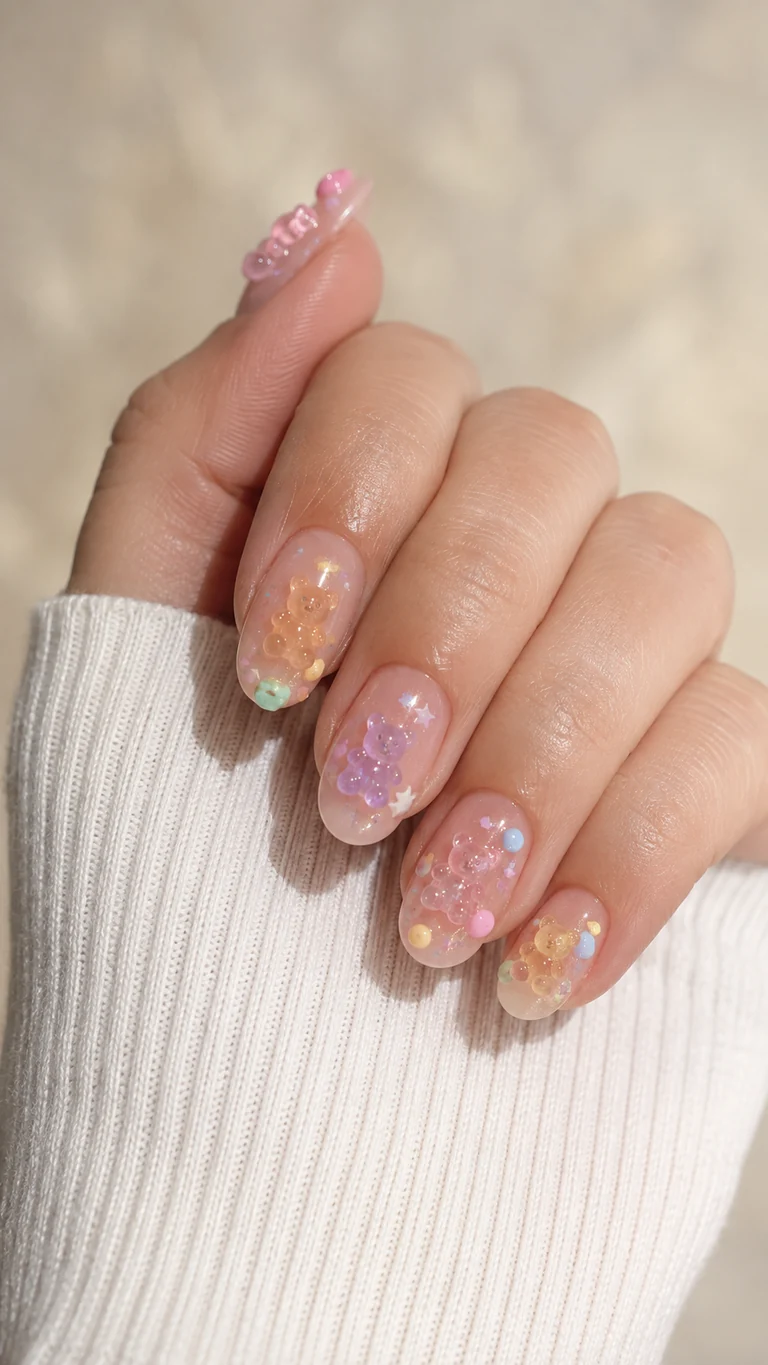
Translucent pastel bear charms create a glossy candy-shop effect, especially over a clear pink jelly base. Because 3D pieces add height, place them on flatter nail areas and keep the surrounding dots small. One charm per nail is enough; repeating peach, pink, and lavender across the set makes the playful design cohesive.
How-To
Apply a jelly-pink base and cure. Roughen the back of each charm, secure it with strong gem gel, and flash-cure while holding it level. Add tiny candy dots around the charm, then seal the perimeter without coating the entire piece.
Tips
Choose low-profile charms for everyday wear and avoid positioning them at the free edge. Check every side for gaps where hair could catch.
Items Used
- pink jelly polish
- original candy-bear charms
- gem gel
- wax pencil
10. Smiley Flower Power
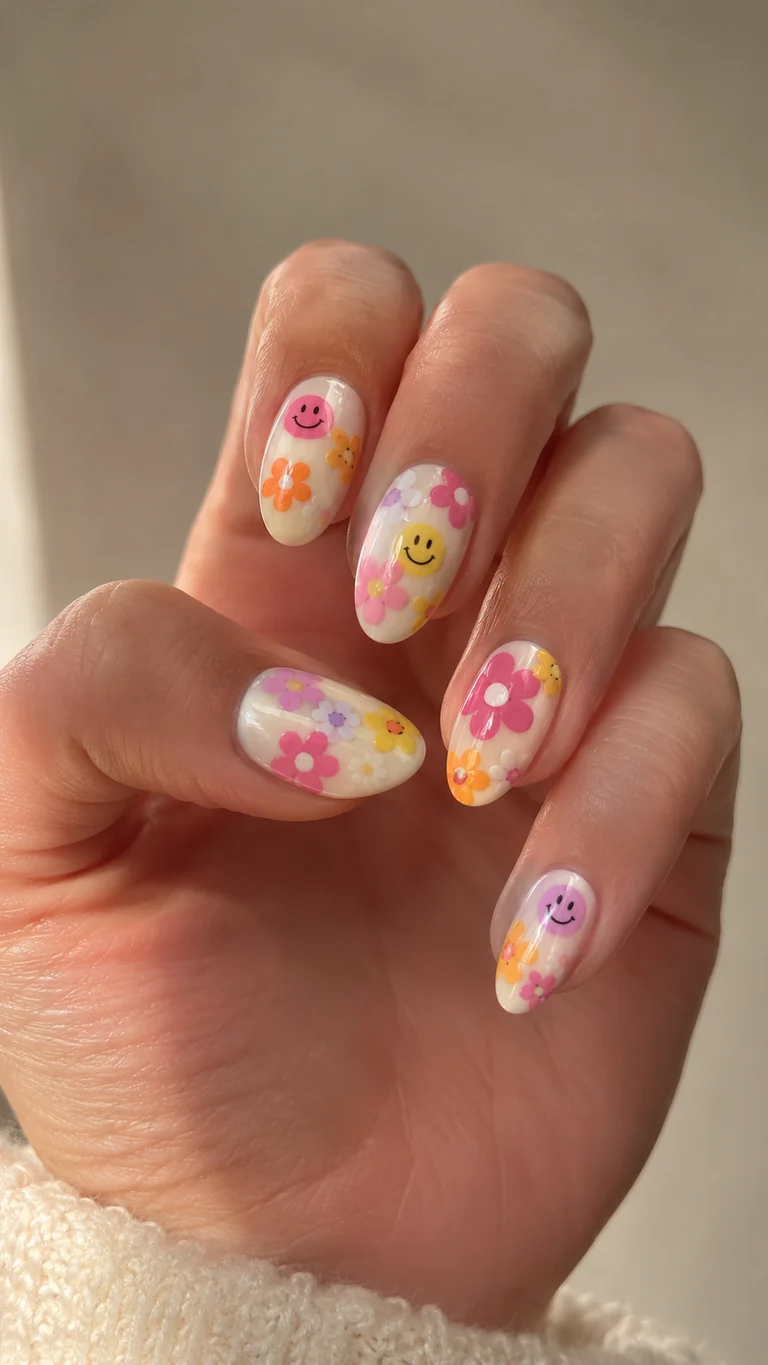
Retro smiley faces and colorful five-petal flowers bring instant energy to a creamy neutral manicure. Use the same rounded shape language for both motifs, and keep the palette to pink, orange, yellow, and lavender. Alternating busier nails with simpler floral nails creates a set that photographs beautifully without losing detail.
How-To
Paint a creamy base. Dot five petals around a contrasting center, then create larger colored circles for the faces. After curing, add two eyes and one curved smile with black gel and a very fine liner.
Tips
Practice the smile curve on a palette before touching the nail. Turn the client’s finger instead of bending your wrist to make each arc smooth.
Items Used
- cream gel polish
- bright art gels
- dotting tools
- ultra-fine liner
11. Rainbow Micro Tips
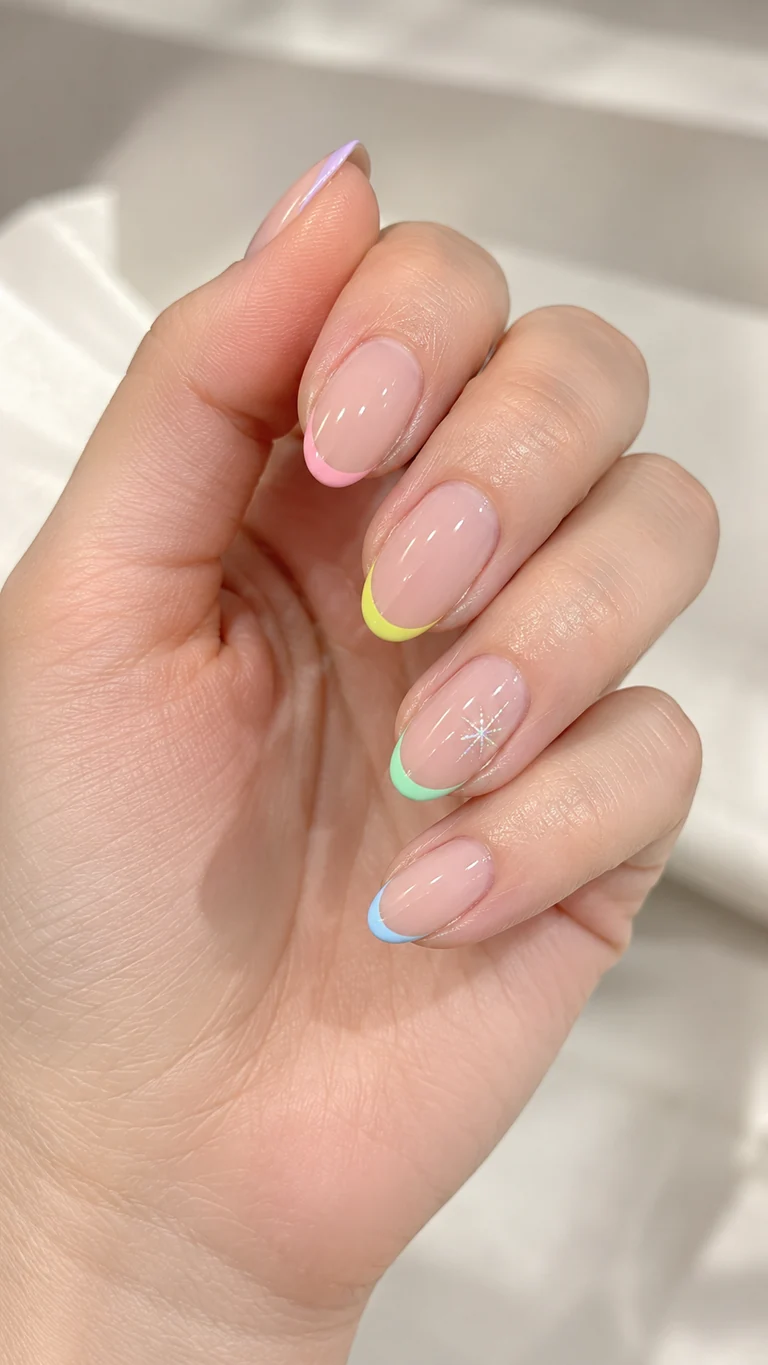
Fine pastel tips are a clean way to wear every color without covering the nail plate. Each finger gets a different shade, while the identical line thickness keeps the manicure coordinated. A single delicate sparkle can act as an accent, but the overall effect should remain crisp, glossy, and airy.
How-To
Perfect the sheer nude base first. Paint a very thin curved tip on each nail using pink, yellow, mint, blue, or lavender gel. Refine the smile lines with a cleanup brush, then add one tiny starburst accent.
Tips
Match the depth of every tip by checking the hand straight on. Short nails need especially narrow lines; a thick band can visually shorten the nail bed.
Items Used
- sheer nude base
- pastel liner gels
- short detail brush
- cleanup brush
12. Ladybug Garden Nails
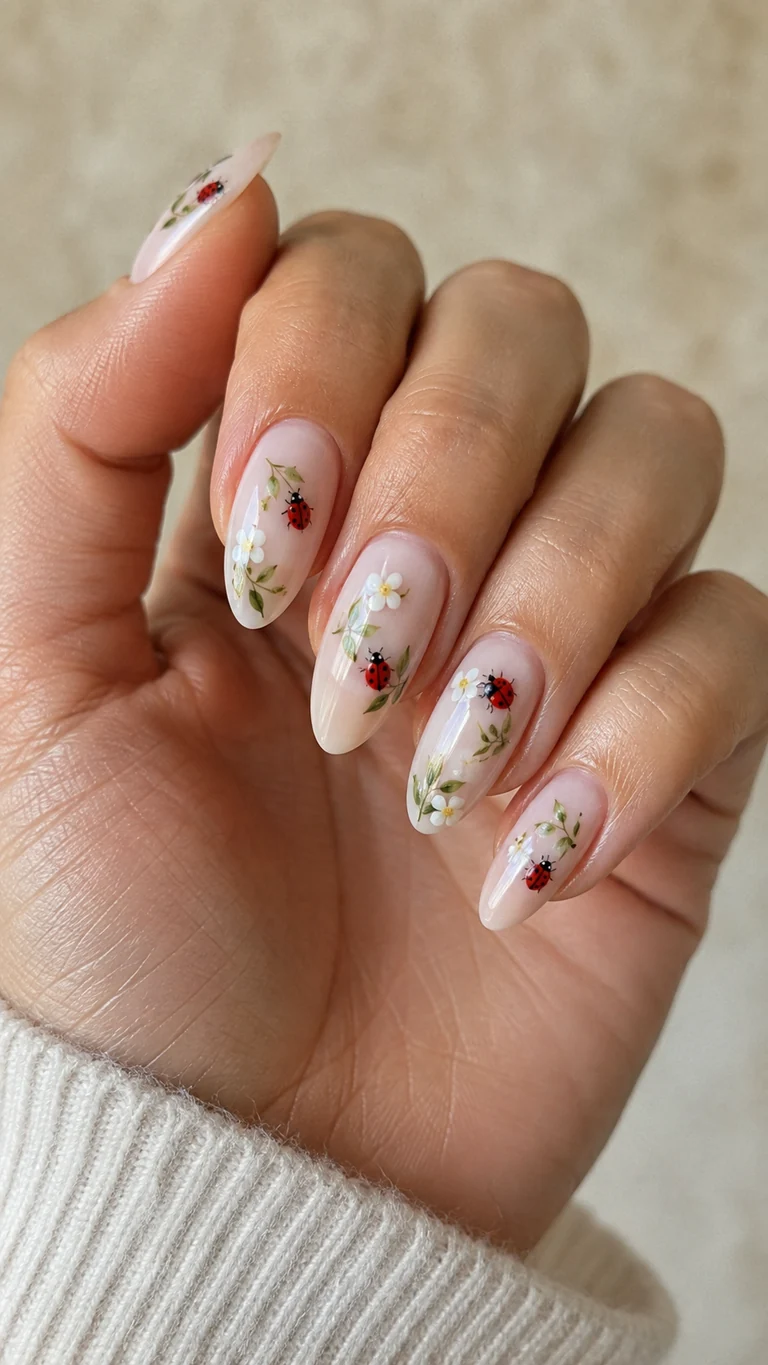
Miniature red ladybugs, fine green leaves, and tiny white blossoms create a delicate garden scene on a milky-pink base. The black dots give just enough contrast, so the leaves should remain muted and fine. Vary the direction of each ladybug to make the artwork feel natural rather than stamped.
How-To
Paint the base, then add small red ovals in planned positions. Cure before drawing a black head, center line, and dots. Finish with thin green stems, paired leaves, and a few simple white flowers.
Tips
Use the smallest dotting tool you own for the spots. Keep insects away from the sidewall so their details remain visible when the hand is relaxed.
Items Used
- milky pink polish
- red black and green art gel
- micro dotting tool
- liner brush
Frequently Asked Questions
How can I make detailed nail art last longer? Prep the nail plate carefully, keep color off the skin, cap the free edge, and use a leveling top coat that fully seals raised artwork.
Do cute designs work on short nails? Yes. Choose smaller motifs, leave more negative space, and use one accent per nail rather than shrinking a complicated full-nail pattern.
Can these ideas be done with regular polish? Most can. Work in thin layers, let every color dry fully, and use a dotting tool or fine brush; 3D charms are usually easier with gel adhesive.
Related Content
- Easy summer nail art ideas
- Simple colorful French-tip nails
- Short almond nail designs to try
Closing
The best cute fun nails look its best when the shaping is clean and every detail has room to breathe. Pick one motif you genuinely love, repeat a small color palette across the set, and adjust the scale to suit your nail length. Try your favorite design and share how you made it your own.