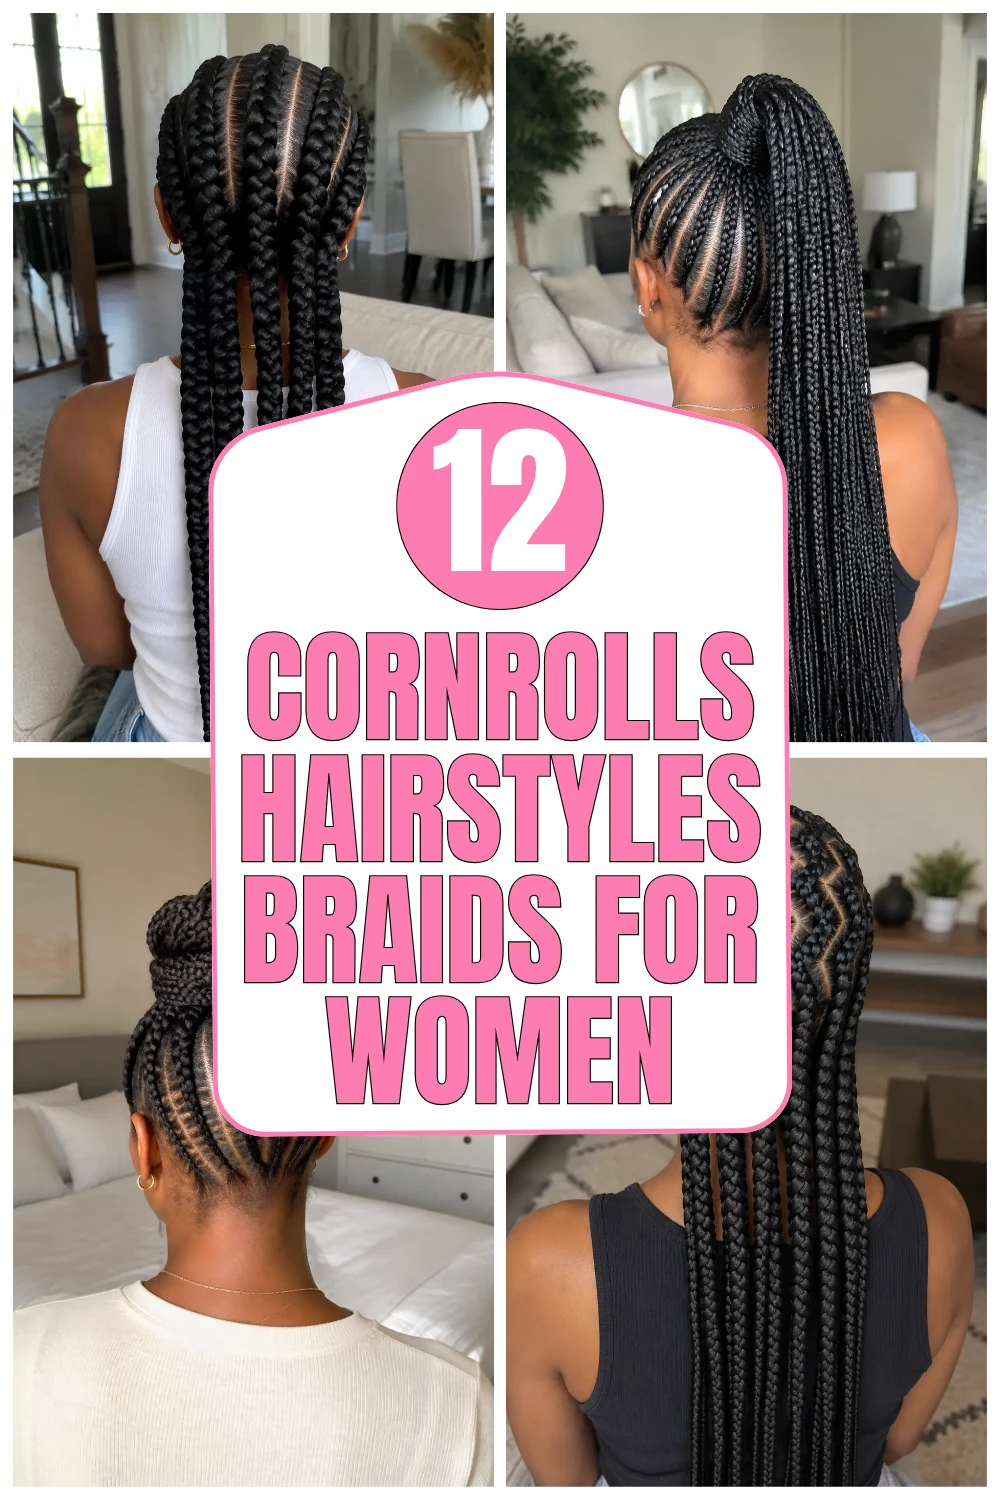
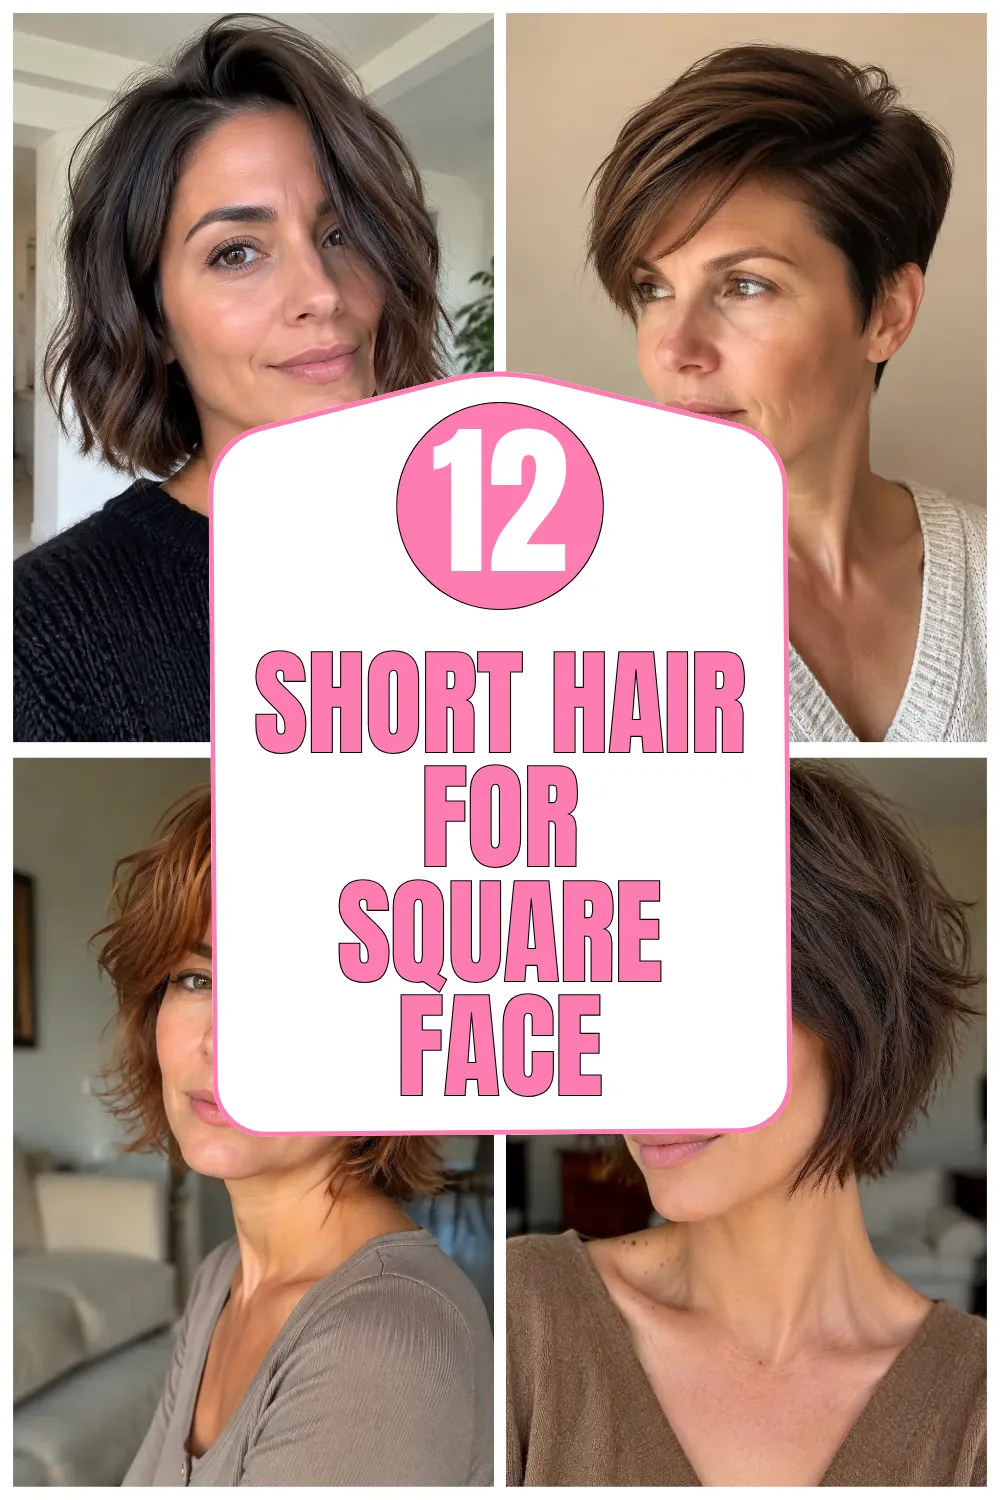
12 Braid Ponytail Hairstyles That Look Chic and Stylish
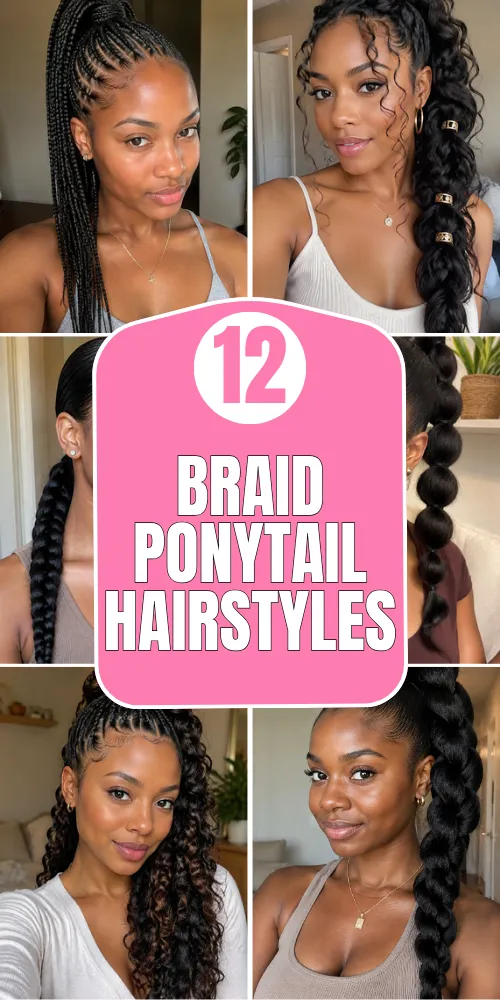
Braid Ponytail Hairstyles
Braid ponytail hairstyles combine the secure foundation of braiding with the movement and polish of a ponytail. The best versions are planned around your density, scalp comfort, and the finish you actually have time to maintain. These twelve ideas cover sleek, textured, protective, and accessorized options, with practical details that help each look stay neat without placing unnecessary tension on the hairline.
When choosing between braid ponytail hairstyles, decide where the ponytail should sit and how much weight your scalp comfortably handles. High placements look dramatic but need a balanced base; lower versions are often easier for long wear. Use lightweight extension hair, clean parting, and flexible hold instead of piling on heavy gel. The result should feel secure when you move your head, never painfully tight.
1. Sleek High Braided Ponytail
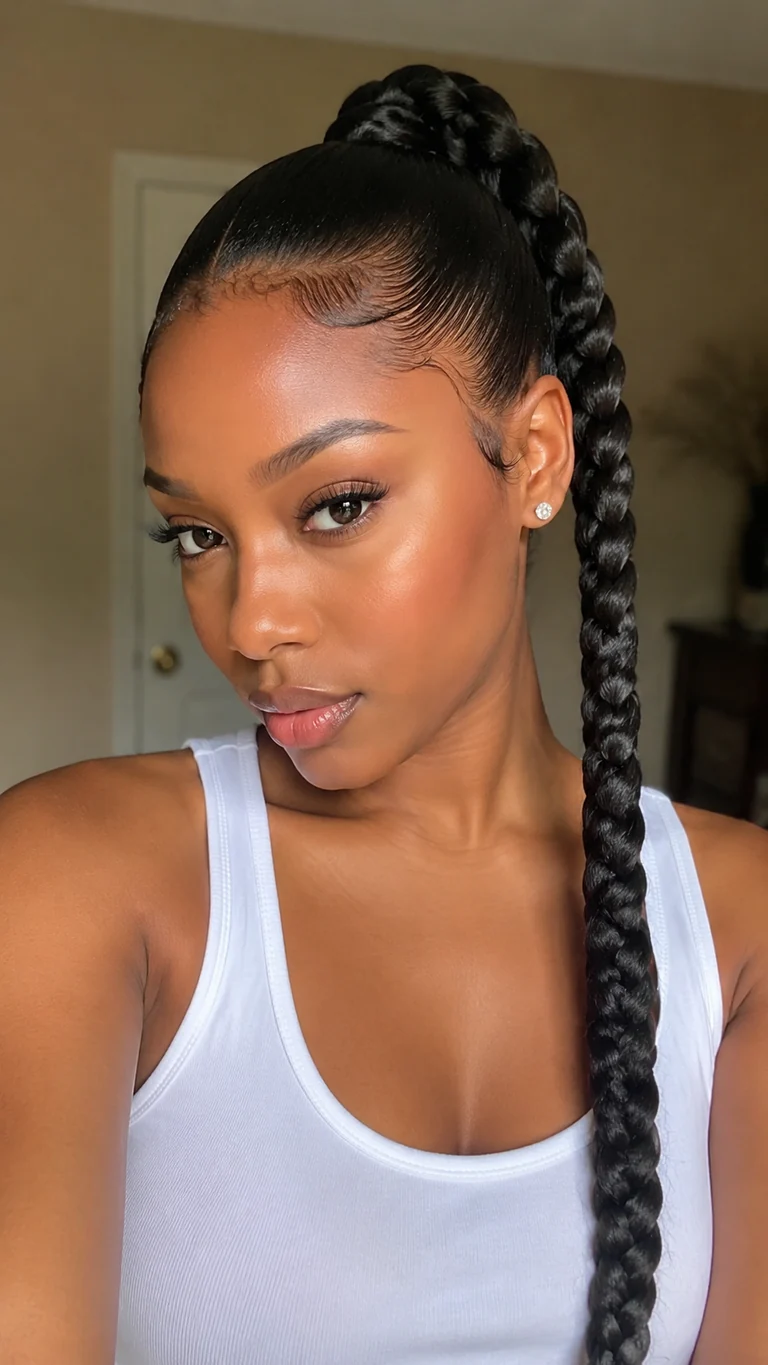
This polished high ponytail uses a smooth, controlled base and one clean three-strand braid for maximum impact. It works especially well on medium-to-thick hair because the base can support the braid without collapsing. Keep the hairline softly brushed rather than lacquered flat; a little natural movement makes the finish look modern and protects delicate edges.
How-To
Create a horizontal anchor braid or a secure elastic base at the crown. Add pre-stretched braiding hair in small amounts, divide evenly into three sections, and braid with consistent tension. Wrap one thin strand around the base to hide the elastic.
Tips
If the ponytail pulls backward or causes a headache, lower the placement and remove some extension hair. A lighter braid usually photographs better because it moves naturally.
Items Used
- rat-tail comb
- flexible-hold gel
- pre-stretched braiding hair
- small clear elastics
2. Playful Bubble-Braid Ponytail
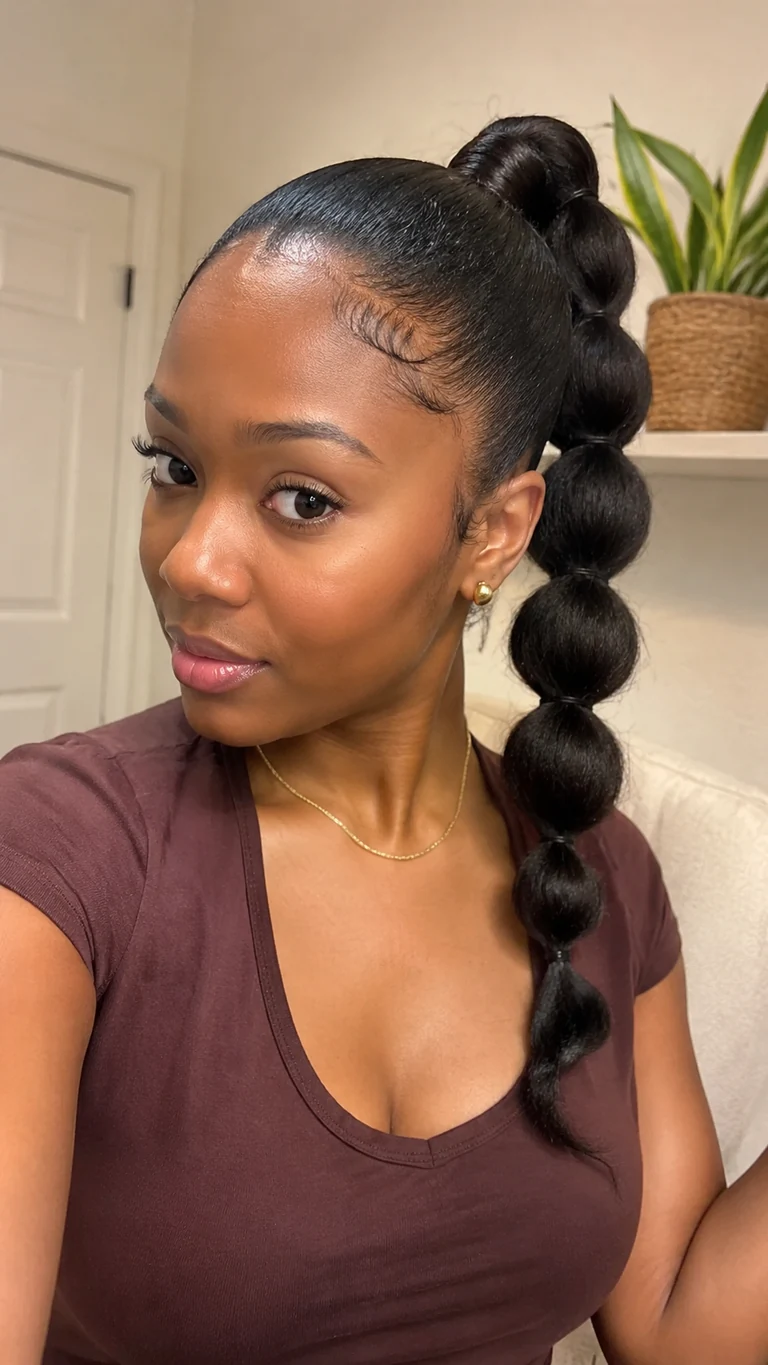
Among braid ponytail hairstyles, a bubble ponytail gives the silhouette of a braid without complicated technique. Even spacing is what makes it look intentional: narrow bubbles feel sporty while larger rounded sections read more glamorous. This version is useful when your hair is already in a ponytail and you want a quick transformation that still looks styled from every angle.
How-To
Smooth the ponytail, then place snag-free elastics two to three inches apart. Hold the elastic steady and gently pull each section outward until the bubble is rounded. Match the size of every bubble before moving to the next one.
Tips
Do not over-puff the top edge of each section; that creates uneven gaps. Add a drop of serum to your fingertips before shaping to control flyaways.
Items Used
- snag-free elastics
- boar-bristle brush
- light serum
- edge brush
3. Feed-In Cornrow Ponytail
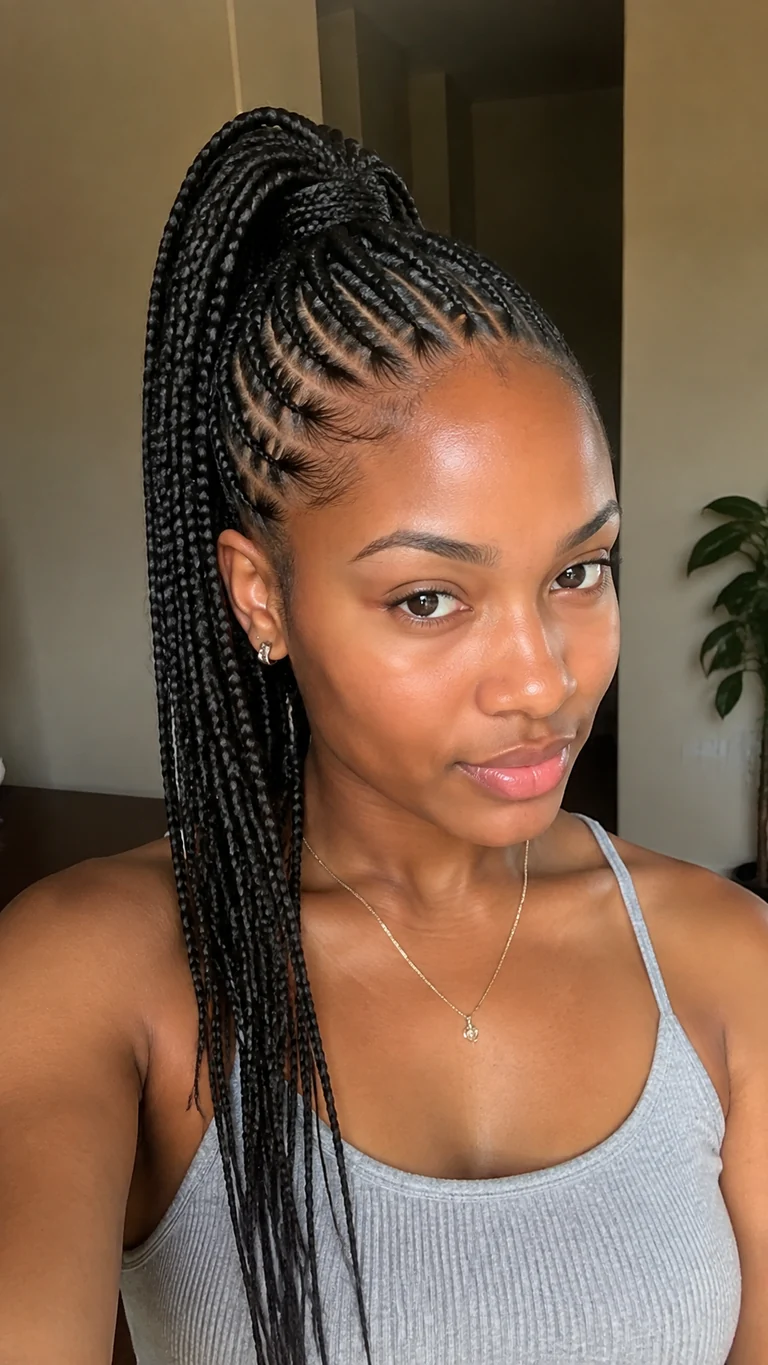
Protective braid ponytail hairstyles use slim feed-in cornrows to direct the eye toward the ponytail and distribute the style more evenly than one tightly gathered base. The cleanest result comes from keeping each row similar in width and adding extension hair gradually. Curved or diagonal parts can flatter the head shape, but the braids should still meet at one balanced point.
How-To
Map the rows before adding product. Begin each cornrow with natural hair, feed in tiny extension pieces after two or three stitches, and increase the amount gradually. Secure all braid ends together, then attach the ponytail length.
Tips
Ask for less tension around the temples and nape. White residue usually means too much gel, so use thin layers and wipe the parting comb between rows.
Items Used
- braiding gel
- rat-tail comb
- pre-stretched extensions
- mousse
4. Boho Braided Ponytail With Curls
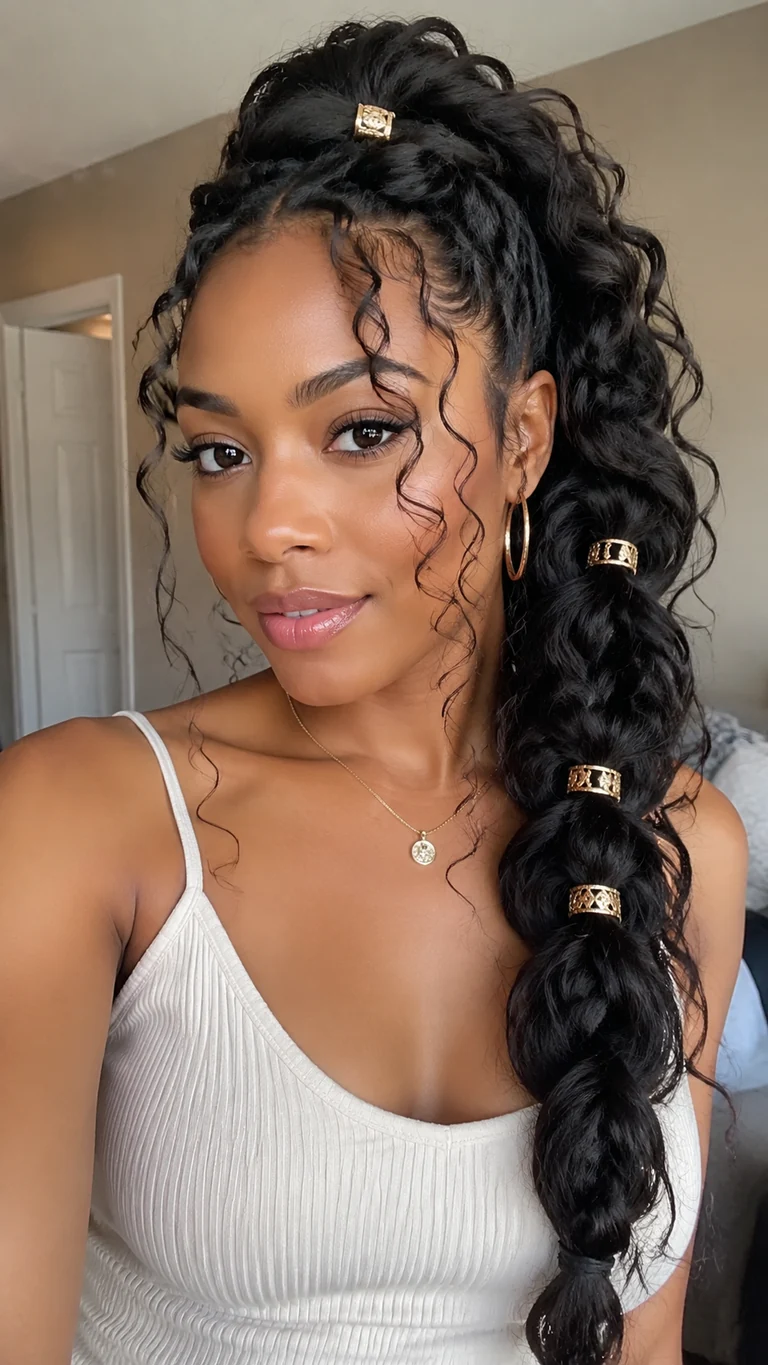
Romantic braid ponytail hairstyles use loose curls to soften the structure and give this ponytail an effortless boho finish. The key is controlling where the curls appear: a few face-framing tendrils and spaced curly pieces look luxurious, while too many can hide the braid. This style is beautiful for events but needs gentle nighttime separation to prevent tangling.
How-To
Build a secure ponytail, braid most of the length, and leave selected curly pieces outside the braid. Use pre-curled human-hair or heat-safe pieces, placing them at irregular intervals. Define only the visible curls with a small amount of mousse.
Tips
Separate curls with your fingers, not a fine comb. At night, loosely twist the curly pieces together and cover the braid with a long satin scarf.
Items Used
- pre-stretched braiding hair
- pre-curled pieces
- curl mousse
- satin scarf
5. Jumbo Rope-Braid Ponytail
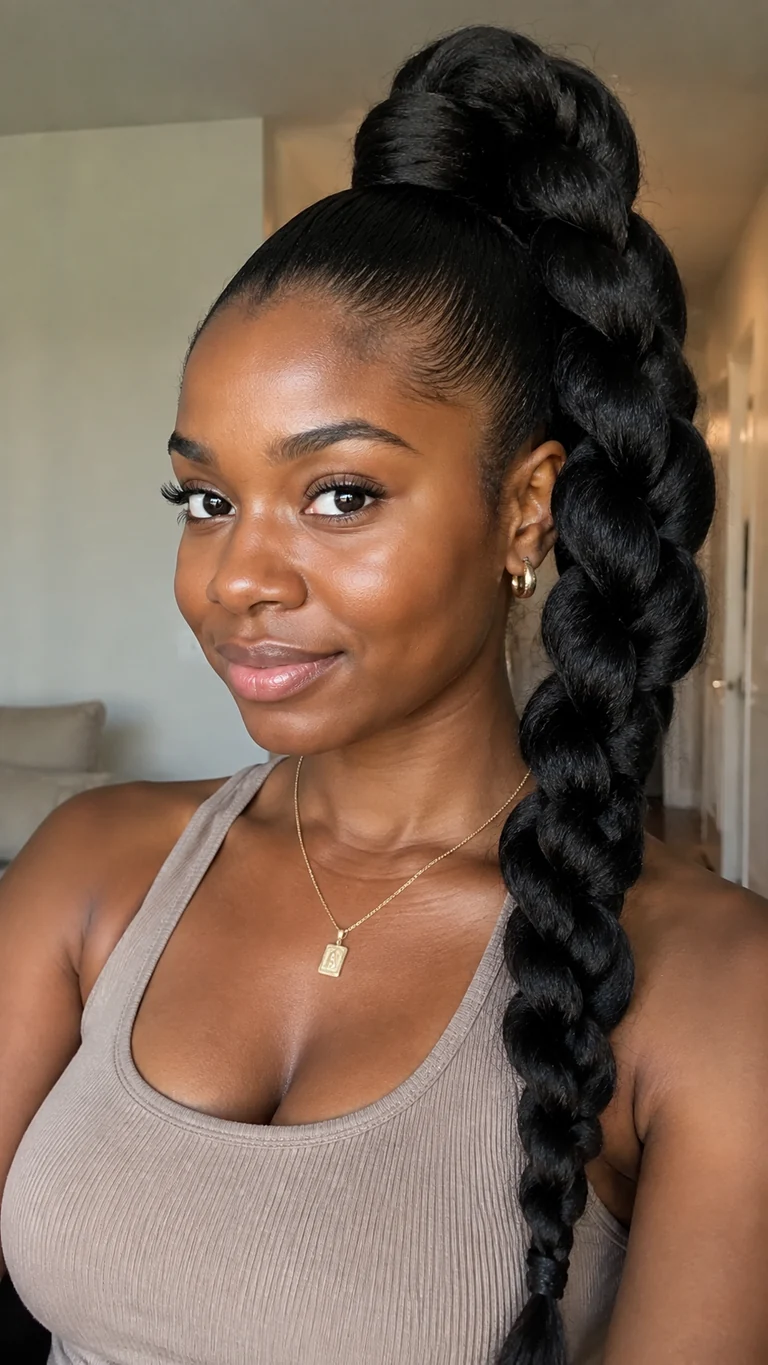
Bold braid ponytail hairstyles can use a jumbo rope braid to create bold shape with fewer steps than a traditional plait. Two even sections are twisted in the same direction and wrapped around each other in the opposite direction, which keeps the rope from unraveling. The style looks strongest when the base is sleek and the rope gradually tapers instead of ending abruptly.
How-To
Divide the ponytail into two equal sections. Twist both sections clockwise, then cross them counterclockwise all the way down. Add small amounts of extension hair near the top if needed, and secure the tapered end with a tiny elastic.
Tips
Maintain the same hand tension throughout. If the rope opens, the two sections were probably twisted in different directions or crossed the wrong way.
Items Used
- ponytail cuff
- braiding hair
- small elastic
- shine spray
6. Low Braided Ponytail
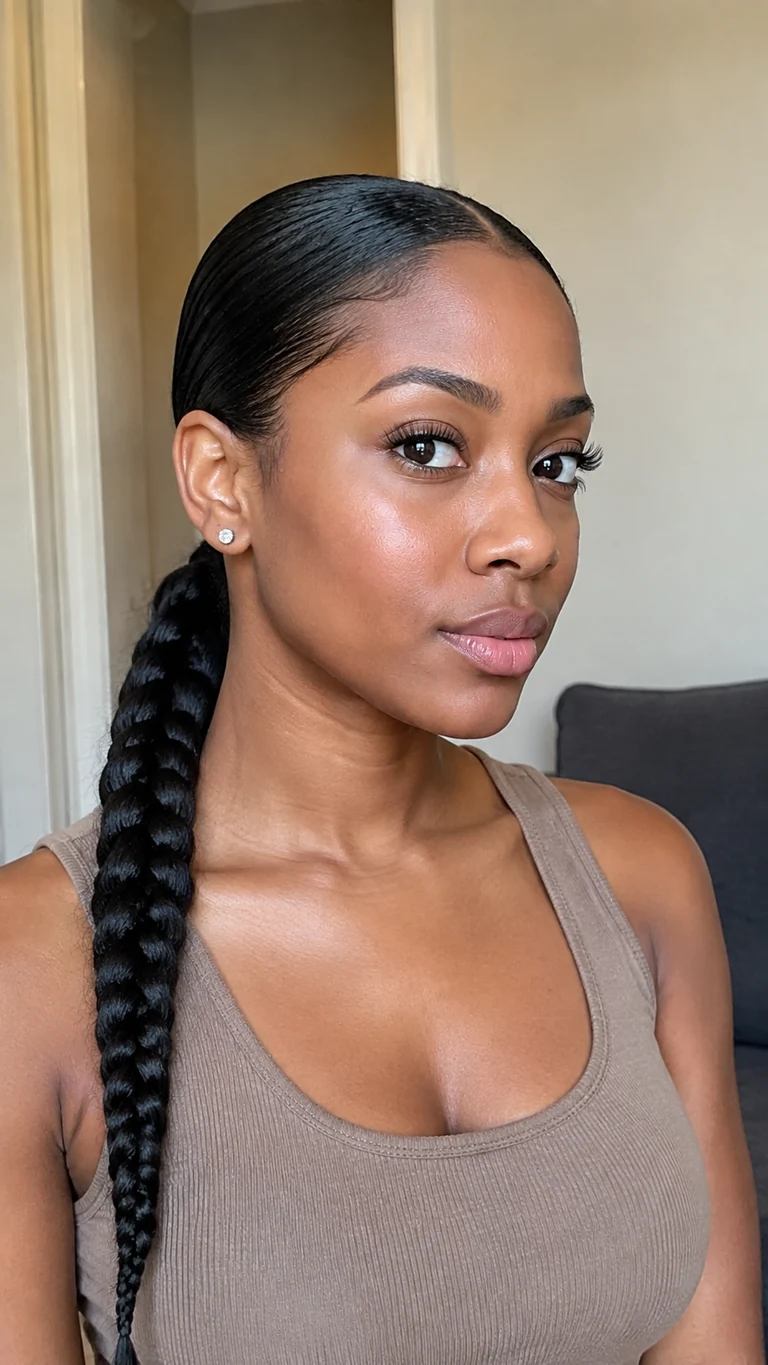
Low braid ponytail hairstyles are comfortable, refined, and easy to wear under hats or with structured outfits. Position it just above the nape rather than directly on the fragile hairline. A center part gives a sleek editorial feel, while a soft side part can add lift around the face and disguise uneven density.
How-To
Part and smooth the hair toward the nape with flexible gel. Secure a low ponytail without pulling the front sections backward too tightly. Braid natural or added hair, then gently stretch the braid sides for a fuller, softer shape.
Tips
Place the elastic slightly above the nape crease to prevent rubbing. Use a silk scrunchie under the wrapped base when comfort matters more than an ultra-flat finish.
Items Used
- tail comb
- flexible gel
- silk scrunchie
- braiding hair
7. Side-Swept Braided Ponytail
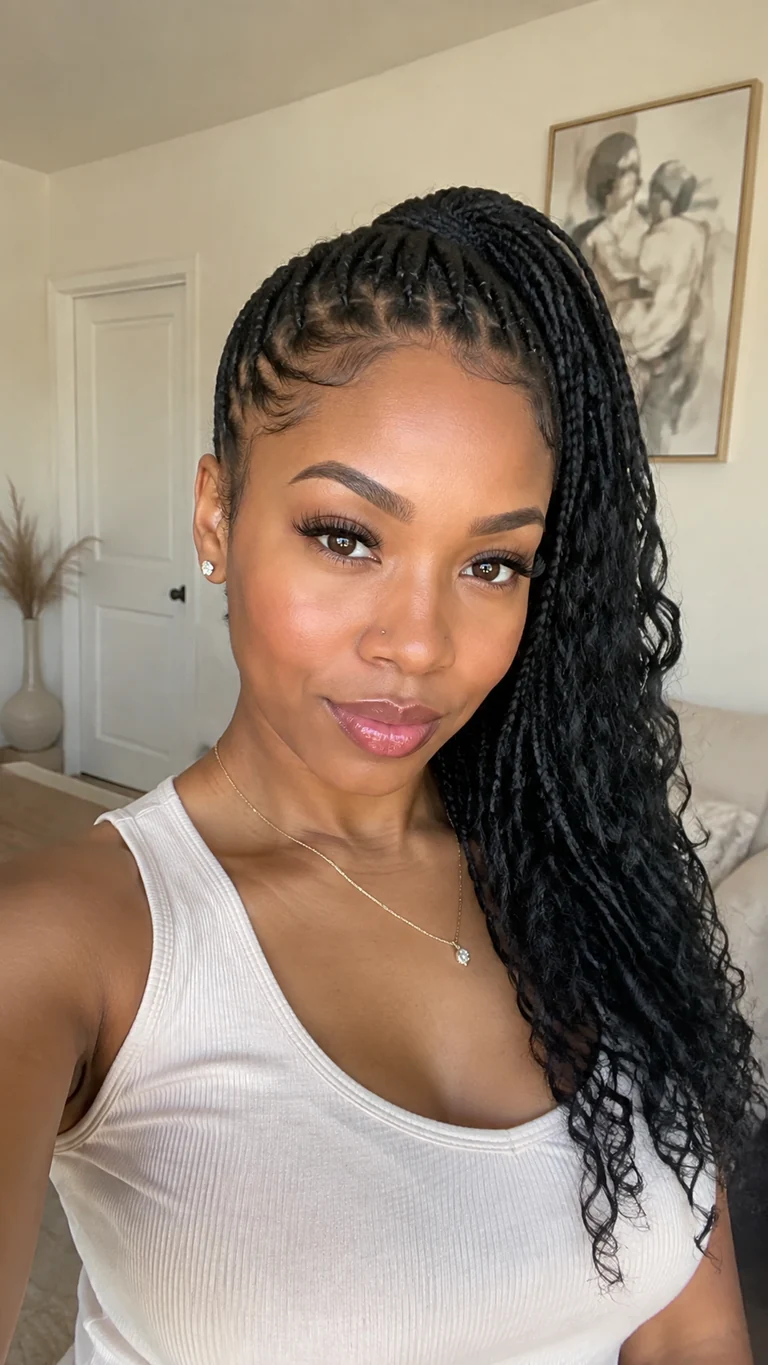
Side-swept braid ponytail hairstyles create an asymmetrical frame that highlights the neck and earrings. It is most flattering when the braid begins behind the ear instead of directly beside it, which keeps the base from looking bulky. A softly curved part helps the direction feel deliberate rather than accidentally off-center.
How-To
Choose the side, create a curved part, and brush the hair diagonally toward a point behind the ear. Secure the base, add extension hair if desired, and braid forward over the shoulder. Wrap the base neatly with one narrow strand.
Tips
Alternate the side you wear this style to avoid repeated tension in one area. Check the back with a mirror before finishing so the surface stays smooth.
Items Used
- paddle brush
- holding cream
- covered elastic
- finishing pins
8. Stitch-Braid High Ponytail
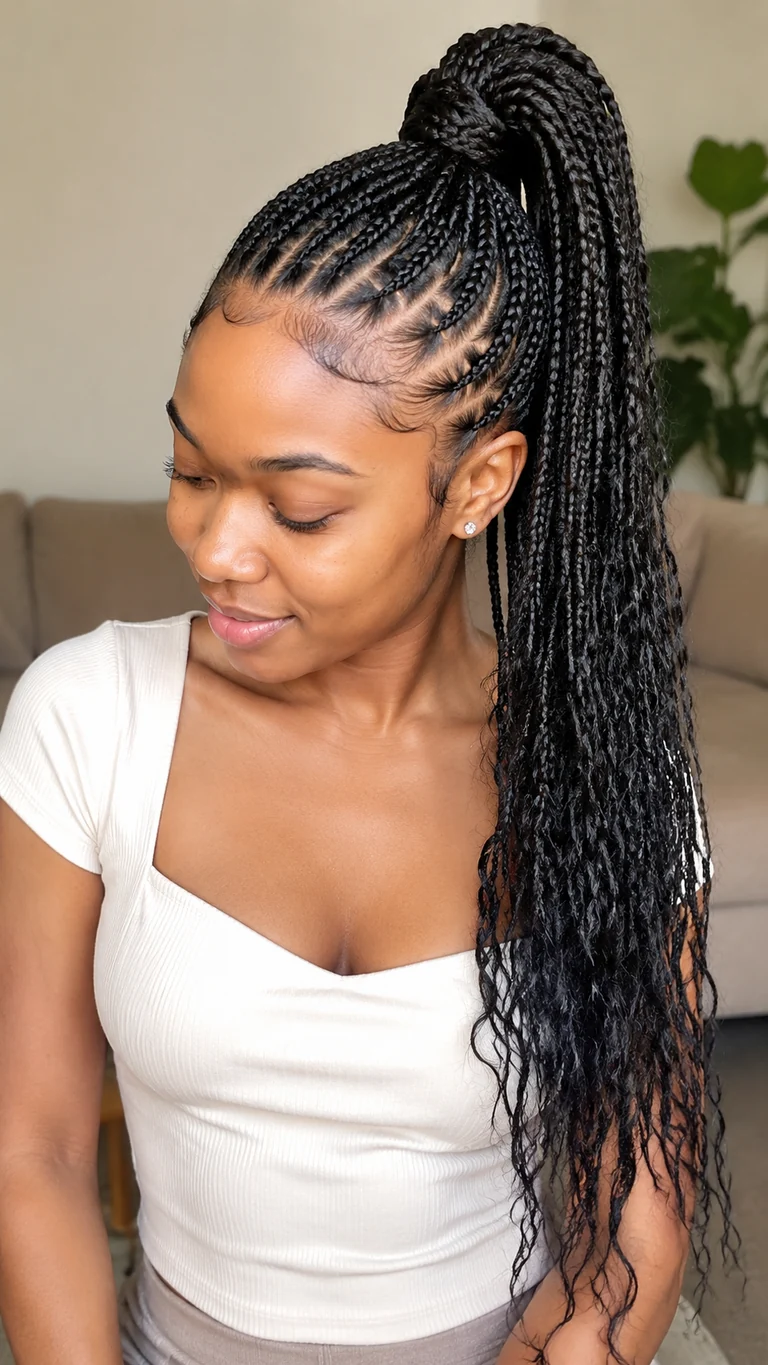
Defined stitch braids add graphic detail before flowing into a high ponytail. The visible horizontal sections should be crisp but not cut too deeply into the scalp. This look benefits from a stylist who controls tension with finger placement rather than pulling hard, especially where the braids change direction near the crown.
How-To
Section the head into even wedges meeting at the crown. Form each stitch with the tail of a comb or fingertips, feeding in hair gradually as you braid upward. Join the ends, then attach and braid the ponytail length.
Tips
A clean stitch needs product control, not extra tightness. Use mousse at the finish to settle short hairs and tie the style down for ten minutes.
Items Used
- precision comb
- braiding gel
- pre-stretched hair
- setting mousse
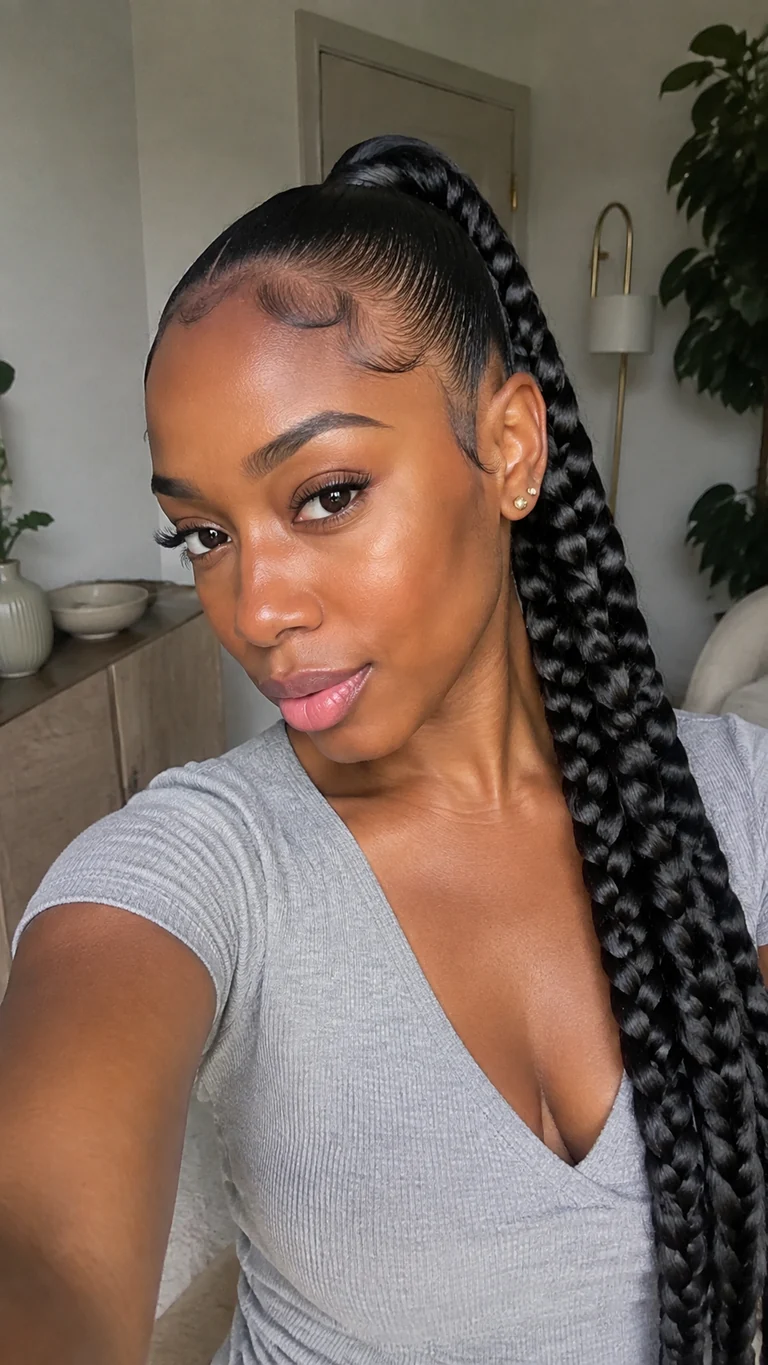
9. Wrapped-Base Braided Ponytail
Wrapping the ponytail base instantly hides elastics and attachment points, giving a simple braid a professional finish. The wrap should be slim and flat; a thick coil can make the base heavy and push the ponytail away from the head. This detail works on high, mid, or low placements and requires only one small section of hair.
How-To
Reserve a thin strand before braiding. Complete the ponytail, smooth the reserved piece with gel, and wrap it flat around the base two or three times. Pin the end underneath, pointing the pin toward the center of the ponytail.
Tips
Use a pin close to your hair color and avoid winding the wrap too tightly. A dab of styling wax keeps short ends hidden without visible flakes.
Items Used
- styling wax
- bobby pins
- covered elastic
- shine mist
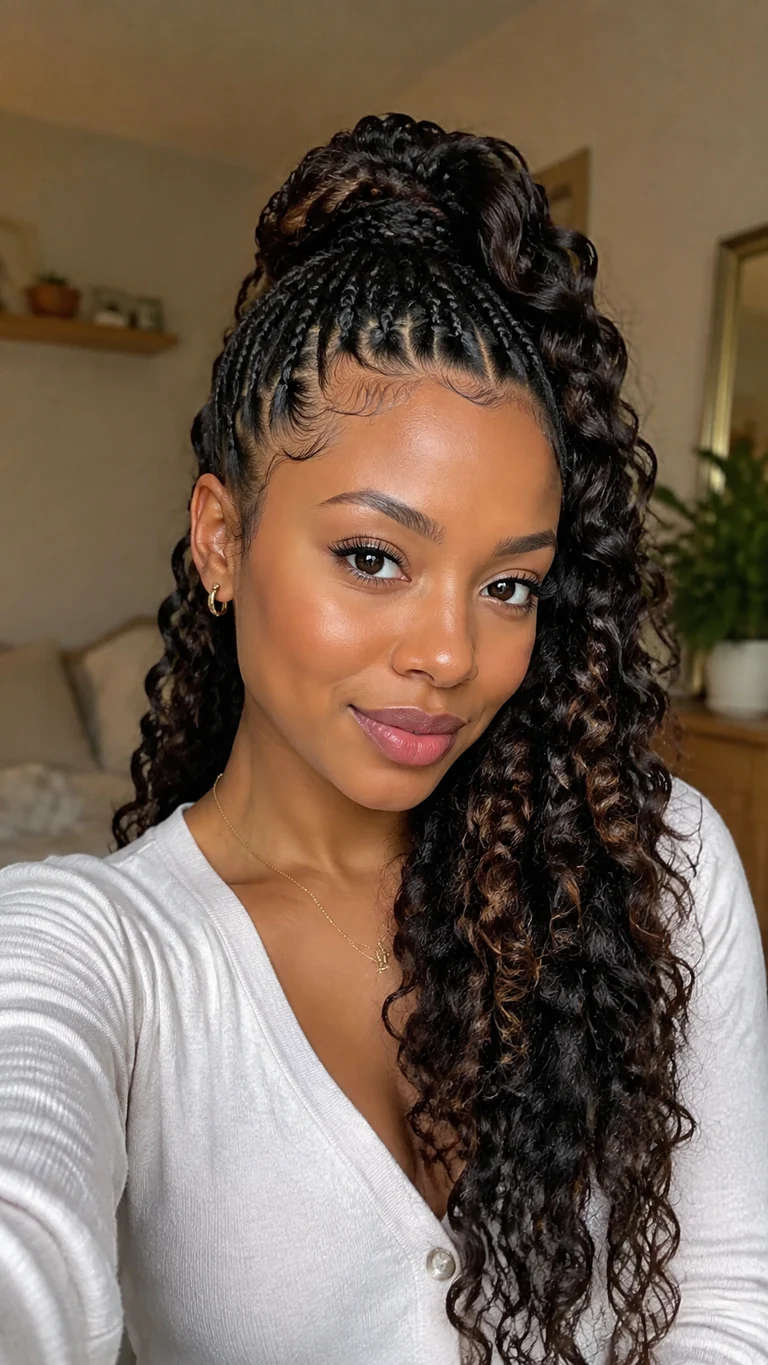
10. Goddess Braid Ponytail With Curls
This goddess version balances a substantial braid with soft spirals for a romantic, dimensional finish. Keep the braid smooth enough to contrast with the curls, and place the curly pieces mainly through the lower half so the base remains tidy. Lightweight curls reduce tangling and prevent the ponytail from feeling overly dense.
How-To
Secure and braid the ponytail while leaving selected curly strands free. Crochet or feed curls into a few braid stitches, then trim any uneven ends. Refresh the spirals with water-based mousse and coil them around a finger.
Tips
Avoid oil-heavy products on synthetic curls because they attract lint. Snip knots individually instead of pulling them through the curl pattern.
Items Used
- braiding extensions
- curly extension pieces
- crochet needle
- water-based mousse
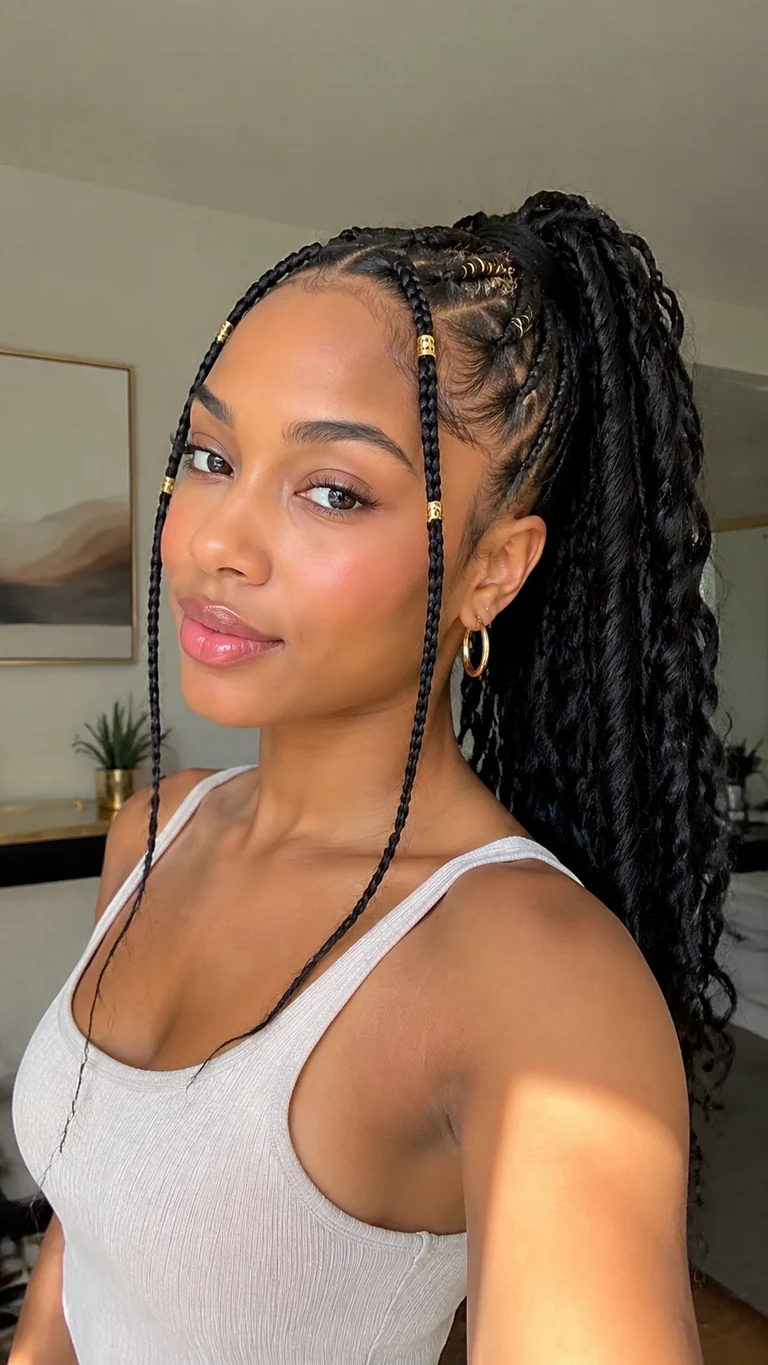
11. Face-Framing Braids With Textured Ponytail
Two fine braids at the front create softness and make a textured ponytail feel styled without slicking every strand flat. The front braids should begin behind a small buffer of baby hair, protecting the most delicate perimeter. Gold cuffs add focus, but spacing them sparingly keeps the result elevated rather than crowded.
How-To
Set aside two narrow front sections, then gather the remaining hair into a mid-height textured ponytail. Braid the front pieces with light tension and add cuffs near the lower third. Fluff the ponytail with fingers for balanced volume.
Tips
Keep metal cuffs away from the roots so they do not snag. If your hair is fine, use only lightweight hollow cuffs and remove them before sleeping.
Items Used
- curl cream
- soft ponytail holder
- mini elastics
- lightweight braid cuffs
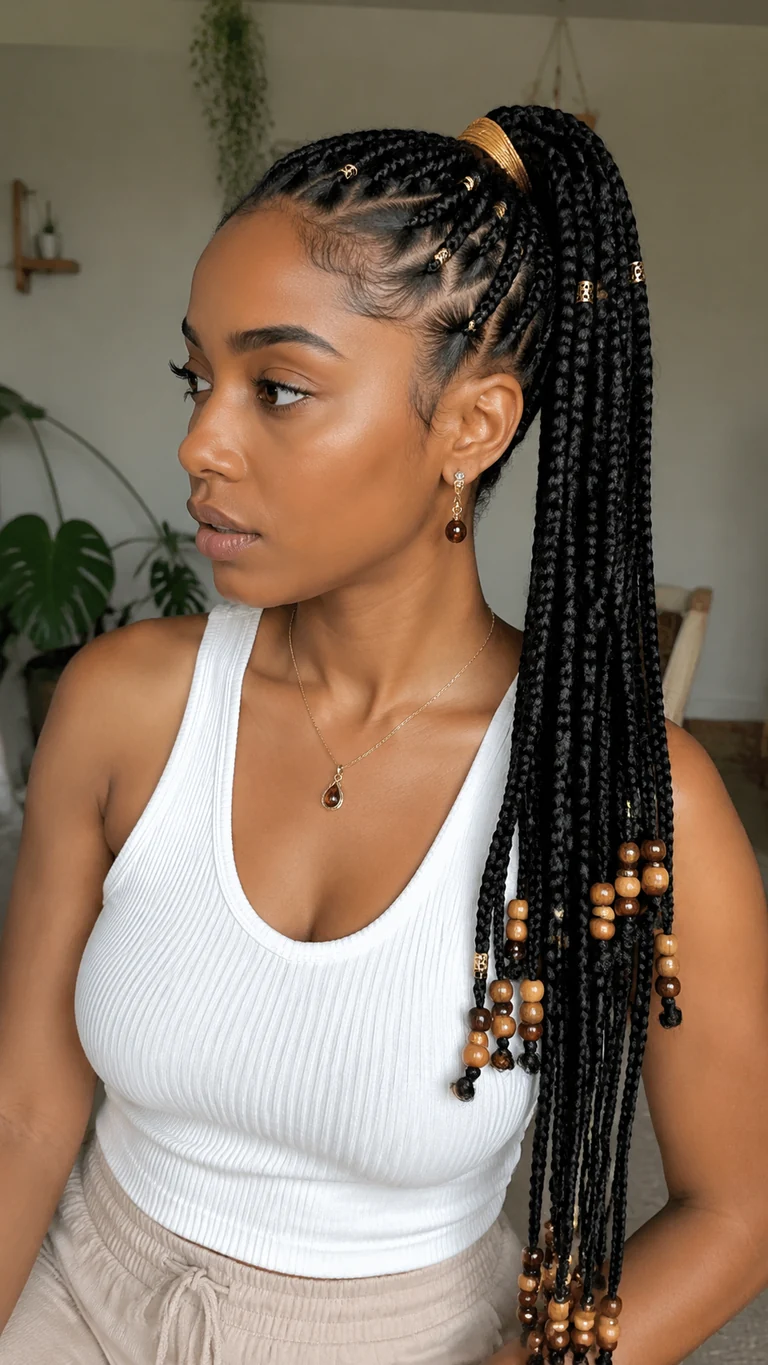
12. Beaded Braided Ponytail
Beads and cuffs turn a classic braided ponytail into a personalized statement. The secret is choosing a clear rhythm—such as one accent every few inches—rather than decorating every section. Concentrating accessories toward the lower half also keeps weight away from the scalp and allows the braid to swing naturally.
How-To
Finish the braid first, then plan accessory placement on a table. Slide cuffs onto firm braid sections and use a beader tool for beads at the ends. Secure each beaded section with a small elastic before trimming any excess.
Tips
Test the total weight before adding every piece. Smooth any sharp cuff edges with pliers and remove accessories at night to prevent snagging.
Items Used
- braid cuffs
- lightweight beads
- beader tool
- mini elastics
Frequently Asked Questions
How long can a braided ponytail stay in? Most ponytail styles look best for one to two weeks. Loosen or remove the style sooner if you notice soreness, bumps, persistent itching, or thinning around the edges.
How do I prevent a heavy braid from pulling? Use less extension hair, place the base slightly lower, and create an anchored braided foundation instead of relying on one tight elastic.
Can I do these styles on short hair? Yes. Short hair can be molded into a secure base, then combined with a drawstring, wrap-around, or feed-in extension ponytail.
Related Content
- Protective hairstyles for busy weeks
- Easy braided hairstyles for natural hair
- Sleek ponytail ideas for every occasion
Closing
The best braid ponytail hairstyles should look polished and still feel comfortable hours later. Start with the placement and weight your hair can support, then choose the braid detail that matches your routine. Try one of these ideas, make it your own with texture or accessories, and share the finished look with us.