
12 Cute Card for Boyfriend Ideas He’ll Love

Card for Boyfriend Ideas
Sometimes, a small handmade card can say more than an expensive gift. Whether you want to surprise your boyfriend on his birthday, celebrate an anniversary, or simply remind him how much he means to you, creating a card yourself gives you the chance to add personal details that store-bought cards rarely offer. You don’t need professional lettering skills or expensive craft supplies, either.
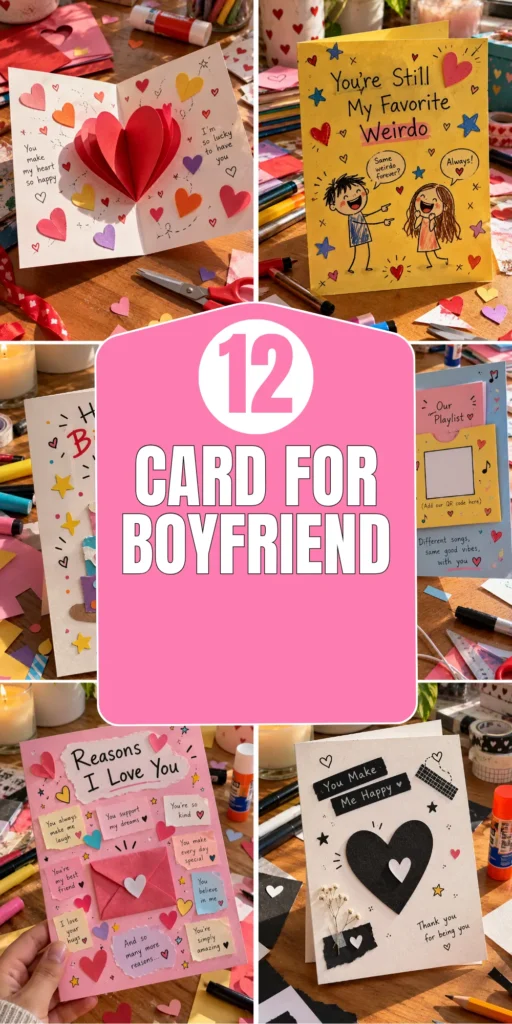
With cardstock, colorful pens, photographs, and a little creativity, you can make something that reflects your relationship and his personality. These 12 card for boyfriend ideas range from cute and romantic to funny and creative, with simple instructions, affordable materials, and practical tips to help your handmade card look thoughtful without needing to be perfect.
1. Handmade Heart Pop-Up Card
Description
A heart pop-up card reveals a three-dimensional heart when opened, making an ordinary greeting feel like a little surprise. It’s ideal for anniversaries, Valentine’s Day, or an unexpected romantic gesture.

What It Is
A folded greeting card with a paper heart attached inside so it rises when the card opens.
Supplies and Budget
- Cardstock: $2–$4
- Red or pink construction paper: $1–$3
- Scissors and glue stick: $2–$4
- Colored pens: $2–$4
Estimated budget: $7–$15.
Tutorial how to make:
- Fold a piece of cardstock in half to create the card base.
- Cut out a symmetrical paper heart by folding colored paper in half before cutting.
- Make two short parallel cuts along the fold of the card’s inner section, then gently push the resulting tab inward.
- Attach the heart to the tab with a small amount of glue.
- Open and close the card slowly to check that the heart rises and folds flat correctly.
DIY Tip
Test the pop-up mechanism with scrap paper first. Too much glue can stiffen the moving section, while a heart that is too large may prevent the card from closing neatly.
2. A Cute Reasons-I-Love-You Card
Description
This card turns your feelings into a collection of specific, personal messages. Instead of writing one long paragraph, you can list the little things you love about him, from his sense of humor to the way he supports you.
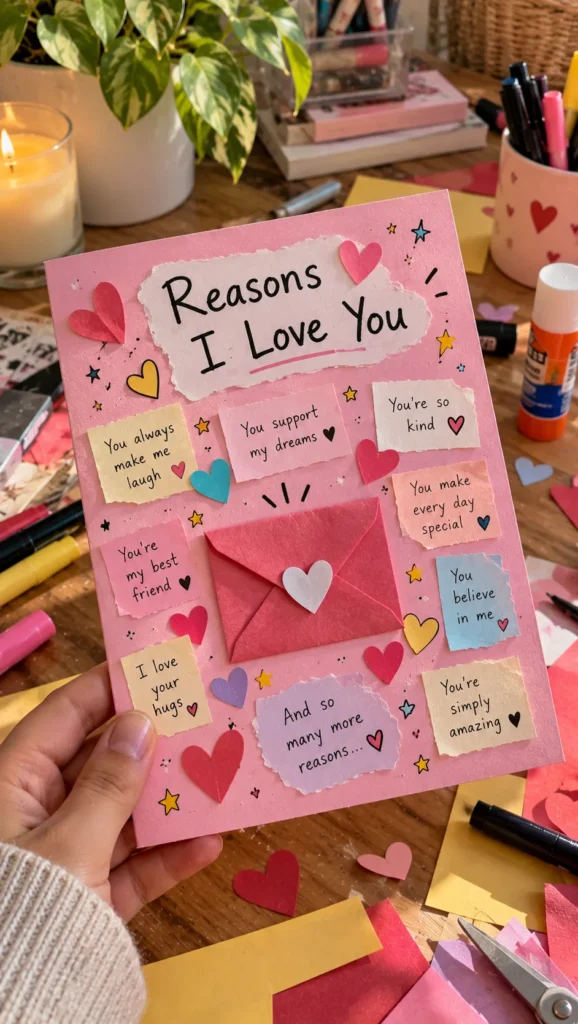
What It Is
A handmade card featuring several short appreciation messages arranged around hearts, doodles, or colorful borders.
Supplies and Budget
- Blank cardstock: $2–$4
- Fine-tip pens: $2–$4
- Colored markers: $2–$4
- Stickers or decorative paper: $1–$3
Estimated budget: $7–$15.
Tutorial how to make:
- Fold the cardstock and lightly sketch the layout in pencil.
- Write five to ten specific reasons you appreciate him.
- Add small illustrations or colored shapes beside each message.
- Trace the lettering with a pen and erase visible pencil marks after the ink dries.
- Write one final personal sentence inside the card.
DIY Tip
Use details only he would recognize. A reference to a funny conversation or a small thing he does for you feels more genuine than filling the card with generic romantic phrases.
3. Mini Photo Collage Card
Description
A photo collage card combines favorite pictures with short captions to celebrate your shared memories. It works especially well when you want a personal gift but prefer photographs and small details to elaborate decorations.
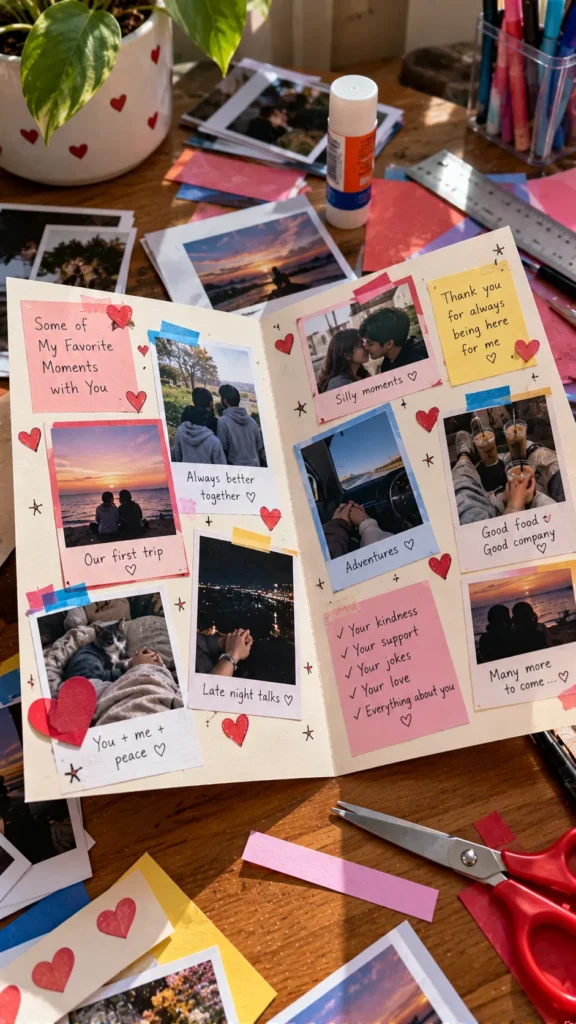
What It Is
A folded card featuring a few printed photographs arranged with handwritten captions, dates, and small decorative accents.
Supplies and Budget
- Cardstock: $2–$4
- Printed photographs: $2–$6
- Glue stick or photo corners: $2–$4
- Pens and decorative paper: $2–$4
Estimated budget: $8–$18.
Tutorial how to make:
- Choose three to five photographs that fit the card’s size.
- Arrange them on the front before attaching anything.
- Trim the pictures with a ruler and scissors for clean edges.
- Attach them using photo-safe adhesive or photo corners.
- Add dates, tiny captions, and a handwritten message inside.
DIY Tip
Print small photographs rather than squeezing too many large ones onto the card. Leave a little empty space around each image so the memories remain easy to see.
4. Funny Inside-Joke Card
Description
A funny card built around a shared joke can feel more personal than a traditional romantic message. Use a familiar phrase, a silly drawing, or a memorable moment that always makes you both laugh.
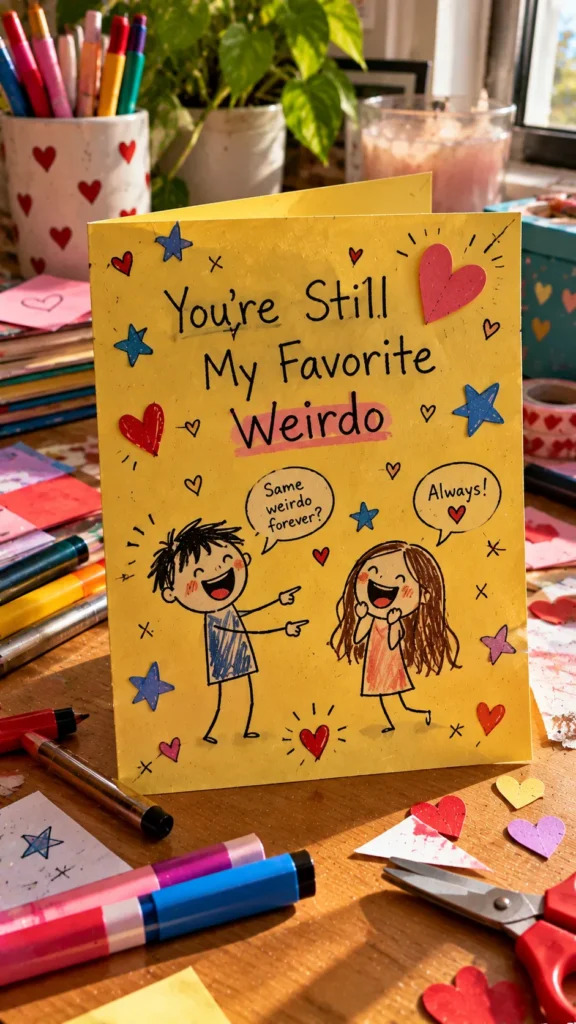
What It Is
A handmade greeting card featuring an inside joke, humorous illustration, or playful message connected to your relationship.
Supplies and Budget
- Cardstock: $2–$4
- Markers or colored pens: $2–$5
- Pencil and eraser: $1–$2
- Stickers, optional: $1–$3
Estimated budget: $6–$14.
Tutorial how to make:
- Think of a joke or funny moment you both understand.
- Sketch a simple illustration that represents it.
- Add a short headline to the front of the card.
- Write a playful explanation or second punchline inside.
- Color the drawing and clean up stray pencil marks.
DIY Tip
Keep the joke affectionate rather than embarrassing. A card should make him smile, not make him feel uncomfortable if he reads it around other people.
5. Watercolor Love Card
Description
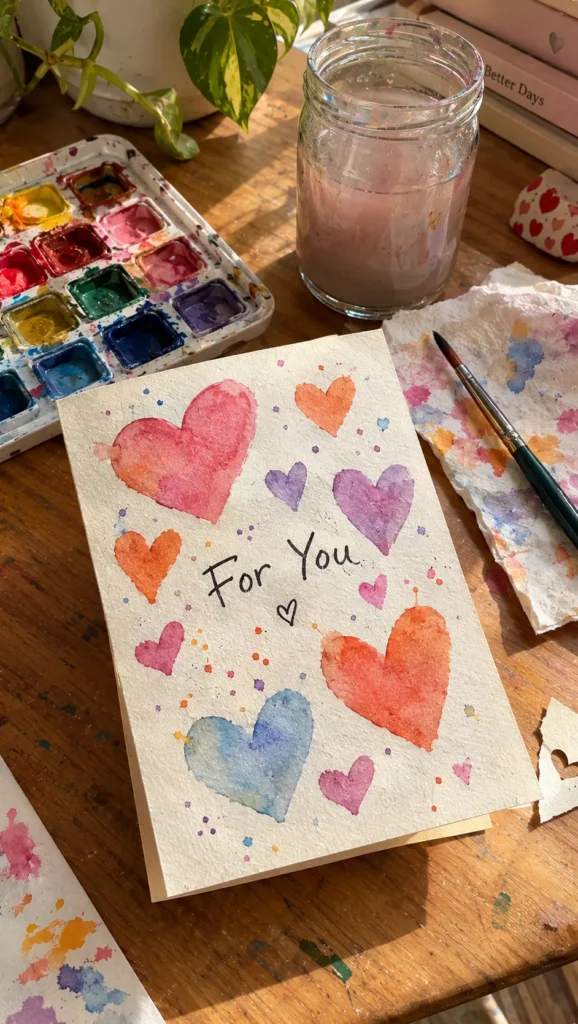
A watercolor card adds soft color and an artistic touch without requiring advanced drawing skills. Loose hearts, abstract shapes, or a simple sunset-inspired background can make the finished card feel personal and handmade.
What It Is
A greeting card decorated with watercolor washes and a short handwritten message.
Supplies and Budget
- Watercolor paper or thick cardstock suitable for watercolor: $3–$6
- Basic watercolor set: $4–$8
- Small paintbrush: $2–$4
- Waterproof pen: $2–$4
Estimated budget: $11–$22.
Tutorial how to make:
- Cut the paper to the desired size and fold it if the material allows.
- Lightly dampen a small area or paint directly with a wet brush.
- Add two or three complementary colors, allowing them to blend naturally.
- Let the paper dry completely before adding lettering.
- Write your message with a waterproof pen.
DIY Tip
Use less water than you think you need if you’re painting on ordinary cardstock. Thin paper can buckle, so test the materials first or use proper watercolor paper for a cleaner result.
6. A Scratch-Off Surprise Card
Description
A scratch-off card hides a little surprise beneath a removable layer. You can use it to reveal a date-night plan, a sweet message, or a fun activity he gets to choose.

What It Is
A handmade card with a hidden message covered by a scratchable coating.
Supplies and Budget
- Cardstock: $2–$4
- Clear adhesive tape: $1–$3
- Acrylic paint and dish soap: $3–$6
- Fine-tip markers: $2–$4
Estimated budget: $8–$17.
Tutorial how to make:
- Write the surprise message on the card and let the ink dry.
- Cover the message with clear adhesive tape.
- Mix approximately two parts acrylic paint with one part dish soap.
- Brush the mixture over the taped area in thin coats, letting each coat dry.
- Test a small sample before applying the coating to the finished card.
DIY Tip
Always test the paint mixture on scrap tape first. Some paints do not scratch off cleanly, and thick coats may crack or peel. Keep the scratch-off area small for easier removal.
7. A Handmade Coupon Card
Description
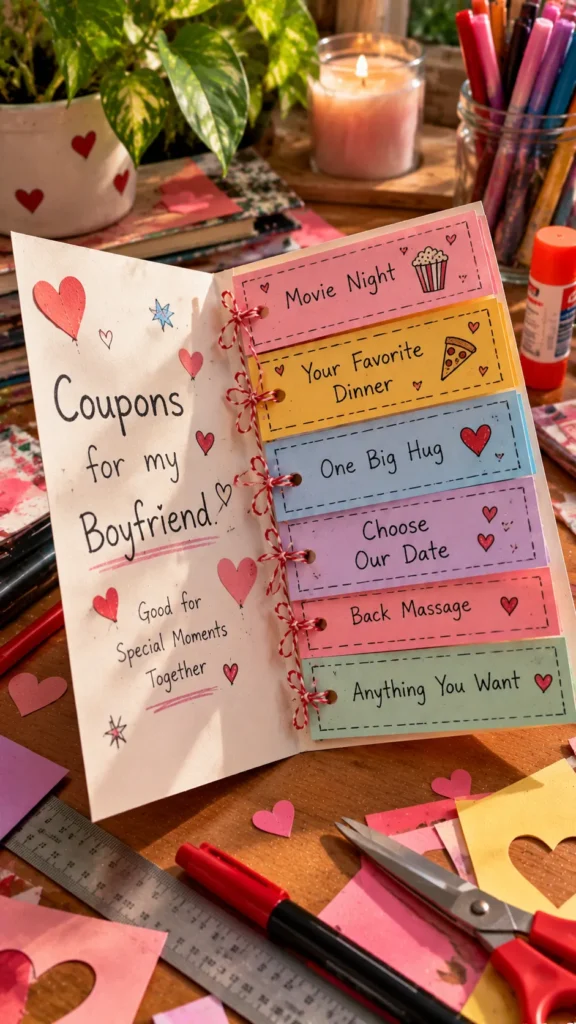
A coupon card gives your boyfriend a choice of thoughtful experiences, such as his favorite homemade meal, a movie night, or an activity you can enjoy together. It combines a greeting card with a practical little surprise.
What It Is
A card containing small paper vouchers for shared activities or acts of kindness.
Supplies and Budget
- Cardstock: $2–$4
- Colored paper: $1–$3
- Scissors and glue: $2–$4
- Markers: $2–$4
Estimated budget: $7–$15.
Tutorial how to make:
- Create a folded card with a simple title on the front.
- Cut three to five small coupon shapes from colored paper.
- Write a specific activity on each coupon.
- Attach the coupons inside using small paper tabs or a paper band.
- Add a note explaining how he can redeem each one.
DIY Tip
Choose activities that fit your schedules and budget. A few realistic experiences are more thoughtful than a long list of promises that are difficult to arrange.
8. A Minimalist Black-and-White Card
Description
A black-and-white card is a great choice if your boyfriend prefers simple, modern designs. Clean lettering, geometric shapes, and one meaningful sentence can create a stylish result without lots of supplies.

What It Is
A simple card decorated with black ink, white cardstock, and restrained graphic details.
Supplies and Budget
- White cardstock: $2–$4
- Black fine-tip pen: $2–$4
- Ruler: $1–$3
- Black paper or stickers, optional: $1–$3
Estimated budget: $5–$14.
Tutorial how to make:
- Fold the cardstock evenly and press the crease firmly.
- Use a pencil and ruler to plan a clean border.
- Add a short title or message in simple lettering.
- Draw one small symbol or geometric detail.
- Write a personal note inside using the same black pen.
DIY Tip
Practice the lettering on scrap paper before writing on the card. Minimal designs leave little room to hide mistakes, so light pencil guidelines help keep everything aligned.
9. A Music-Themed Playlist Card
Description
A music-themed card celebrates the songs that remind you of each other. Pair a small handmade illustration with a playlist link to create a gift he can enjoy long after opening the card.

What It Is
A decorated card featuring music-inspired drawings and a QR code or link to a personalized playlist.
Supplies and Budget
- Cardstock: $2–$4
- Colored pens: $2–$4
- Printer access, optional: $0–$3
- Envelope: $1–$2
Estimated budget: $3–$13.
Tutorial how to make:
- Create a playlist of songs he loves and tracks connected to shared memories.
- Design the card with hand-drawn music notes, headphones, or simple sound waves.
- Generate a QR code that opens the playlist or write a short link.
- Attach the code neatly to the card.
- Test the link on another device before giving him the card.
DIY Tip
Make sure the playlist link is accessible to him. A beautifully decorated card is less useful if the playlist is private or the QR code doesn’t scan.
10. A Fold-Out Love Letter Card
Description
A fold-out card reveals a longer message in stages, making the experience of opening it part of the gift. It’s perfect when you have more to say than fits on a standard greeting card.

What It Is
A handmade card with connected folded panels that unfold to reveal photographs, short messages, or a personal letter.
Supplies and Budget
- Cardstock or lightweight craft paper: $3–$5
- Ruler and scissors: $2–$4
- Glue stick: $1–$3
- Markers and decorative paper: $2–$5
Estimated budget: $8–$17.
Tutorial how to make:
- Cut a long strip of paper or join several cardstock panels securely.
- Fold the strip into equal accordion sections.
- Write a short message or add a small drawing to each panel.
- Decorate the front cover and attach it to the first panel.
- Open and close the card several times to check that the folds move smoothly.
DIY Tip
Use lightweight cardstock so the panels fold without cracking. Keep decorations away from the crease lines because thick layers of glue and paper can make the card difficult to close.
11. A Birthday Card with a Handmade Cake Design
Description
A handmade birthday card with a colorful cake illustration is a cheerful way to celebrate your boyfriend. Layered paper candles, hand-drawn icing, and a personalized message make the card festive without requiring complicated crafting techniques.

What It Is
A birthday greeting card featuring a cake made from colored paper, markers, or a combination of both.
Supplies and Budget
- Cardstock: $2–$4
- Colored construction paper: $1–$3
- Glue stick and scissors: $2–$4
- Markers: $2–$5
Estimated budget: $7–$16.
Tutorial how to make:
- Fold cardstock to create the base.
- Cut three or four paper rectangles with slightly different widths to form cake layers.
- Stack the pieces on the front and glue them down.
- Add paper candles, hand-drawn icing, and colorful decorations.
- Write a birthday message inside and allow all glue to dry.
DIY Tip
Build the cake from the bottom upward, checking the spacing before gluing. Use a small amount of adhesive so the paper stays flat instead of developing lumpy edges.
12. A Long-Distance Love Card
Description
A long-distance card can make someone feel closer even when you cannot spend time together in person. Add a meaningful photograph, a handwritten message, or a small calendar marking your next planned visit.

What It Is
A personalized greeting card designed to celebrate your relationship across distance, using memories, dates, and thoughtful messages.
Supplies and Budget
- Cardstock: $2–$4
- Printed photo or small map: $1–$4
- Colored pens: $2–$4
- Envelope and postage, if needed: $1–$5
Estimated budget: $6–$17, excluding any special delivery costs.
Tutorial how to make:
- Choose a photograph or place that reminds you of a shared memory.
- Attach it to the front of the card with a simple handmade border.
- Write a personal message about what you appreciate and what you look forward to doing together.
- Add a meaningful date or a small hand-drawn map.
- Place the card in an envelope and check the mailing requirements if sending it by post.
DIY Tip
Make the message about your actual relationship rather than relying only on common long-distance quotes. A specific memory or a realistic plan to see each other can make the card feel much more comforting.
FAQ SECTION
What should I write in a card for my boyfriend?
Write something that reflects your relationship and the occasion. You can mention a favorite memory, a quality you appreciate, a funny moment, or something you look forward to experiencing together. Specific details often make a card feel more sincere than generic romantic phrases.
How can I make a boyfriend card at home?
Start with cardstock, scissors, glue, and a pen. Choose one simple idea, such as a heart pop-up, photo collage, or handwritten letter, and plan the layout before attaching decorations. You can make a thoughtful card with materials you already have at home.
What is a good handmade card for a boyfriend’s birthday?
A cake-themed card, a photo collage, or a fold-out letter are all good choices. Consider his personality and interests when selecting colors, jokes, photographs, and messages.
How do I make a card look neat without professional supplies?
Use a ruler for straight edges, practice lettering on scrap paper, and apply glue sparingly. Leave some empty space around your decorations and let paint or ink dry before folding the card.
Can I make a romantic card without using hearts and pink colors?
Absolutely. Try a minimalist black-and-white design, a music-themed card, a map of a meaningful place, or a card inspired by his favorite hobby. Personalization matters more than using traditional romantic colors.
What can I put inside a card besides a message?
You can add a small photograph, a playlist QR code, a coupon for a shared activity, a tiny drawing, or a folded note. Keep the additions lightweight so the card closes properly and can be stored easily.
RELATED CONTENT
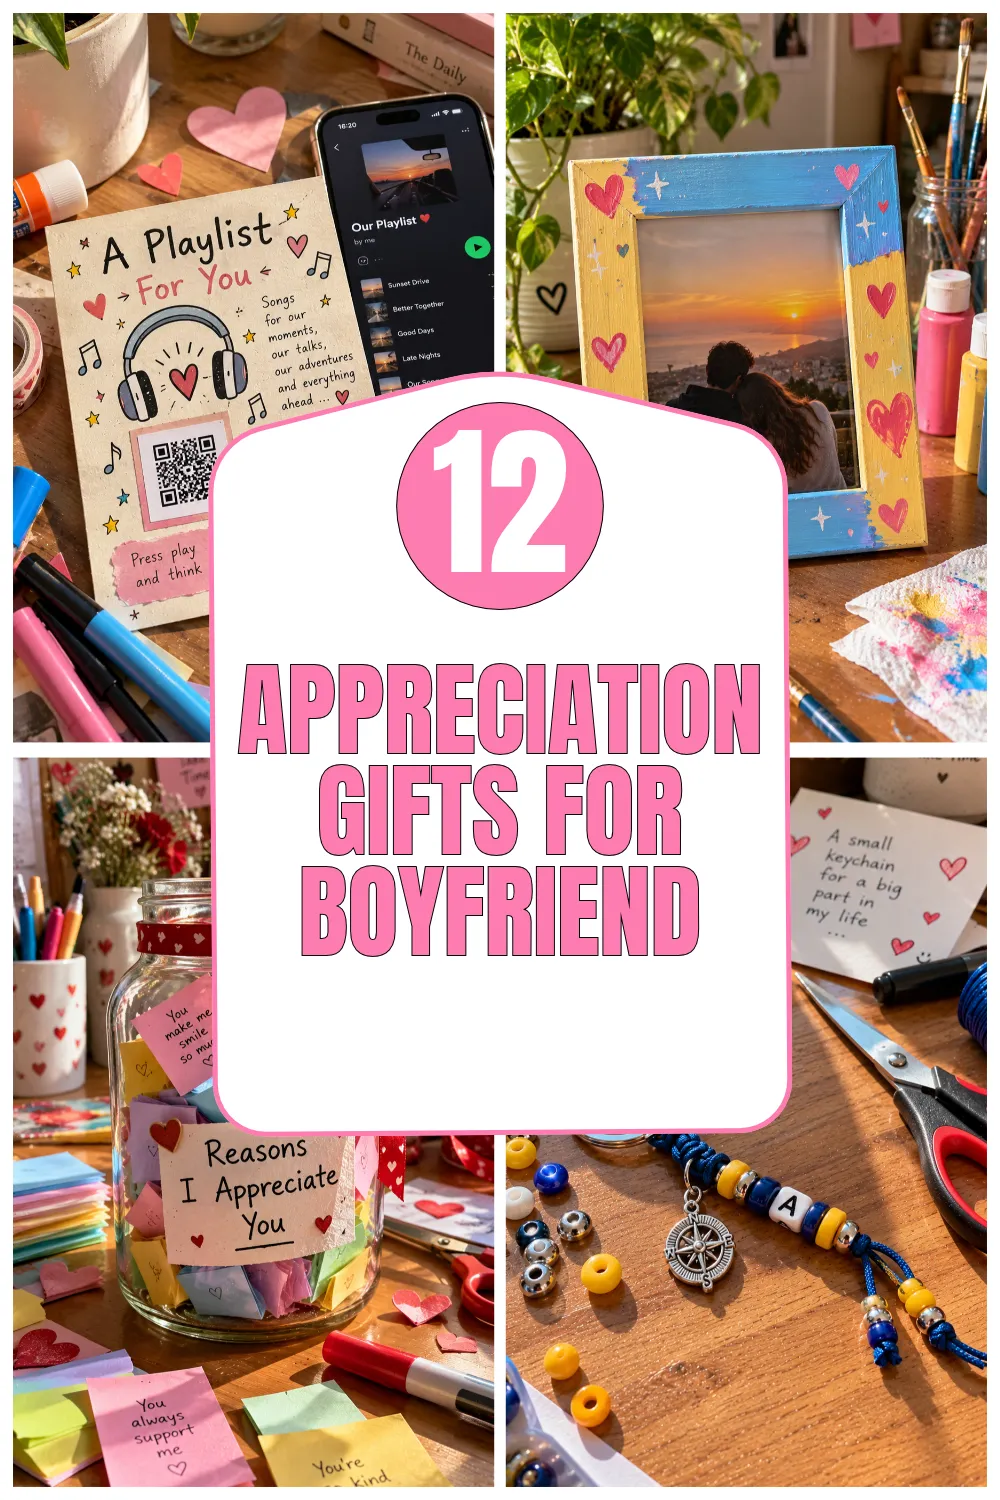
- Appreciation Gifts for Boyfriend to Make Him Feel Special
- Handmade Birthday Cards for Someone Special
CLOSING
Making a card for your boyfriend is a lovely opportunity to turn simple craft supplies into something personal. You don’t need perfect lettering, expensive materials, or advanced techniques. Choose a design that suits his personality, include a detail that belongs to your relationship, and give yourself time to enjoy the creative process. My favorite part of handmade cards is that even the smallest imperfections can make them feel more genuine. Whether you choose a funny inside-joke card, a colorful pop-up heart, or a simple handwritten letter, make it something that feels like you. I’d love to know which idea you try and how you make it your own!


One Comment