
12 Simple Embroidery Ideas Design for Handmade Gifts
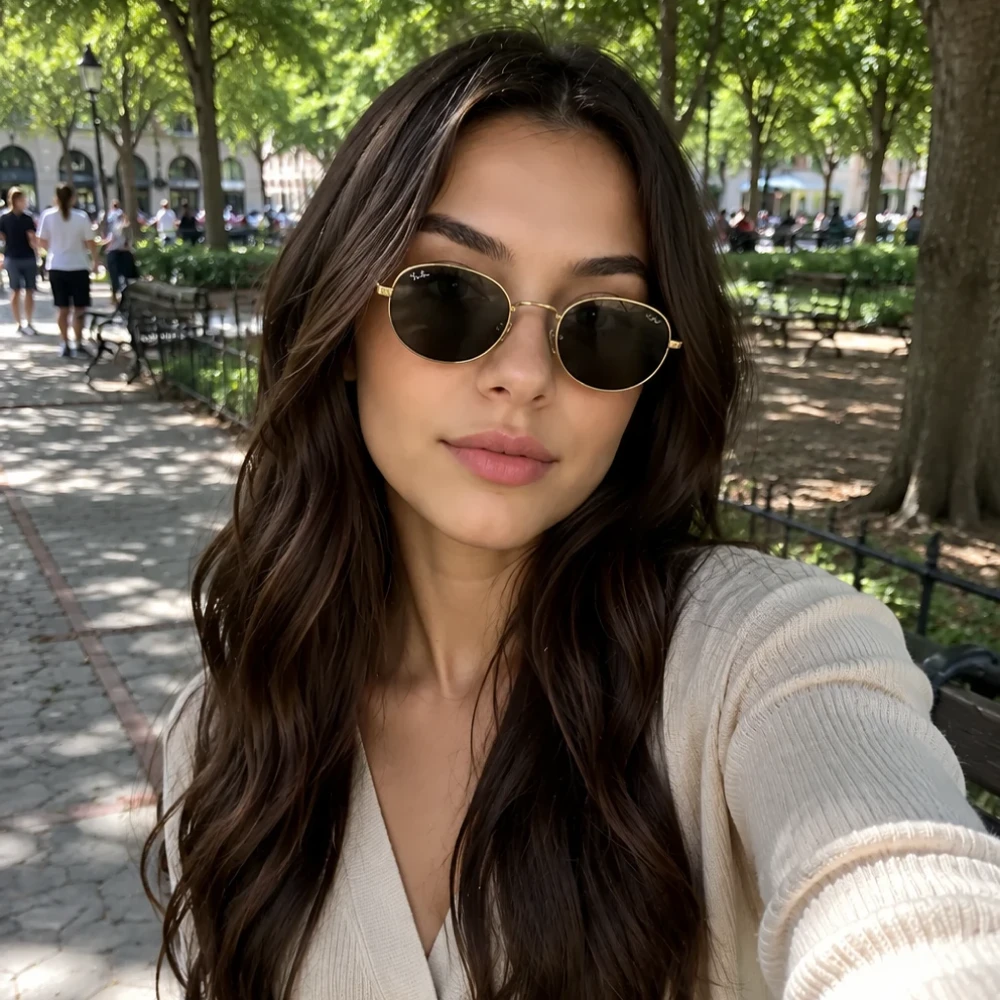
Embroidery Ideas Design
Embroidery is one of those lovely crafts that can turn ordinary fabric into something personal, colorful, and full of character. Whether you’re decorating a plain tote bag, refreshing an old piece of clothing, or making handmade gifts, a few simple stitches can create beautiful results without requiring expensive equipment. I especially love how embroidery lets you experiment with colors, textures, and little details until a project feels uniquely yours.

If you’re a beginner, start with simple shapes and sturdy fabric before moving on to more detailed patterns. These 12 embroidery ideas design options include practical projects for different skill levels, with helpful instructions, affordable supply suggestions, and tips to avoid common mistakes. You can adapt the colors and designs to match your home, wardrobe, or personal style.
1. Colorful Floral Embroidery Hoop
Description
A floral embroidery hoop is a lovely beginner-friendly project that combines colorful petals, green leaves, and delicate stems. It makes attractive wall decor or a thoughtful handmade gift, and you can adjust the flower shapes to suit your skill level.
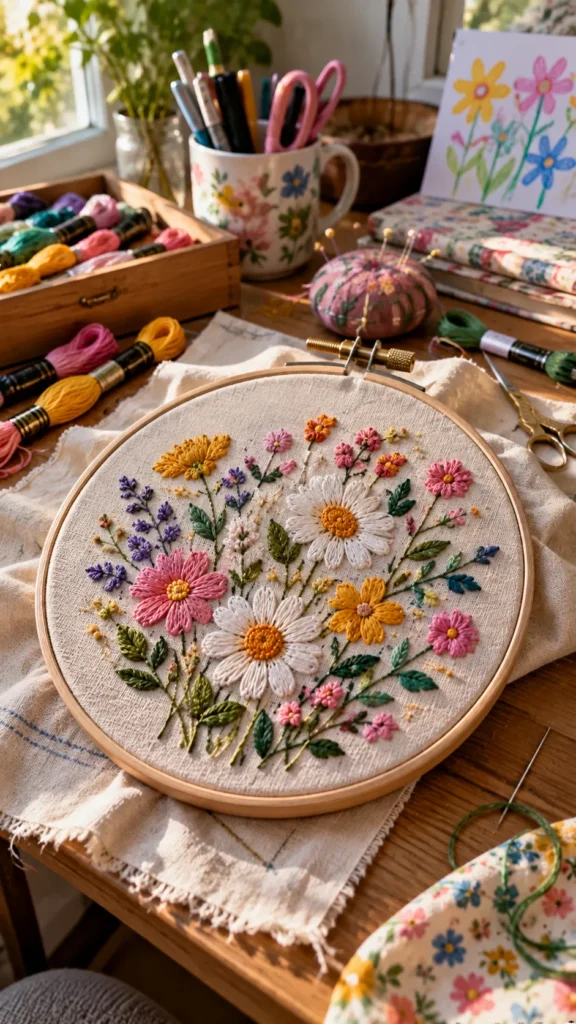
What It Is
A decorative fabric piece featuring embroidered flowers arranged inside a circular embroidery hoop.
Supplies and Budget
You will need a wooden embroidery hoop, cotton fabric, embroidery floss in three to five colors, an embroidery needle, scissors, and a washable fabric pen. An approximate budget is $5–$15, depending on what you already own.
Tutorial how to make:
- Stretch the fabric tightly inside the hoop, keeping the grain reasonably straight.
- Draw a simple arrangement of flowers and leaves using a washable pen.
- Use lazy daisy stitches for petals, French knots for flower centers, and backstitches for stems.
- Add leaves using satin stitches or small detached stitches.
- Secure the thread ends neatly on the reverse and trim excess fabric before displaying the hoop.
DIY Tip
Keep the fabric taut but avoid stretching it out of shape. If the hoop becomes loose while stitching, tighten it again rather than pulling your stitches harder.
2. Embroidered Tote Bag with Wildflowers
Description
A plain canvas tote becomes much more personal with a small wildflower design. This project is practical for everyday use and works well with simple daisies, lavender stems, or tiny colorful blooms arranged near one corner.
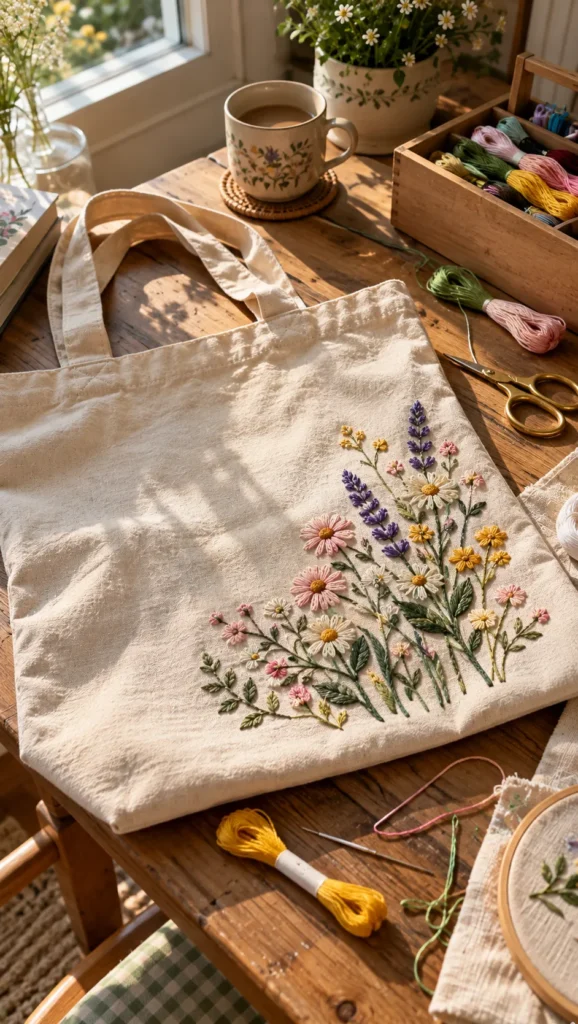
What It Is
A reusable fabric bag decorated with hand-stitched flowers or botanical details.
Supplies and Budget
Choose a cotton or canvas tote, embroidery floss, a sharp embroidery needle, a water-soluble pen, scissors, and a stabilizer if needed. Expect to spend approximately $8–$20.
Tutorial how to make:
- Place a piece of cardboard inside the tote to separate the front and back panels.
- Draw a small design away from seams and handles.
- Add a lightweight stabilizer behind the stitching area if the canvas is difficult to manage.
- Stitch flower petals with lazy daisy stitches and stems with backstitches.
- Tie off the thread securely, remove the marking lines according to the pen instructions, and follow the bag’s care requirements.
DIY Tip
Avoid stitching through both sides of the bag. Check the inside frequently, especially near the bottom corners, so you do not accidentally close the bag with your embroidery.
3. Minimalist Embroidered Heart on Clothing
Description
A tiny embroidered heart can refresh a plain T-shirt, sweatshirt, or denim jacket without overwhelming the garment. Choose a contrasting thread color for a playful accent or a matching shade for a subtle, understated finish.
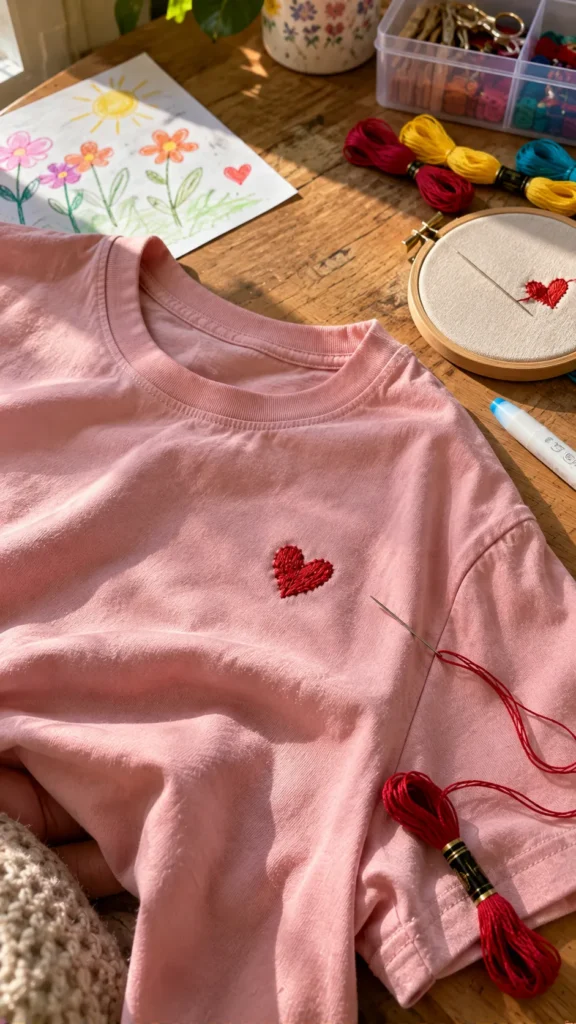
What It Is
A small heart motif stitched directly onto clothing, usually near the chest pocket, sleeve, or collar area.
Supplies and Budget
You need a washable garment, embroidery floss, a needle suitable for the fabric, a water-soluble marking pen, small scissors, and lightweight stabilizer when appropriate. Budget around $4–$12 if you already have the garment.
Tutorial how to make:
- Wash and dry the garment according to its care label before stitching.
- Mark a small heart on the fabric and position stabilizer behind it if needed.
- Outline the shape with backstitches or fill it using neat satin stitches.
- Keep the thread tension relaxed so the fabric does not pucker.
- Secure the thread ends on the reverse and remove the stabilizer according to its instructions.
DIY Tip
Practice the heart on a fabric scrap first. Stretchy T-shirts can distort easily, so avoid pulling the thread tight and use a suitable stabilizer for a smoother result.
4. Embroidered Floral Denim Jacket
Description
A denim jacket decorated with embroidered flowers has a relaxed, creative look that works across seasons. Small blossoms on a pocket or a cluster near the shoulder are easier to manage than a large design across thick seams.
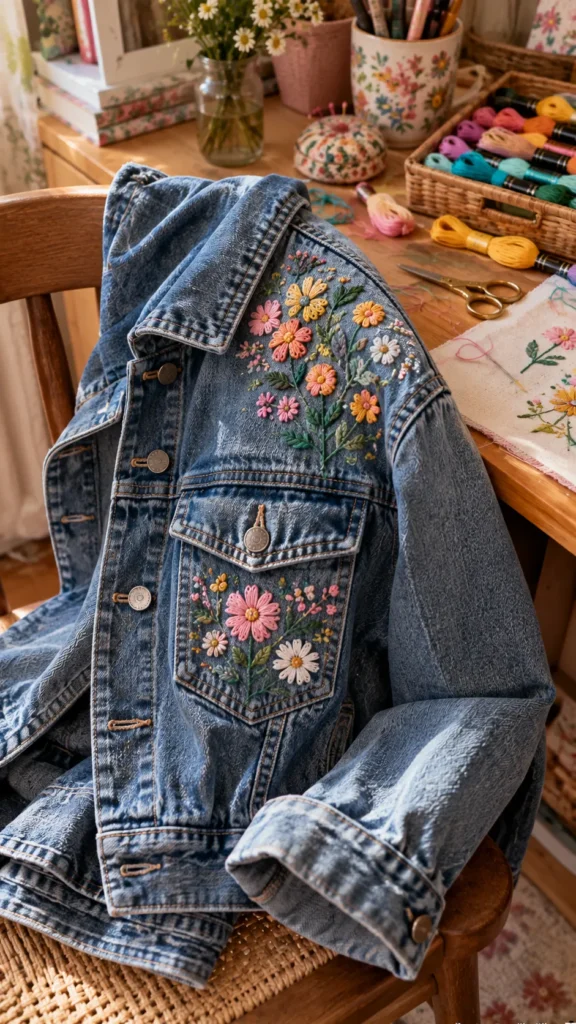
What It Is
A wearable customization project that adds stitched floral details to a denim jacket.
Supplies and Budget
Gather a denim jacket, embroidery floss, a strong needle suitable for denim, a washable marking pen, scissors, and a small embroidery hoop if the area allows. The cost is approximately $8–$25, excluding the jacket.
Tutorial how to make:
- Select a relatively flat area, such as a pocket flap or upper back panel.
- Draw a simple floral pattern and check the placement while wearing the jacket.
- Use a sturdy needle and shorter thread lengths to reduce tangling.
- Stitch petals, stems, and leaves, working carefully around thick seams and pocket edges.
- Secure the reverse without creating bulky knots that could rub against the skin.
DIY Tip
Do not force a large hoop over thick seams. If the denim is too bulky, stitch smaller sections without the hoop while keeping the fabric supported and your tension even.
5. Embroidered Initials on Handkerchiefs
Description
Personalized initials turn a plain handkerchief or small cotton napkin into a thoughtful handmade gift. A simple monogram is a useful way to practice lettering, straight stitches, and neat curves without committing to a large project.
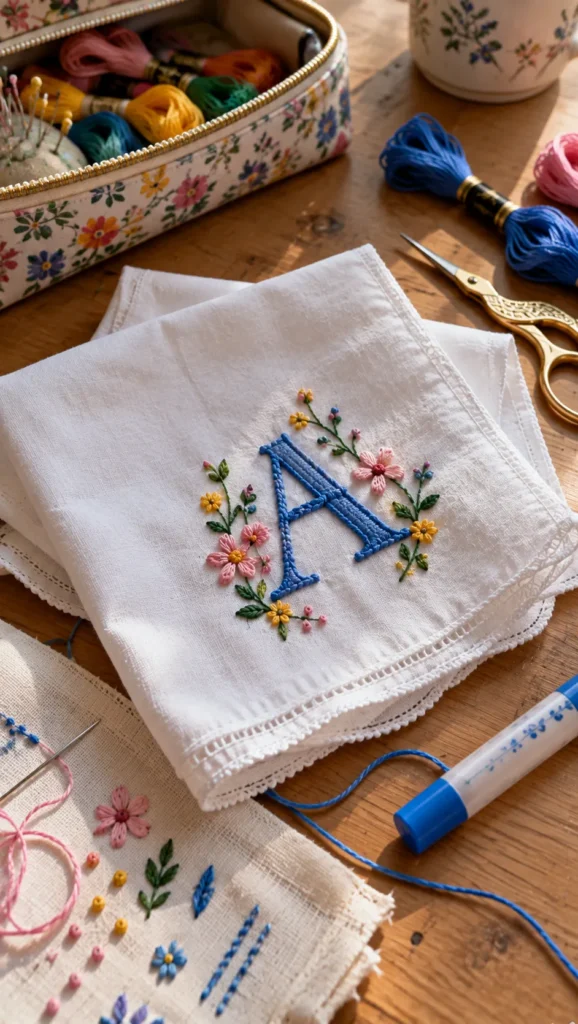
What It Is
A small fabric accessory embroidered with one or two initials, a name, or a short decorative letter combination.
Supplies and Budget
Use a cotton handkerchief, embroidery floss, a fine needle, a washable marking pen, scissors, and an optional small hoop. Budget approximately $3–$10 per project.
Tutorial how to make:
- Draw the initials lightly in a simple font that will be easy to stitch.
- Position the design in one corner, leaving a comfortable margin from the edges.
- Follow the lettering with backstitches or split stitches for a smooth outline.
- Use a small satin stitch for thicker letters, keeping each stitch consistent.
- Remove the markings carefully and press the fabric according to its care instructions.
DIY Tip
Choose a font with clear shapes rather than very thin, elaborate lettering. Tiny letters can become difficult to read when stitched, so test the design on scrap fabric first.
6. Embroidered Botanical Bookmarks
Description
A fabric bookmark decorated with leaves, tiny flowers, or a simple branch makes a charming gift for readers. It uses only a small amount of fabric and thread, making it ideal for practicing new stitches without investing in a large project.
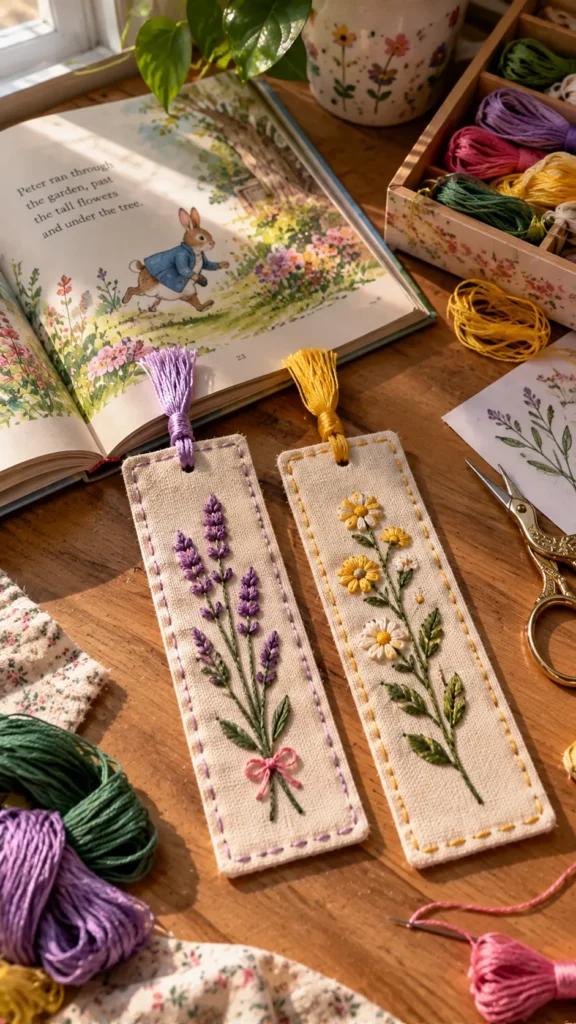
What It Is
A slim, fabric-based bookmark with a stitched botanical motif and finished edges.
Supplies and Budget
You will need cotton or linen fabric, embroidery floss, a needle, scissors, lightweight interfacing or felt, and a ruler. Expect to spend approximately $4–$12.
Tutorial how to make:
- Cut two matching fabric rectangles slightly wider and longer than your desired bookmark.
- Stitch a small botanical motif near the top of one piece.
- Add interfacing or a felt backing to provide structure.
- Join the front and back pieces with right sides together, leaving a small opening for turning.
- Turn the bookmark right side out, close the opening neatly, and press carefully.
DIY Tip
Keep the embroidery relatively flat so it does not catch on book pages. Avoid thick knots or raised embellishments that could leave marks inside a closed book.
7. Embroidered Cushion Cover with Geometric Shapes
Description
Geometric embroidery adds a modern handmade touch to plain cushion covers. Repeating lines, small diamonds, or colorful blocks create a tidy pattern, and the design can be adjusted to match your living room without requiring advanced stitching skills.

What It Is
A decorative cushion cover embellished with repeating geometric shapes or linear embroidery.
Supplies and Budget
Choose a removable cotton or linen cushion cover, embroidery floss, a needle, a ruler, a washable marking pen, and an embroidery hoop. The approximate cost is $8–$20, excluding the cushion insert.
Tutorial how to make:
- Remove the cushion insert and mark a simple repeating pattern on the cover.
- Use a ruler to keep the lines evenly spaced.
- Stitch the pattern with backstitches, running stitches, or small satin-filled shapes.
- Check the reverse regularly to prevent long loose threads from catching on the insert.
- Secure the thread ends and follow the cover’s washing instructions.
DIY Tip
Choose a fabric that is easy to stitch through and use fewer colors for a cleaner pattern. If the cover is thick or textured, test the thread and needle on an inconspicuous area first.
8. Embroidered Kitchen Towels with Fruit Motifs
Description
Fruit embroidery brings cheerful color to everyday kitchen towels. Small strawberries, lemons, cherries, or leafy sprigs look charming near a corner and are manageable projects for anyone learning how to combine simple outlines with filled shapes.

What It Is
A practical kitchen towel decorated with small fruit or herb motifs.
Supplies and Budget
You will need a cotton or linen kitchen towel, embroidery floss, a needle, a washable marking pen, scissors, and stabilizer if necessary. Budget around $4–$12.
Tutorial how to make:
- Wash the towel first to account for shrinkage and remove manufacturing finishes.
- Draw a small fruit design near one corner, away from the area that receives the heaviest wear.
- Outline the shape with backstitches and fill larger sections with satin stitches.
- Add leaves and stems using simple straight stitches.
- Secure the thread ends and remove any stabilizer or marking lines according to the product instructions.
DIY Tip
Use colorfast embroidery floss and avoid excessively thick stitching. Kitchen towels need regular washing, so check the care instructions and test the thread on a scrap before finishing the design.
9. Embroidered Floral Patches for Clothes
Description
Handmade embroidered patches are a clever way to decorate clothing or cover a small worn area. Flowers, stars, mushrooms, and simple fruit shapes work well, and creating the patch separately gives you more control than stitching directly onto a garment.
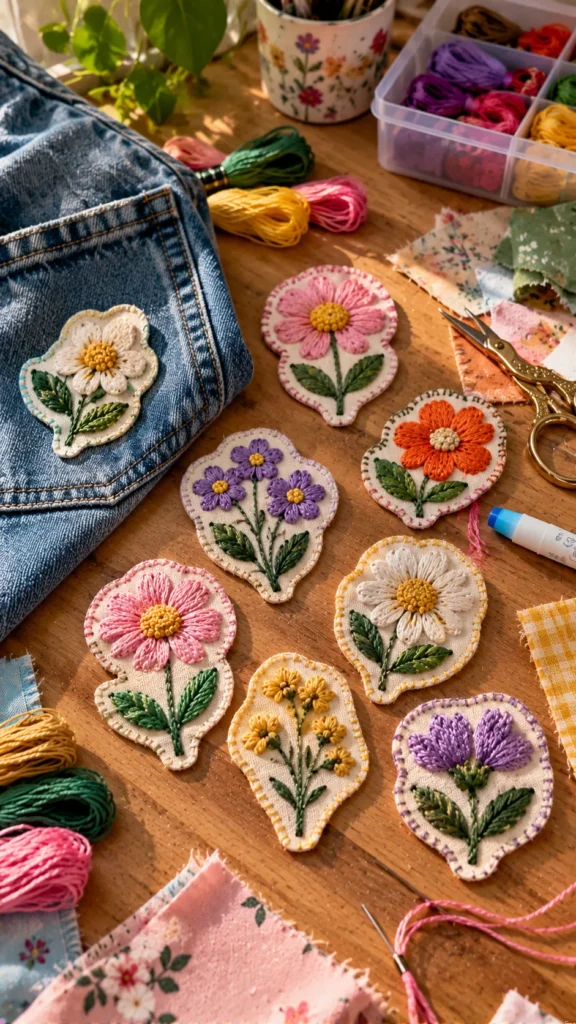
What It Is
A small embroidered fabric motif that can be sewn onto a jacket, bag, jeans, or other suitable item.
Supplies and Budget
Gather sturdy cotton or felt, embroidery floss, a needle, scissors, a marking pen, and optional backing material. Budget approximately $4–$12.
Tutorial how to make:
- Draw a compact motif on sturdy fabric and place it in a hoop if helpful.
- Fill the design with simple stitches, keeping the reverse reasonably tidy.
- Trim around the motif, leaving a narrow, even border.
- Fold the edge under when using suitable woven fabric, or finish the edge with close blanket stitches.
- Sew the patch securely onto the garment, checking that the attachment is strong enough for regular use.
DIY Tip
If you want to use an iron-on backing, check that both the patch fabric and the garment can tolerate the required heat. Sewing the patch around its edges often provides a more durable finish.
10. Embroidered Floral Hoop with a Quote
Description
Combining a short phrase with a few flowers creates personalized wall art for a bedroom, craft room, or thoughtful gift. Choose a short, readable quote and keep the surrounding decoration simple so the lettering remains the main feature.
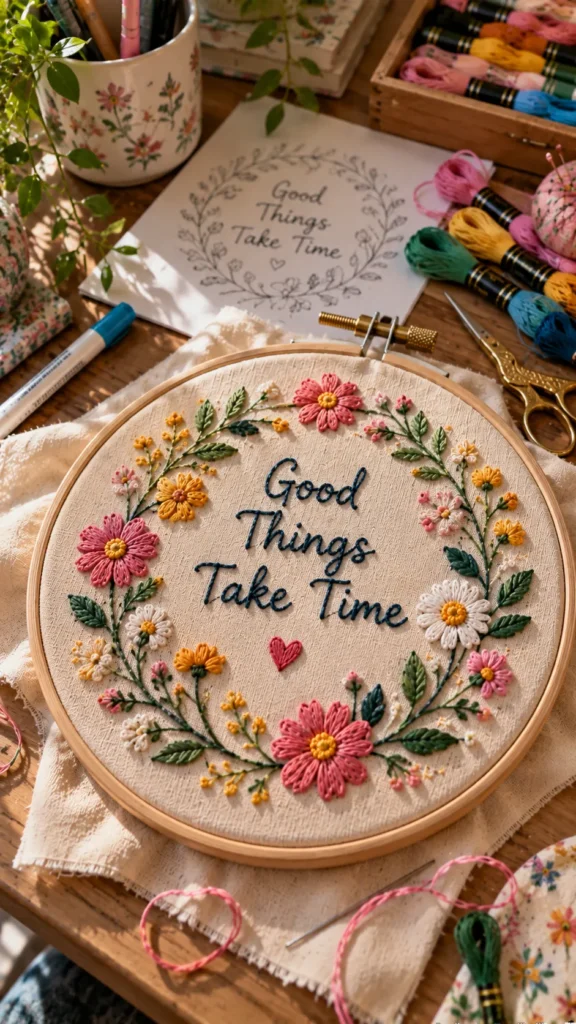
What It Is
A decorative embroidery hoop featuring stitched lettering surrounded by small flowers, leaves, or simple ornamental details.
Supplies and Budget
You will need an embroidery hoop, cotton fabric, embroidery floss in a few colors, a needle, a washable pen, scissors, and optional backing felt. Budget around $5–$15.
Tutorial how to make:
- Stretch the fabric evenly in the hoop and lightly mark the center of the design.
- Write the phrase on paper first, checking spelling, spacing, and size.
- Transfer the lettering to the fabric and stitch it using backstitch or split stitch.
- Add small flowers or leaves around the phrase, leaving enough space for readability.
- Secure the reverse and finish the back of the hoop with neatly trimmed fabric or felt.
DIY Tip
Use shorter words and avoid lettering that is too tiny. If the phrase contains several words, stitch the central line first and check the spacing before completing the surrounding decorations.
11. Embroidered Stars on a Night-Sky Pouch
Description
A small fabric pouch embroidered with stars and tiny moons is a fun project for storing jewelry, headphones, or craft supplies. Metallic-looking thread can add sparkle, but ordinary cotton floss is often easier to control and more comfortable for beginners.
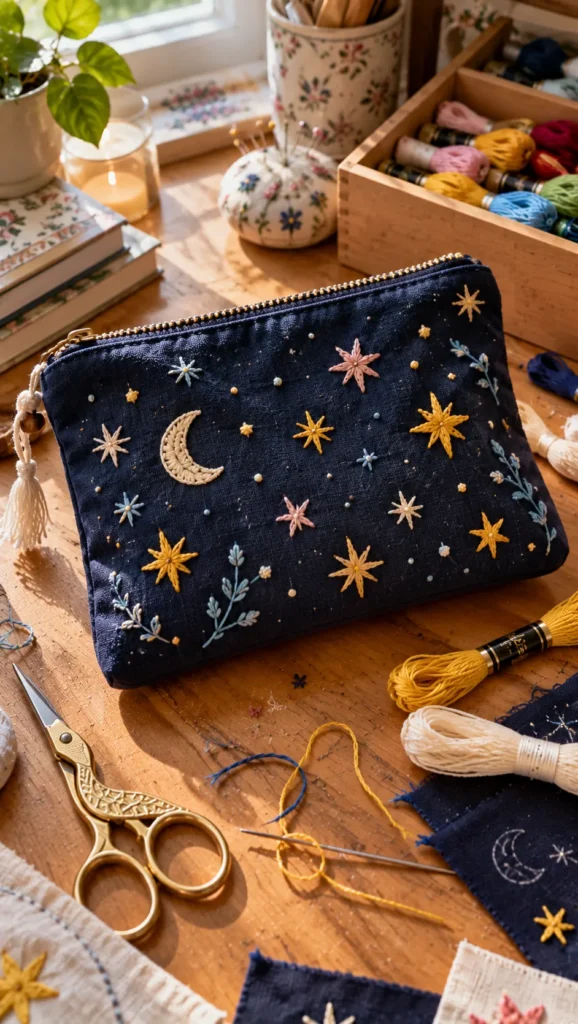
What It Is
A small zippered or drawstring pouch decorated with a simple celestial pattern.
Supplies and Budget
Choose a cotton pouch or fabric for making one, embroidery floss, a needle, a marking pen, scissors, and optional stabilizer. Expect to spend approximately $5–$15.
Tutorial how to make:
- Mark a loose arrangement of stars, dots, and a crescent moon on the pouch.
- Use straight stitches for star points and tiny French knots for scattered stars.
- Keep the stitching away from the zipper teeth, seams, or drawstring channel.
- Secure the thread ends carefully and check that the pouch still opens and closes smoothly.
- If sewing the pouch from scratch, complete the embroidery before assembling the final seams.
DIY Tip
Avoid long floating threads across the back of the design because small items can snag on them. Secure thread ends and keep the embroidery flat for everyday use.
12. Embroidered Personalized Gift Tags
Description
Fabric gift tags add a handmade finishing touch to birthdays, holidays, and special occasions. Small initials, hearts, stars, or flowers are enough to make a simple tag feel personal, and fabric scraps help keep this project affordable.
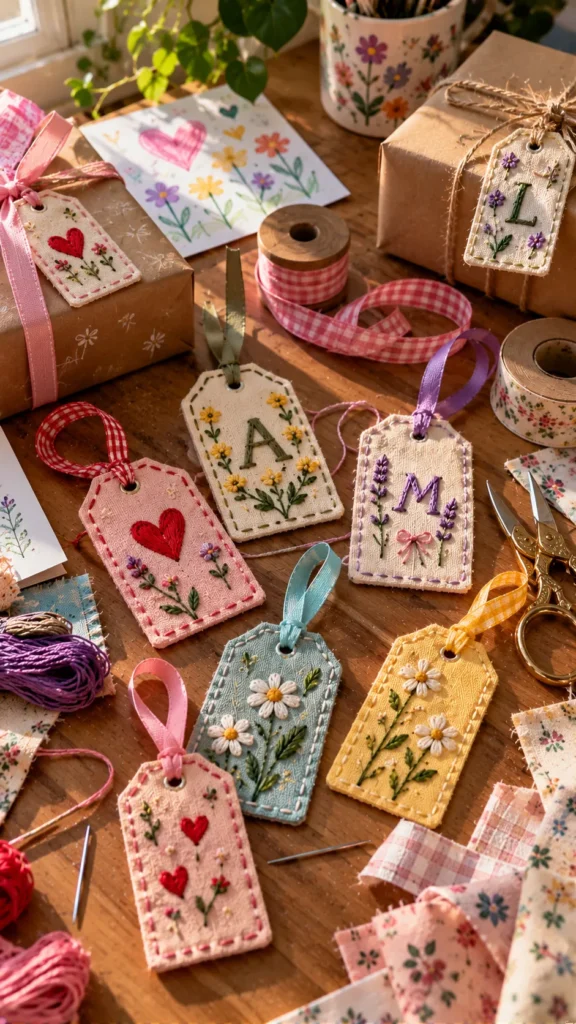
What It Is
A small stitched fabric label that can be attached to a wrapped gift, gift bag, or handmade present.
Supplies and Budget
Use fabric scraps, embroidery floss, a needle, scissors, a marking pen, ribbon or string, and optional felt backing. The cost is approximately $2–$8 for several tags.
Tutorial how to make:
- Cut two small matching fabric shapes, such as rectangles, circles, or rounded tags.
- Stitch a tiny initial, heart, or flower onto the front piece.
- Place the front and back pieces together and sew around the edge, leaving a small opening if needed.
- Insert a short ribbon or string loop and secure it firmly while closing the edge.
- Trim loose threads and check that the finished tag is sturdy enough to handle.
DIY Tip
Use a simple design that remains clear at a small size. Save fabric scraps from larger projects so you can make several coordinated tags without buying extra materials.
FAQ SECTION
Is embroidery suitable for complete beginners?
Yes. Embroidery is beginner-friendly because you can start with a needle, thread, fabric, and a simple pattern. Practice backstitch, running stitch, and lazy daisy stitch before moving on to complicated designs.
What fabric is best for embroidery?
Cotton and linen are popular choices because their weave is relatively easy to see and stitch through. Beginners often find medium-weight cotton easier to handle than very stretchy or thick fabric.
How do I stop my embroidery from puckering?
Use an appropriately sized hoop, avoid pulling the thread too tightly, and keep your stitches reasonably consistent. Stabilizer can help with stretchy or lightweight fabrics, but it should be compatible with the material and project.
How many strands of embroidery floss should I use?
Most embroidery floss comes in six strands that can be separated. Two or three strands are a useful starting point for many outlines, while thicker shapes may need more. Test the effect on a scrap before committing to the full design.
Can embroidered clothing be washed?
Usually, yes, but the correct method depends on the garment, thread, and stabilizer. Secure the thread ends, follow the garment’s care label, and use colorfast floss. For a new thread color, test for bleeding before washing the finished piece.
What are the easiest embroidery stitches to learn first?
Running stitch, backstitch, split stitch, satin stitch, and lazy daisy stitch are useful starting points. Together, they allow you to create outlines, lettering, filled shapes, flowers, and leaves.
RELATED CONTENT
CLOSING
Embroidery is a wonderful way to slow down, experiment with color, and create something that feels genuinely yours. You do not need perfect stitches or expensive supplies to make a beautiful project; a little patience and a design you love are enough to get started. Pick one idea that fits your current skill level, practice on a scrap of fabric, and enjoy seeing the design come together one stitch at a time. I hope these projects inspire you to personalize your clothes, make thoughtful gifts, or add handmade details to your home. Have fun creating, and share your finished embroidery with someone who appreciates the beauty of handmade crafts.

One Comment