12 Easy Paper Snowflakes Patterns to Cut and Make at Home

Paper Snowflakes Patterns
Paper snowflakes are one of my favorite winter crafts because they are inexpensive, easy to customize, and surprisingly beautiful when displayed around the home. All you need is paper, scissors, and a little creativity to turn an ordinary sheet into a delicate winter decoration. Whether you want something simple for a children’s craft afternoon or a more detailed design for your Christmas windows, there is a pattern worth trying.
The trick is to start with the right paper and fold it carefully before cutting. Regular printer paper is perfect for beginners, while lightweight origami paper works well for colorful designs.
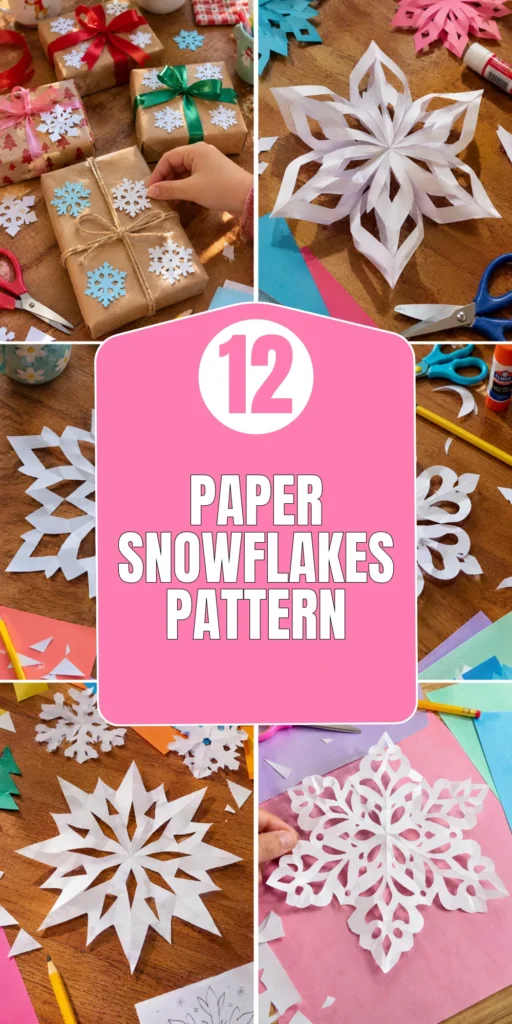
I recommend avoiding thick cardstock for intricate patterns because cutting through several folded layers can become difficult, and delicate sections may tear when unfolded.
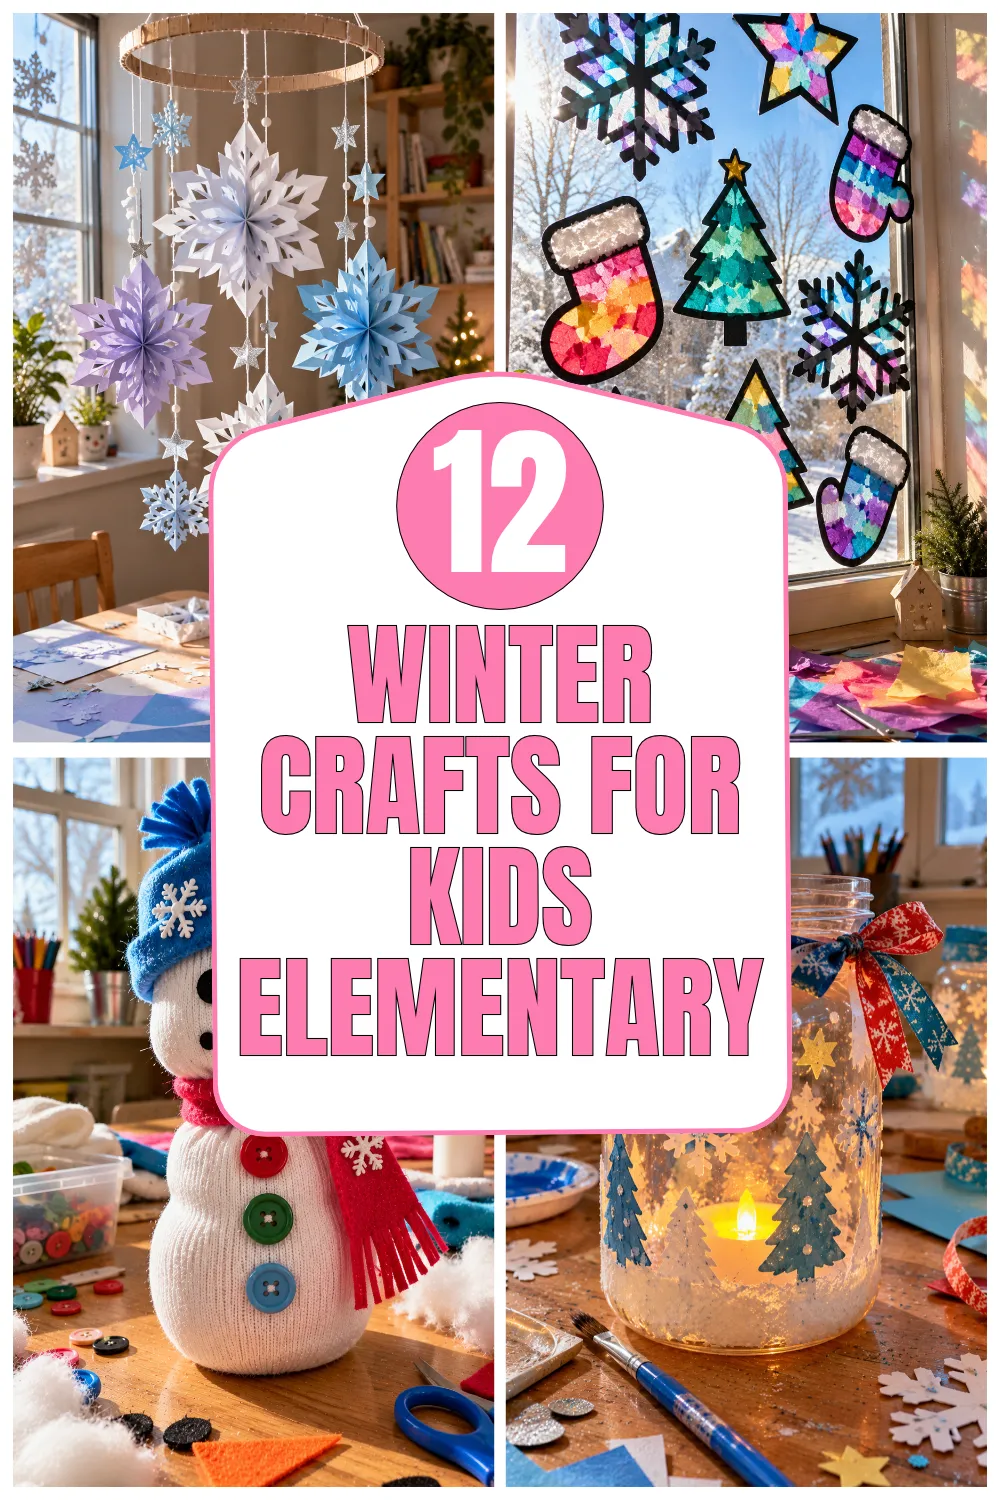
In this collection, you will find 12 paper snowflakes patterns ranging from classic six-point designs to colorful, dimensional, and decorative creations. Each idea includes practical instructions, material suggestions, and little tips to help you get a cleaner result without making the project complicated.
1. Classic Six-Point Paper Snowflake Pattern
Description
Create a traditional six-point paper snowflake with delicate branches and small geometric cutouts. This timeless design is an excellent beginner project and looks beautiful on windows, walls, and winter-themed displays.

What It Is
A symmetrical paper decoration created by folding a square sheet into six sections and cutting shapes along the folded edges. When opened, the repeated cuts create six beautiful branches around the center.
Supplies and Budget
- White printer paper: $1–$2
- Sharp scissors: $2–$4
- Pencil: under $1
- Ruler: $1–$2
Estimated budget: $2–$9 if you already own basic supplies.
Tutorial how to make:
- Start with a square sheet of paper. To make one from printer paper, fold one corner diagonally to meet the opposite edge and cut away the extra rectangle.
- Fold the square diagonally into a triangle.
- Divide the triangle into three equal sections and fold them together to create six layers.
- Trim the top of the folded shape to create an even starting edge.
- Cut small triangles, diamonds, and curved openings along the sides.
- Leave a few connecting sections between the cutouts so the branches remain attached.
- Unfold slowly and place the snowflake under a heavy book to flatten it.
DIY Tip
Avoid cutting all the way through the folded edges. Those sections hold the snowflake together, and removing too much paper can leave you with several disconnected pieces.
2. Delicate Lace-Inspired Paper Snowflake
Description
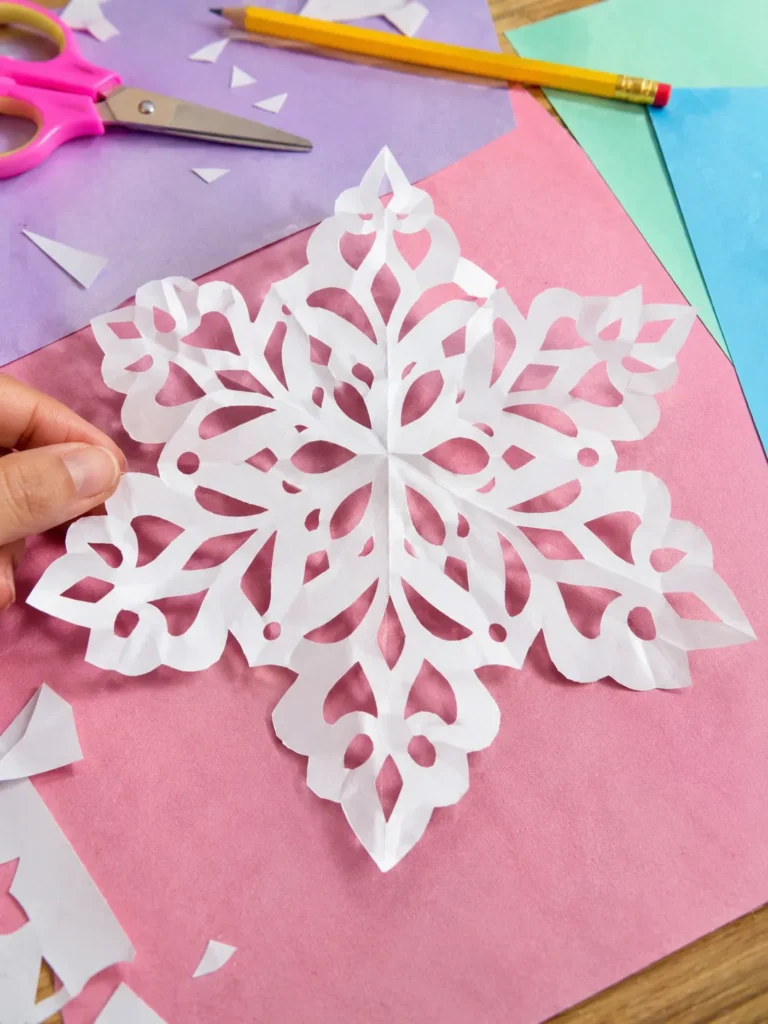
Create an elegant snowflake with tiny openings and delicate details that resemble handmade lace. This pattern is perfect for window decorations, winter cards, and hanging displays where its intricate cutouts can catch the light.
What It Is
A detailed six-point snowflake featuring narrow branches, small curves, and repeated decorative cutouts. The result is light and airy, almost like a handmade paper doily.
Supplies and Budget
- Thin white paper: $1–$2
- Small precision scissors: $3–$6
- Pencil: under $1
- Cutting mat: $3–$5
Estimated budget: $4–$14.
Tutorial how to make:
- Prepare a square sheet of thin paper and fold it into six sections.
- Sketch small scallops, diamonds, and narrow openings along the folded sides.
- Start by cutting the larger openings before attempting the tiny details.
- Use precision scissors to remove the smaller shapes gradually.
- Leave enough paper between each opening to support the delicate branches.
- Carefully unfold the layers without pulling on the narrow sections.
- Flatten the finished snowflake between two clean sheets of paper under a book.
DIY Tip
Use thin printer or origami paper for this design. Thick paper is difficult to cut through multiple layers and can tear when you separate the delicate sections.
3. Large Geometric Paper Snowflake Pattern
Description
Make a bold geometric snowflake using large triangles, diamonds, and clean angular shapes. Its simple details are easy to see from a distance, making it ideal for classroom walls, winter parties, and large window displays.

What It Is
A six-point paper snowflake with wide branches and repeated geometric openings. The design is beginner-friendly because it relies on simple shapes rather than tiny decorative cuts.
Supplies and Budget
- Large lightweight paper: $1–$3
- Scissors: $2–$4
- Pencil and ruler: $1–$3
- Colored paper: $2–$4
Estimated budget: $4–$14.
Tutorial how to make:
- Cut a large square from lightweight paper.
- Fold it diagonally and divide it into six equal sections.
- Trim the top of the folded triangle to create a clean outline.
- Mark large triangles and diamond shapes along both sides.
- Cut out the shapes carefully, keeping the central folded area wide.
- Add one or two smaller cuts near the outer points for extra detail.
- Unfold the snowflake and smooth out the folds.
DIY Tip
Keep the openings relatively large and evenly spaced. Too many small cuts can make a geometric snowflake look crowded and weaken its branches.
4. Starburst Paper Snowflake Pattern
Description
Add a little drama to your winter decorations with a starburst snowflake featuring pointed tips and radiating cutouts. Its bold shape looks lovely hanging from the ceiling or displayed in a group of different sizes.

What It Is
A six-point paper design with sharp outer tips and smaller triangular openings arranged around the center. The repeated cuts create a star-like effect without requiring complicated techniques.
Supplies and Budget
- White or silver paper: $1–$3
- Scissors: $2–$4
- Pencil: under $1
- Thin hanging string: $1–$2
Estimated budget: $4–$10.
Tutorial how to make:
- Cut a square piece of paper and fold it into six sections.
- Trim the folded shape into a long triangle with a pointed outer end.
- Cut small triangles near the outer edges to form sharp branches.
- Add narrow diamond-shaped openings along each folded side.
- Make a few small cuts closer to the center while leaving enough paper to connect the sections.
- Unfold the snowflake carefully and smooth the creases.
- Attach a lightweight string through a reinforced branch if you want to hang it.
DIY Tip
Make your cuts gradually instead of removing large sections at once. This helps preserve the pointed silhouette and prevents accidental cuts through important connecting areas.
5. Colorful Rainbow Paper Snowflake Pattern
Description
Bring a playful twist to traditional winter decorations with colorful snowflakes made from bright craft paper. Use different shades for each design or combine contrasting colors to create a cheerful collection for classrooms, windows, and holiday parties.

What It Is
A classic folded paper snowflake made with colored paper instead of plain white. You can create one-color designs or layer smaller snowflakes over larger ones for a multicolored effect.
Supplies and Budget
- Colored craft paper: $3–$5
- Scissors: $2–$4
- Pencil: under $1
- Glue stick: $1–$2
- Optional glitter paper: $2–$3
Estimated budget: $6–$15.
Tutorial how to make:
- Choose lightweight craft paper in several complementary colors.
- Cut each sheet into a square and fold it into six sections.
- Draw a simple pattern using triangles, diamonds, and curved cuts.
- Cut through the folded layers carefully and unfold the snowflake.
- Repeat with different colors to create a small collection.
- For a layered design, cut a smaller snowflake from contrasting paper.
- Attach the smaller shape to the center of the larger one using a small amount of glue.
DIY Tip
Choose colors with enough contrast to keep the cutout details visible. When layering, make the top snowflake smaller so the lower color remains visible around the edges.
6. Mini Paper Snowflake Pattern for Gift Wrapping
Description
Make tiny paper snowflakes that can decorate Christmas gifts, handmade cards, and gift tags. Their small size makes them perfect for using leftover paper and creating several decorations in one crafting session.

What It Is
A miniature version of the traditional folded snowflake, made from small square pieces of lightweight paper. The finished decorations can be attached to gift boxes, envelopes, and handmade labels.
Supplies and Budget
- White or patterned paper scraps: free–$2
- Small scissors: $2–$4
- Pencil: under $1
- Glue dots or craft glue: $1–$2
- Gift ribbon: $1–$2
Estimated budget: $2–$9.
Tutorial how to make:
- Cut small squares of lightweight paper, approximately 5–8 cm wide.
- Fold each square diagonally and divide it into six sections.
- Use simple cuts such as small triangles, short slits, and tiny curves.
- Carefully open each snowflake without pulling on its narrow branches.
- Flatten the pieces under a book for a few minutes.
- Attach a finished snowflake to a gift tag or wrapped present with a small glue dot.
- Make several sizes to create a coordinated gift-wrapping collection.
DIY Tip
Keep miniature patterns simple. Very detailed cuts are difficult to make at a small scale and can leave the decorations too fragile to handle.
7. 3D Layered Paper Snowflake Pattern
Description
Create a dimensional snowflake using several folded paper pieces layered together. This design makes a beautiful hanging decoration for winter parties and holiday displays, adding depth that a traditional flat snowflake cannot provide.

What It Is
A three-dimensional decoration made by joining several matching paper snowflakes or folded sections at the center. The layers spread outward to create a fuller, dimensional appearance.
Supplies and Budget
- Lightweight white paper: $2–$3
- Scissors: $2–$4
- Glue stick: $1–$2
- Thread or string: $1–$2
- Small paper clips: $1
Estimated budget: $7–$12.
Tutorial how to make:
- Cut several identical squares of lightweight paper.
- Fold each square into six sections and cut the same simple snowflake pattern.
- Unfold the pieces and check that their shapes are similar.
- Glue the center of one snowflake to another, rotating the top layer slightly.
- Continue layering until the decoration has the fullness you want.
- Press the center gently and allow the glue to dry completely.
- Attach a piece of thread through a reinforced central section for hanging.
DIY Tip
Use a small amount of glue rather than covering the entire center. Too much adhesive can wrinkle the paper and make the decoration unnecessarily heavy.
8. Paper Snowflake Pattern with Heart-Shaped Cutouts
Description
Add a sweet handmade detail to your winter decorations with a snowflake featuring little heart-shaped openings. This playful pattern is lovely for winter greeting cards, Valentine’s displays, and colorful seasonal craft projects.

What It Is
A six-point snowflake with repeated heart-inspired cutouts along its branches. The hearts can be simple rounded shapes or small pairs of curves that create decorative openings.
Supplies and Budget
- White or pastel paper: $1–$3
- Scissors: $2–$4
- Pencil: under $1
- Optional colored paper: $2–$3
Estimated budget: $4–$11.
Tutorial how to make:
- Cut a square piece of paper and fold it into six sections.
- Sketch a small heart shape along one side of the folded triangle.
- Add simple triangles or curved cuts near the outer edges.
- Cut the heart shapes carefully, making sure they do not reach the folded edge.
- Add a few small openings closer to the center.
- Unfold the snowflake slowly and press it flat.
- Repeat with pastel pink, blue, or lavender paper for a colorful collection.
DIY Tip
Do not make the heart openings too large. Leave enough paper between each shape so the snowflake keeps its structure when unfolded.
9. Scandinavian-Inspired Paper Snowflake Pattern
Description
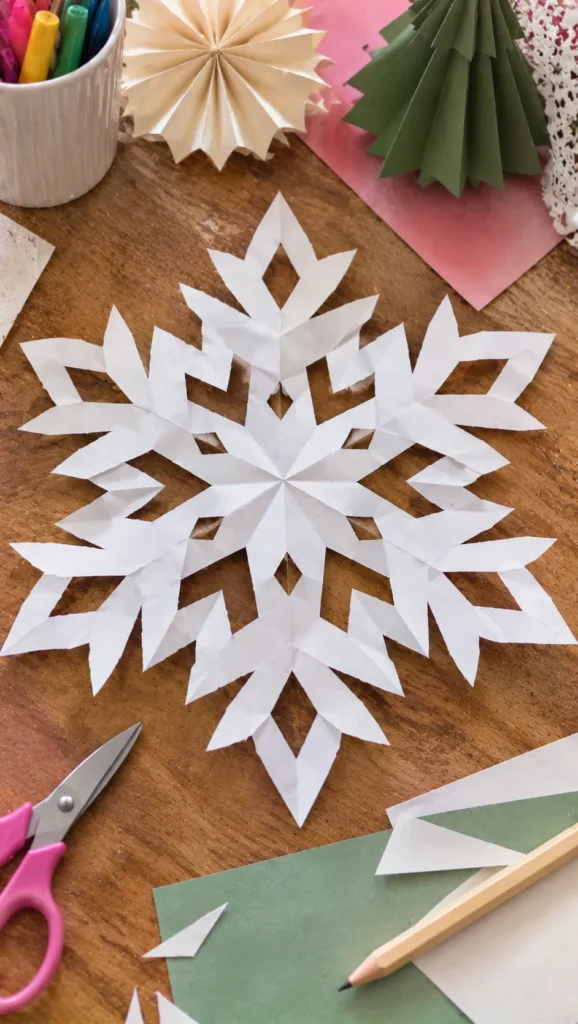
Create a clean, simple snowflake inspired by Scandinavian winter decorations. This pattern uses balanced geometric shapes, minimal cutouts, and neutral paper for a calm look that works beautifully in cozy holiday interiors.
What It Is
A minimalist six-point snowflake with repeated straight lines, small diamonds, and simple triangular openings. Its beauty comes from carefully spaced shapes rather than lots of tiny details.
Supplies and Budget
- White or cream paper: $1–$2
- Scissors: $2–$4
- Pencil and ruler: $1–$3
- Natural string: $1–$2
Estimated budget: $4–$11.
Tutorial how to make:
- Choose a square sheet of white or cream paper.
- Fold it into six sections using the traditional snowflake method.
- Draw a few straight lines and simple diamond shapes along the folded edges.
- Cut out the marked shapes while keeping the pattern balanced.
- Add one or two small triangular openings near the outer points.
- Unfold the snowflake and smooth it beneath a book.
- Hang it with natural string or arrange several pieces on a neutral-colored wall.
DIY Tip
Resist the temptation to add too many details. A few carefully spaced cutouts create a cleaner design and make it easier to reproduce consistently.
10. Snowflake Pattern with Curved Petal Details
Description
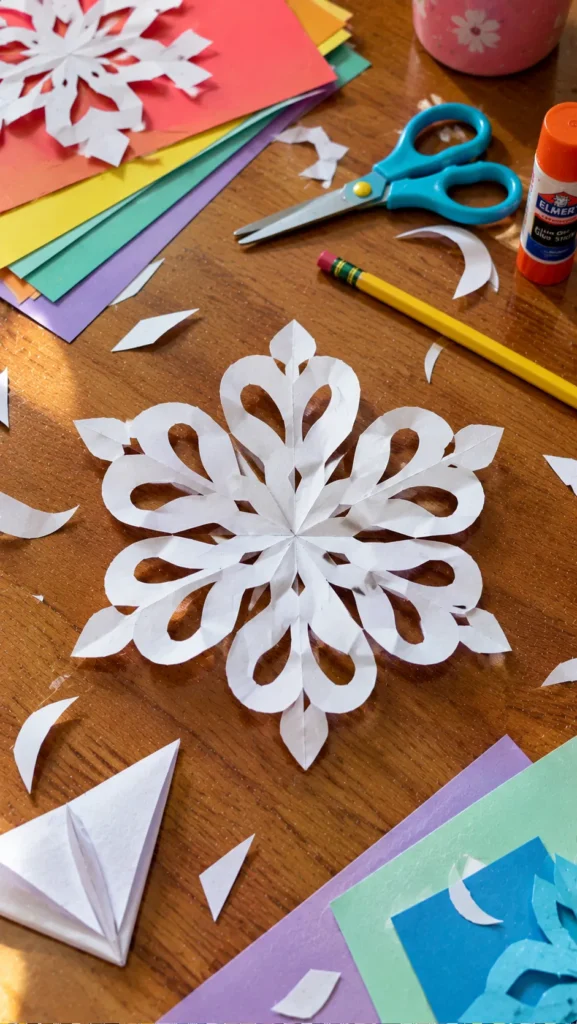
Make a softer, flower-like paper snowflake using curved cuts and rounded petal shapes. This design is a lovely alternative to sharp geometric patterns and looks especially pretty when several are arranged together in different sizes.
What It Is
A traditional folded paper snowflake decorated with curved outer edges and repeated petal-shaped openings. The finished design has a delicate floral appearance while keeping the familiar six-point structure.
Supplies and Budget
- Lightweight paper: $1–$2
- Small scissors: $2–$4
- Pencil: under $1
- Optional pastel paper: $2–$3
Estimated budget: $4–$10.
Tutorial how to make:
- Cut a square sheet of paper and fold it into six sections.
- Sketch a rounded outer edge rather than a sharp point.
- Draw small petal shapes along the sides of the folded triangle.
- Carefully cut the rounded shapes using smooth scissor movements.
- Add small curved openings closer to the center, leaving enough paper between them.
- Unfold the snowflake gently and separate any layers that stick together.
- Flatten the finished design beneath a book.
DIY Tip
Use small scissors for curved details and avoid making very narrow connecting strips. Thin paper bridges can tear when the snowflake is opened.
11. Glitter Accent Paper Snowflake Pattern
Description
Add a little sparkle to handmade snowflakes with subtle glitter accents. This design works beautifully for Christmas tree decorations, winter party displays, and gift wrapping when you want a festive finish without covering the entire paper in glitter.
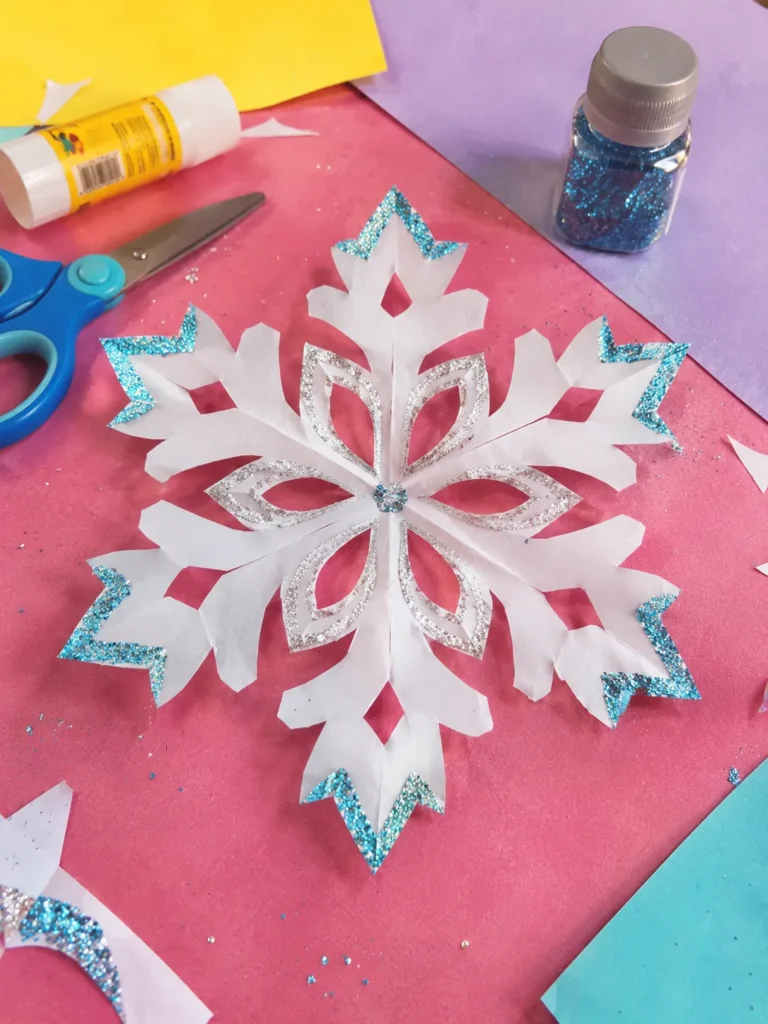
What It Is
A folded paper snowflake decorated with small glittered areas along its branches and tips. The base can be white, silver, pale blue, or another winter-inspired color.
Supplies and Budget
- White or blue paper: $1–$2
- Scissors: $2–$4
- Glitter glue: $2–$3
- Small paintbrush: $1–$2
- String for hanging: $1
Estimated budget: $7–$12.
Tutorial how to make:
- Fold a square sheet of paper into six sections.
- Cut a simple snowflake pattern using triangles and small diamond openings.
- Unfold the snowflake carefully and flatten it.
- Apply small amounts of glitter glue to selected tips and branches.
- Use a small brush to spread the glitter glue into thin accents.
- Leave the snowflake flat until completely dry.
- Attach a string through a reinforced branch or a small punched hole.
DIY Tip
Apply glitter glue after cutting and unfolding. Wet glue can make folded paper stick together and tear when opened, so keep the glitter layer thin and allow enough drying time.
12. Giant Paper Snowflake Pattern for Wall Decorations
Description
Create a large statement snowflake using oversized lightweight paper. Its bold branches and decorative cutouts make it a lovely backdrop for a winter party, classroom wall, or festive living room display.
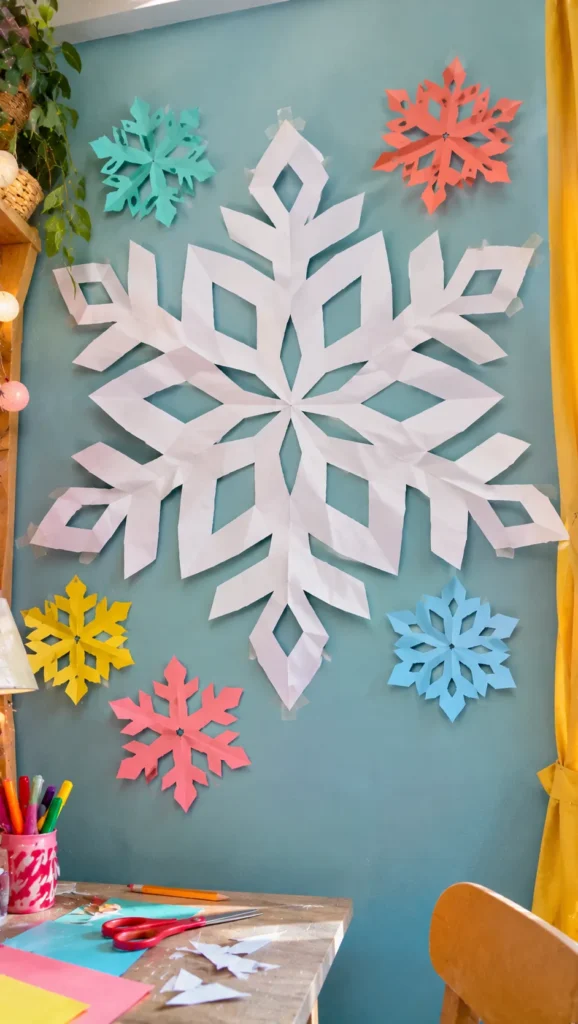
What It Is
An oversized folded paper snowflake made from a large square sheet. The design uses wider branches and larger openings so the decoration stays strong and easy to see from across the room.
Supplies and Budget
- Large lightweight paper: $2–$4
- Scissors: $2–$4
- Pencil and ruler: $1–$3
- Removable wall-safe adhesive: $2–$4
- Optional colored paper: $2–$3
Estimated budget: $7–$18.
Tutorial how to make:
- Cut a large square from lightweight paper, making sure the edges are straight.
- Fold the square diagonally and divide it into six sections.
- Trim the folded paper into a wide triangular shape.
- Draw large triangles, diamonds, and curved openings along the sides.
- Cut the larger shapes first, leaving wide connecting sections to support the branches.
- Unfold the paper slowly and smooth out the creases.
- Attach the snowflake to a wall using removable adhesive suitable for the wall surface.
DIY Tip
Use lightweight paper rather than heavy cardstock for oversized folded snowflakes. It is easier to cut through the layers and less likely to tear when opened.
FAQ SECTION
What paper is best for making paper snowflakes?
Regular printer paper is a great starting point because it is affordable and easy to fold. Thin origami paper is useful for delicate patterns, while lightweight colored craft paper works well for bright decorations. Avoid thick cardstock for detailed folded designs.
How do you make a paper snowflake with six points?
Start with a square sheet of paper, fold it diagonally into a triangle, and divide it into three equal sections. Fold those sections together to create six layers. Trim the top and cut small shapes along the sides before unfolding.
Why do my paper snowflakes tear when I unfold them?
This usually happens when the cutouts are too close together, the connecting paper strips are too narrow, or the paper is too thick. Leave wider bridges between openings and unfold the layers slowly.
Can children make paper snowflakes?
Yes. Simple patterns are suitable for children who can safely use scissors. Younger children may need help with folding and cutting, especially when working through several layers of paper.
How can I make paper snowflakes look more decorative?
Try using colored paper, glitter glue, metallic paper, or layered designs. You can also combine different sizes and arrange them together on windows, walls, or hanging displays.
How do I keep paper snowflakes flat?
Place the finished snowflake between two clean sheets of paper and press it under a heavy book for several hours. For delicate designs, avoid pressing with anything that could leave marks or crush the cut edges.
How can I hang paper snowflakes without damaging my walls?
Use removable adhesive strips or wall-safe poster putty suitable for your wall finish. For hanging decorations, attach lightweight thread through a reinforced section of the snowflake.
RELATED CONTENT
CLOSING
I hope these paper snowflakes patterns have inspired you to bring a little handmade winter magic into your home. What I love most about this craft is that you can start with something as simple as a sheet of printer paper and end up with a beautiful collection of unique decorations.
Do not worry if your first snowflake is not perfectly symmetrical. Sometimes those little differences are what make handmade crafts special. Try a few simple patterns, experiment with different paper colors, and gradually work your way toward the more detailed designs.
I would love to know which pattern you decide to try and how you use your finished snowflakes. Have fun folding, cutting, and decorating. Happy crafting!