12 Simple Y2K Nails That Feel Cute and Nostalgic

Simple Y2K Nails
Simple Y2K nails are the easiest way to bring early-2000s energy into a manicure without making every nail feel busy. Think sheer pink bases, tiny stars, glossy chrome, pastel French tips and playful details that catch the light. The nostalgic mood is still obvious, but the clean placement and shorter shapes make these designs wearable for everyday plans, work, weekends and special occasions.
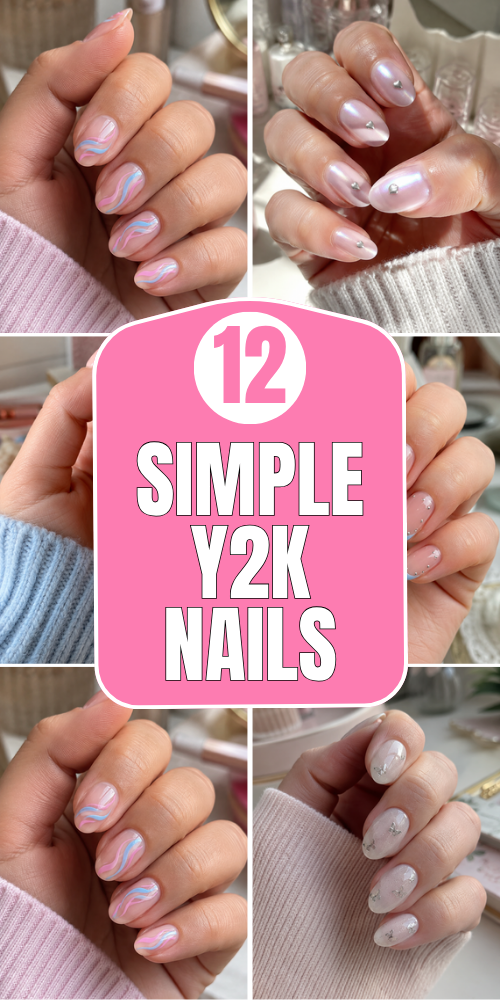
The best part of this trend is how flexible it feels. You can keep the palette soft and sweet, add one metallic detail, or choose a single accent nail when you want a quieter result. Most of these looks also work beautifully on natural nails because the design relies on color, shine and tiny motifs rather than dramatic length.
Below are 12 simple Y2K nail ideas with easy styling notes, practical tips and the basic items needed for each look. Save the combinations that match your style, then adjust the colors so the final manicure feels personal rather than costume-like.
1. Silver Chrome Stars
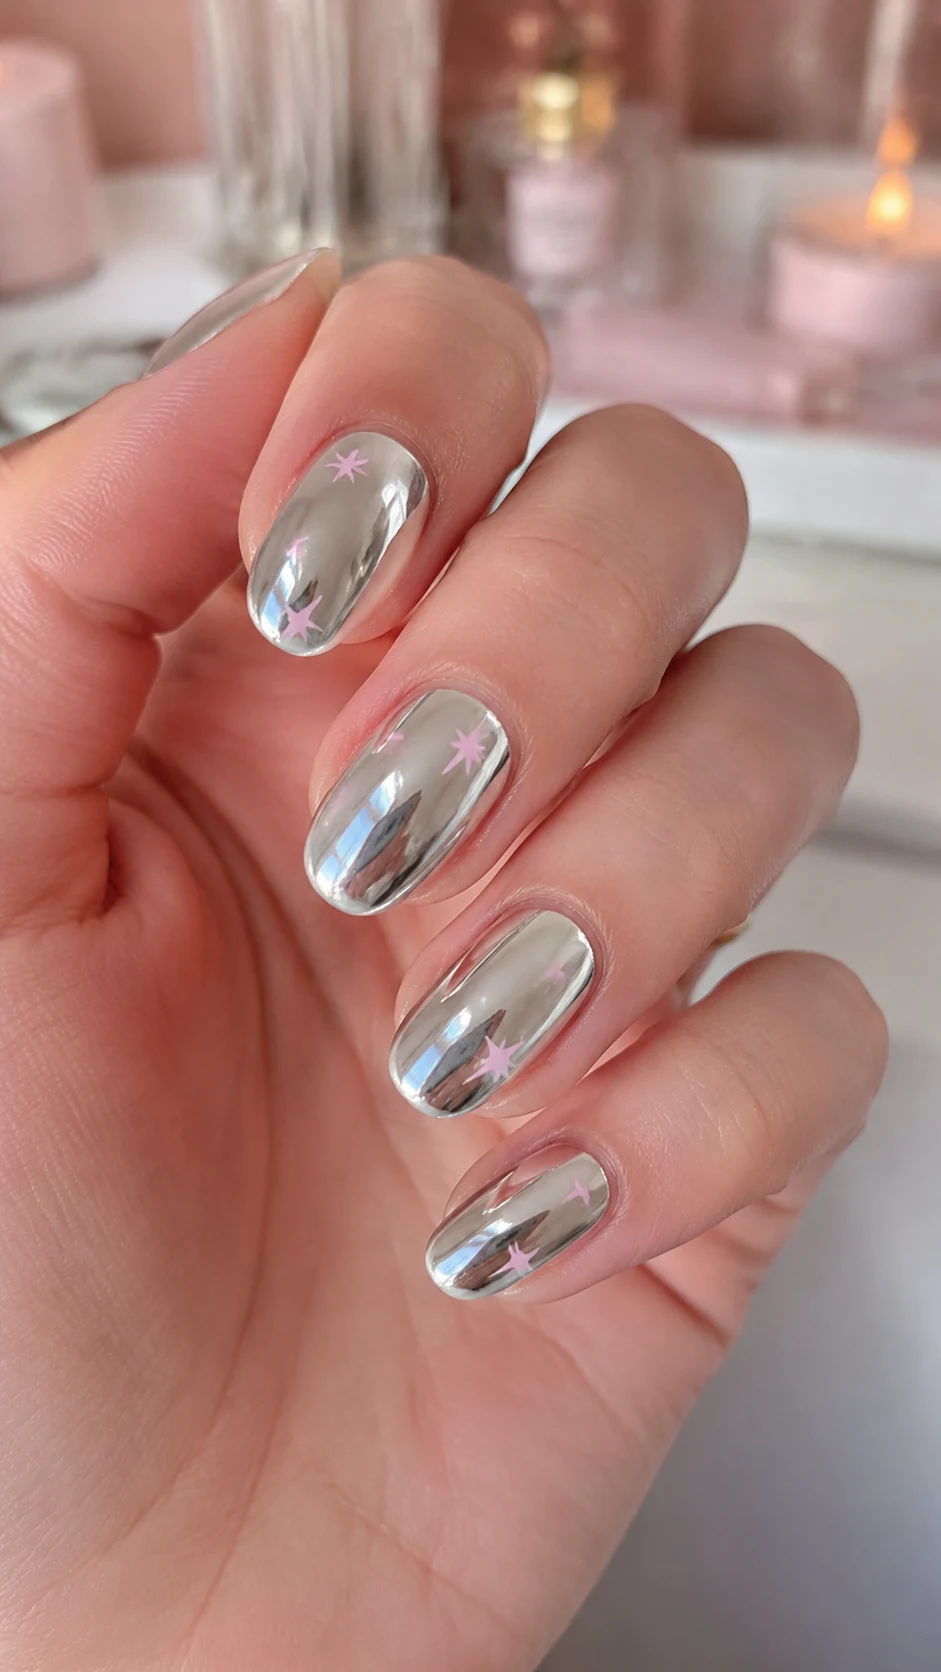
A smooth silver chrome base creates instant futuristic Y2K shine, while tiny pastel-pink stars keep the manicure playful instead of severe.
How to Get the Look
Apply a black or silver gel base, rub chrome powder over the cured no-wipe top coat, then place tiny star details with a fine liner brush.
Tips
- Keep the stars small so the reflective base stays visible.
- Seal the free edge carefully to protect the chrome.
Items Used
- Silver chrome powder
- Pink nail-art gel
- Fine liner brush
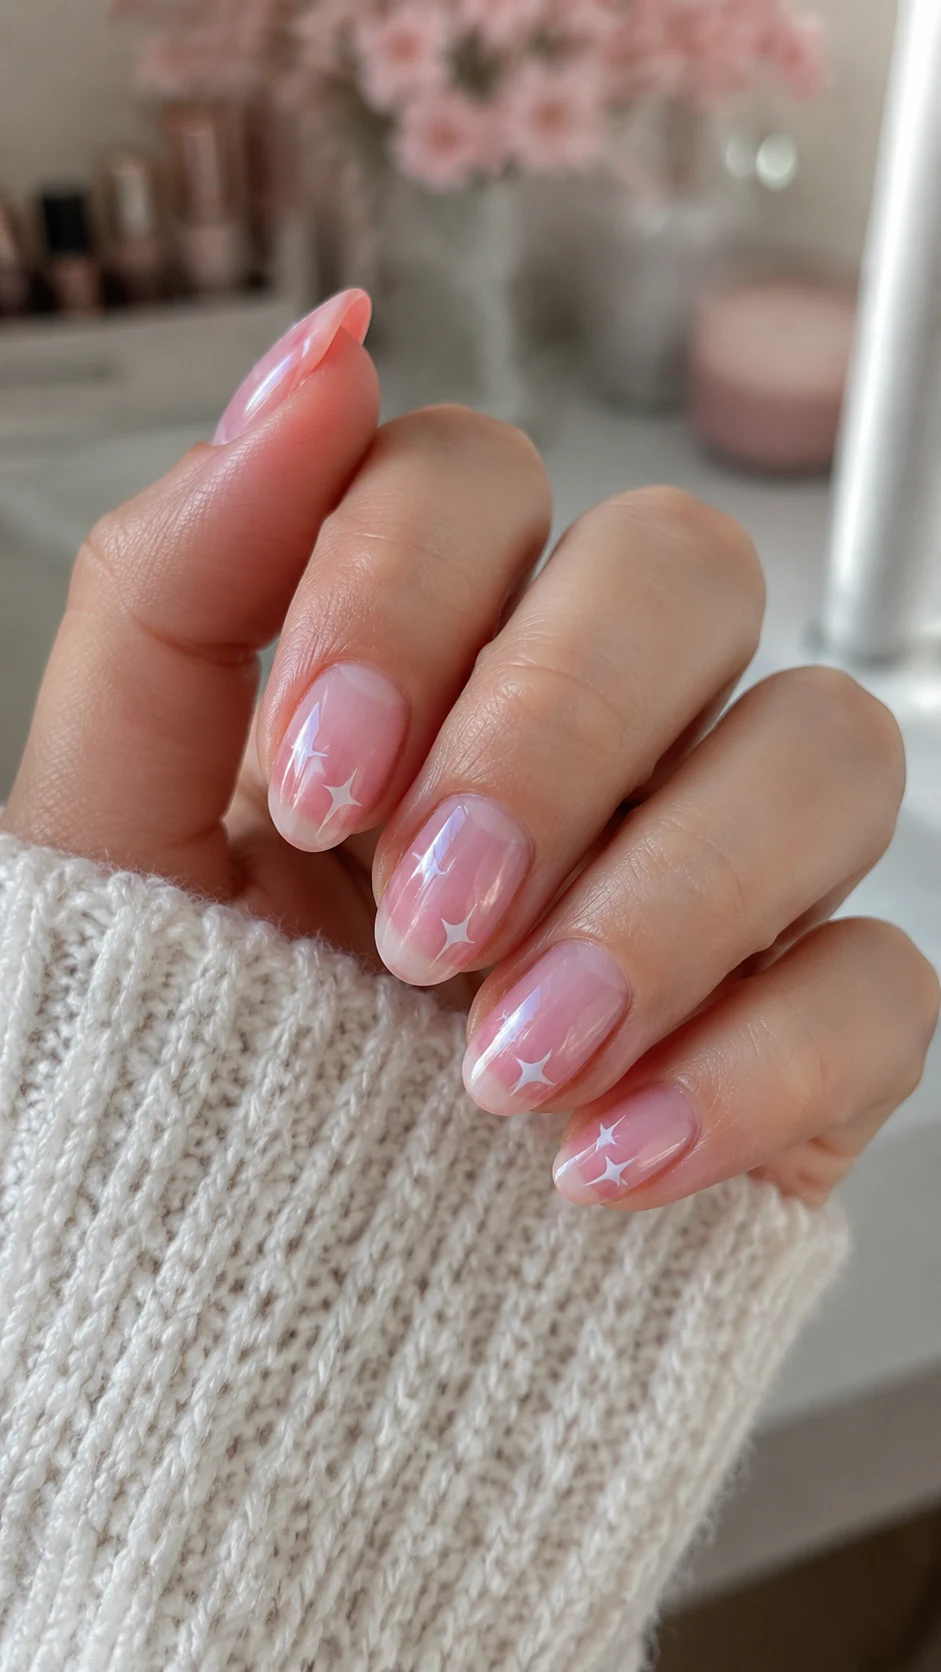
2. Baby Pink Jelly Stars
Translucent baby-pink jelly polish gives the nails a soft candy finish. Small white airbrushed stars add a dreamy retro accent.
How to Get the Look
Build two thin coats of jelly pink, cure between layers, then stencil or hand-paint a few white stars before adding glossy top coat.
Tips
- Use thin layers to preserve the transparent jelly effect.
- Leave negative space around each star for a cleaner finish.
Items Used
- Pink jelly polish
- White gel paint
- Star stencil or detail brush
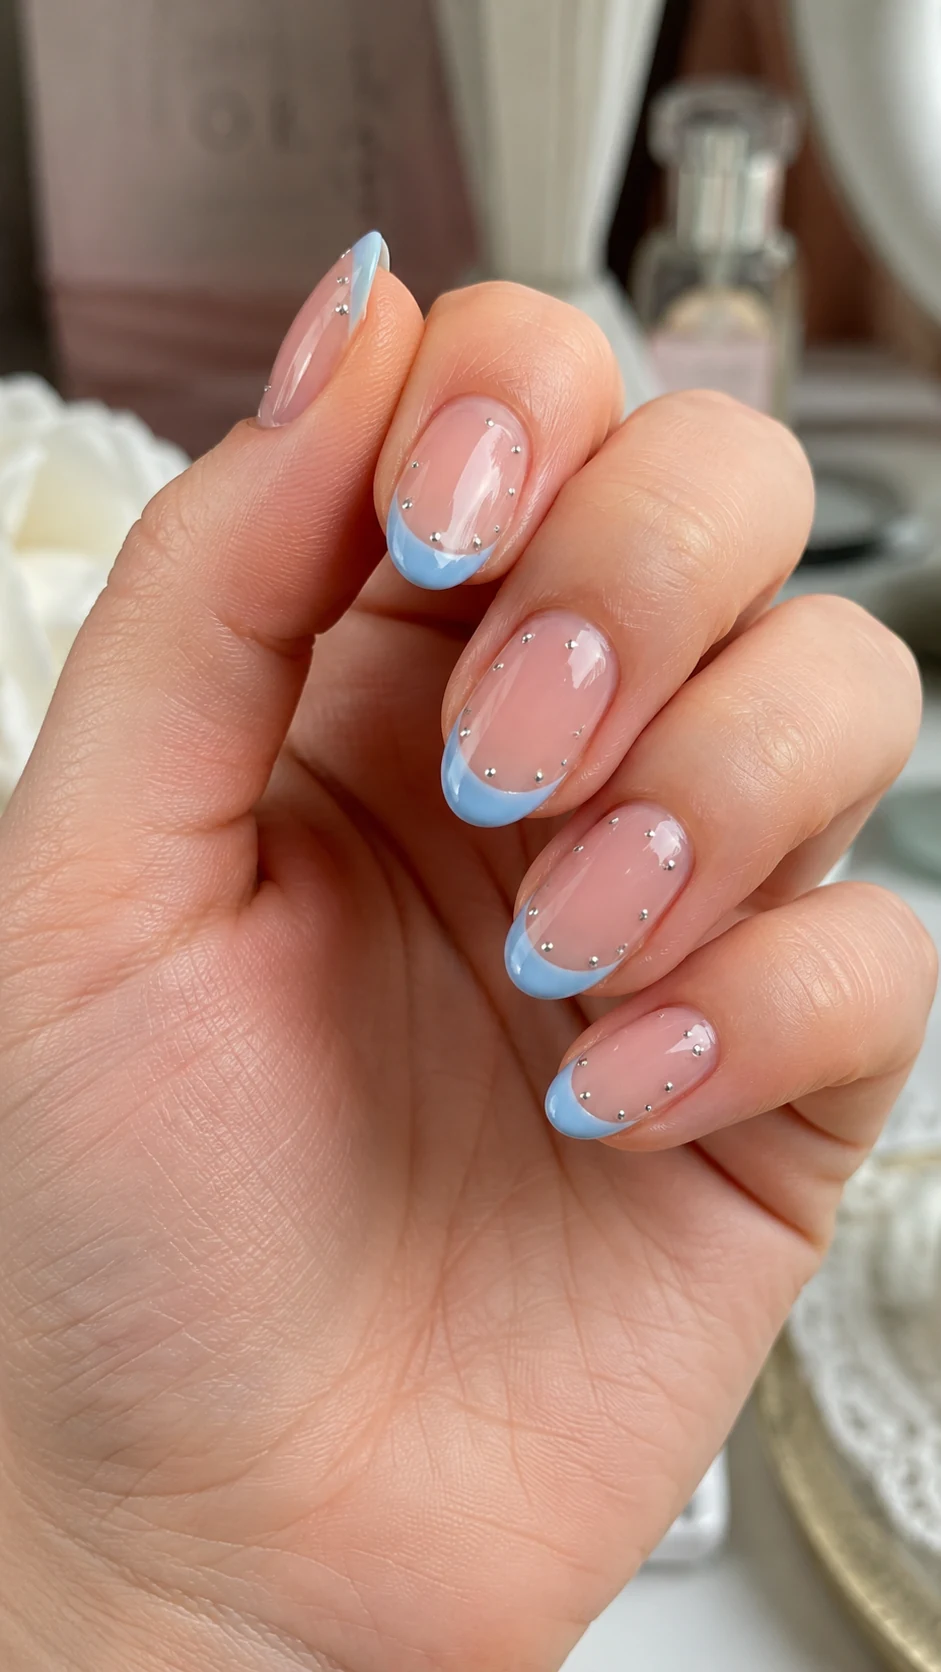
3. Pastel Blue Micro French
A sheer nude base with slim pastel-blue tips feels polished, while tiny silver dots add just enough early-2000s sparkle.
How to Get the Look
Shape the nails evenly, apply a nude base, paint narrow blue tips and dot silver gel along one corner of each smile line.
Tips
- Match the tip thickness across all five nails.
- Use a dotting tool for consistent silver accents.
Items Used
- Nude base polish
- Pastel blue gel
- Silver gel and dotting tool
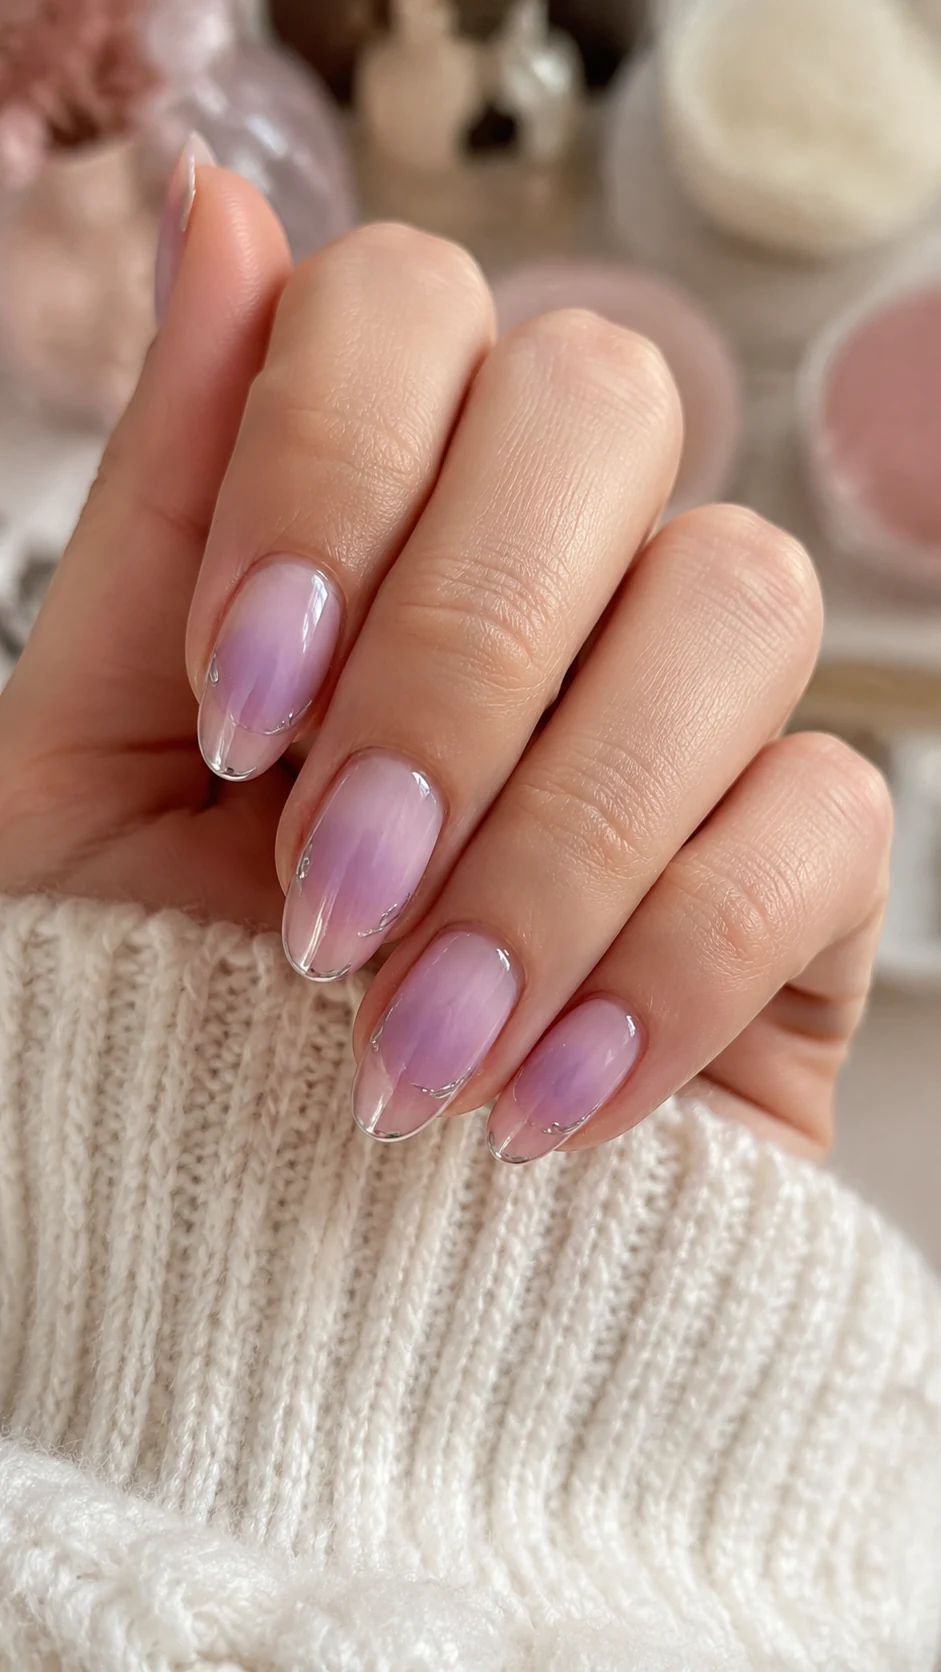
4. Lavender Aura Chrome
Soft lavender aura centers fade into a sheer pink base, finished with restrained chrome details for a hazy digital-era look.
How to Get the Look
Sponge lavender pigment into the center of each cured pink nail, blend the edges softly, then add a few chrome lines or dots.
Tips
- Tap away excess pigment before top coat.
- Keep chrome accents asymmetrical for a natural hand-painted feel.
Items Used
- Sheer pink gel
- Lavender pigment
- Chrome gel
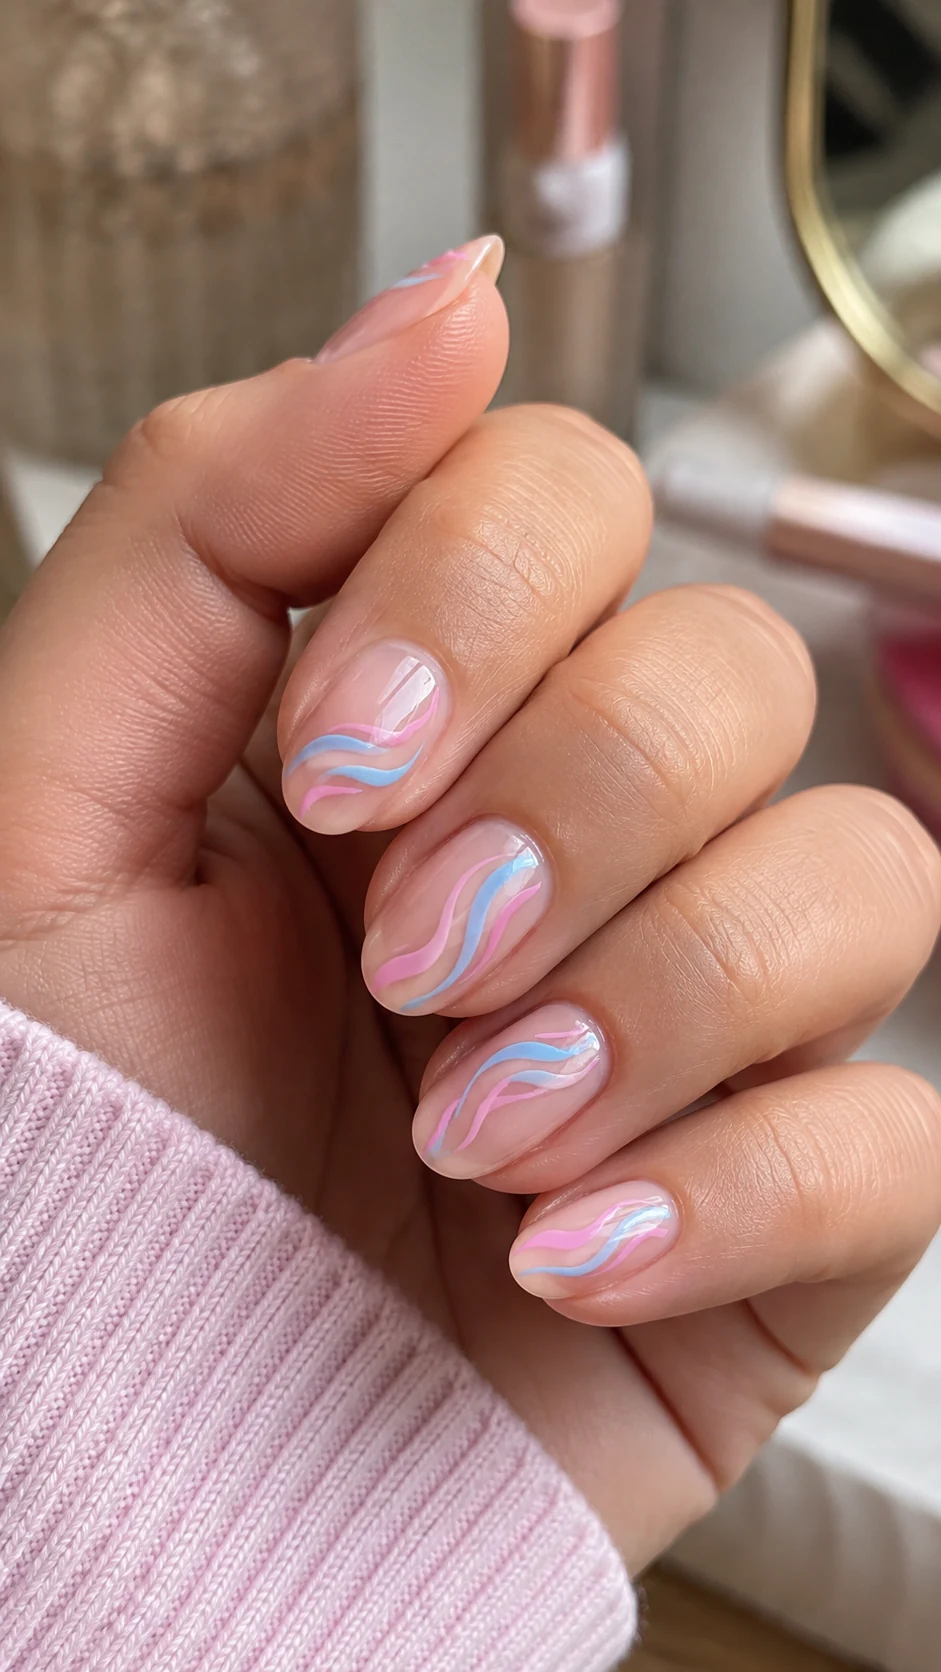
5. Pastel Retro Swirls
Thin pink and blue swirls curve across a clear nude base. The open space makes the design colorful but still light and simple.
How to Get the Look
Apply a nude base, use a long liner brush to pull two or three curved lines across each nail, then finish with a leveling top coat.
Tips
- Vary the curve slightly from nail to nail.
- Wipe the brush often for crisp, narrow lines.
Items Used
- Nude gel
- Pink and blue gel paints
- Long liner brush
6. Pearl Glaze Hearts
An iridescent pearl glaze reflects pink and blue in daylight, while tiny chrome hearts create a romantic Y2K detail.
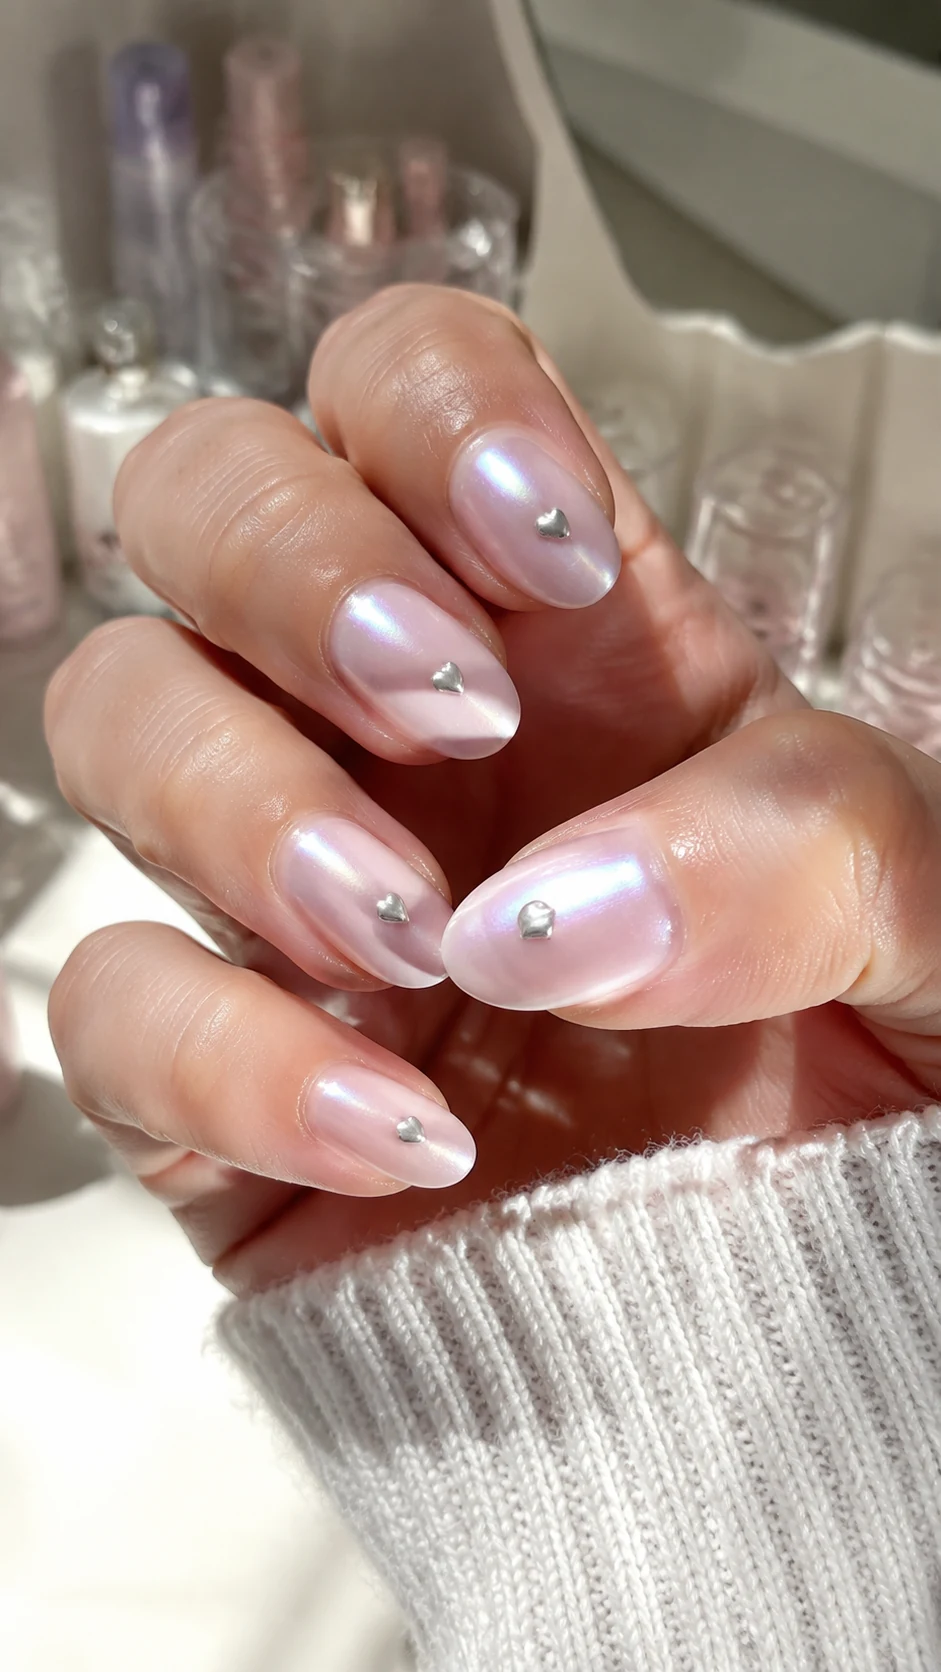
How to Get the Look
Apply a milky base, add pearl powder, place one small chrome heart on selected nails and encapsulate everything with top coat.
Tips
- Use flat-backed hearts so the finish stays smooth.
- Press embellishments into builder gel for better hold.
Items Used
- Milky gel
- Pearl powder
- Mini chrome hearts
7. Lime Tips and Daisies
Lime-green micro tips bring a bright retro pop to a glossy nude base, balanced by tiny white daisies.
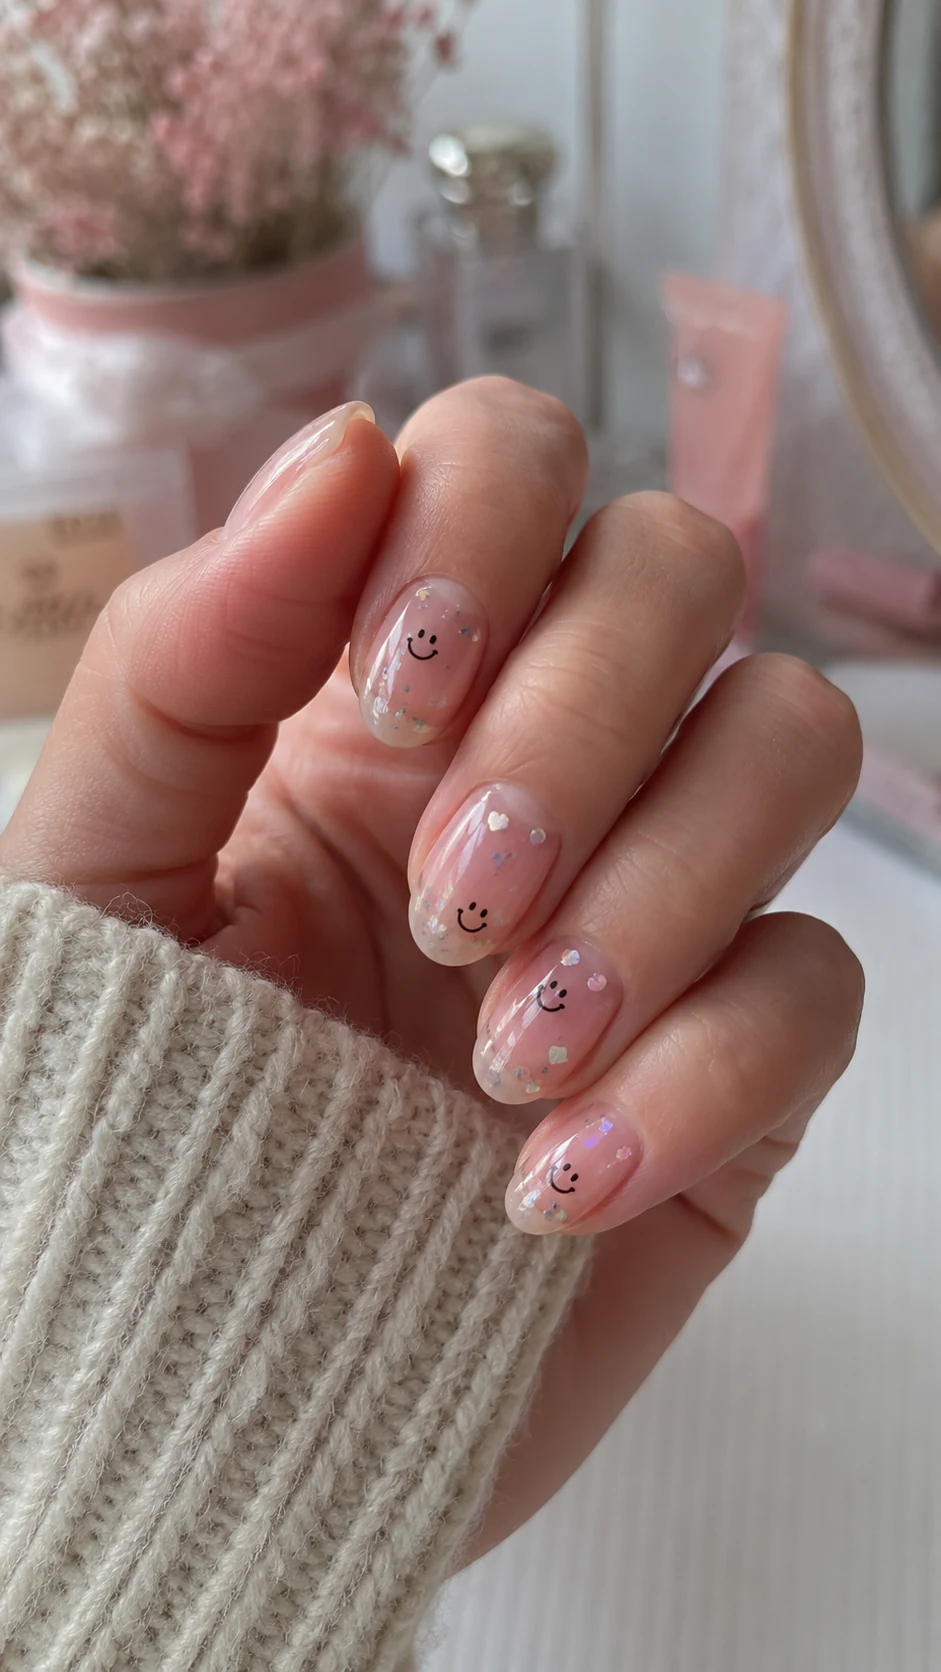
How to Get the Look
Paint narrow lime tips, dot five white petals around a yellow center on one or two nails, then seal with glossy top coat.
Tips
- Choose a slightly muted lime for a softer manicure.
- Keep flowers close to the cuticle or one side of the nail.
Items Used
- Lime gel polish
- White and yellow gel
- Dotting tool
8. Pink Airbrush Flames
Soft pink flames over a milky base reference bold Y2K graphics while the tonal palette keeps the result feminine and wearable.
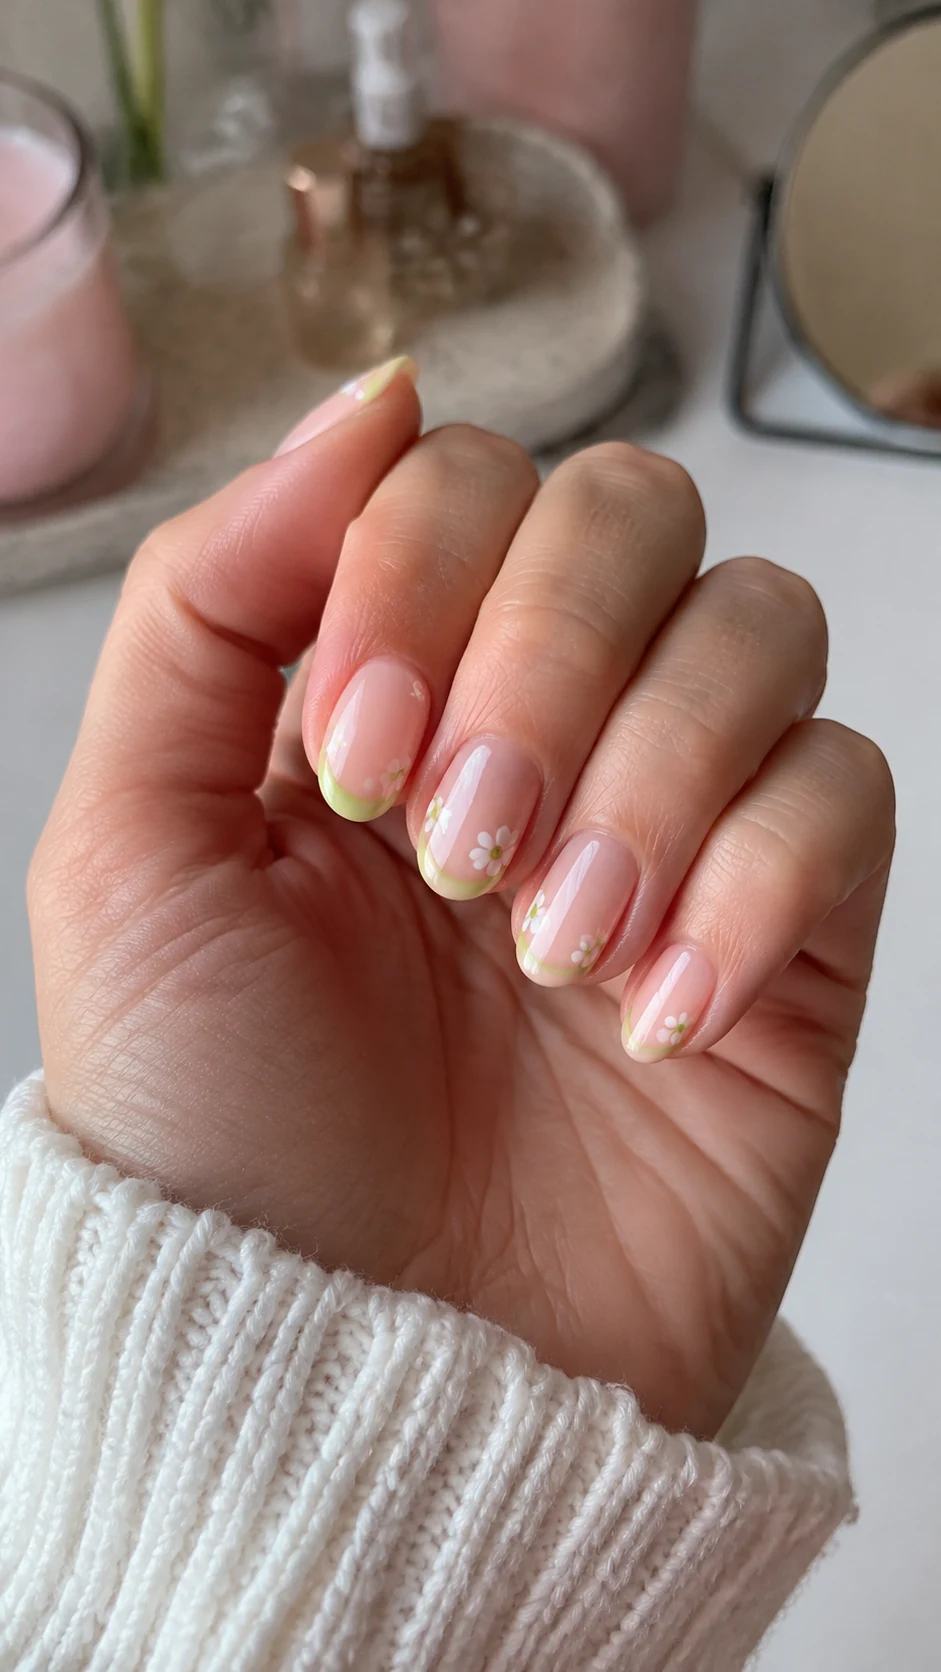
How to Get the Look
Create a milky base, sketch slim flame shapes from the tip downward, soften the color toward the center and outline only if needed.
Tips
- Use a translucent pink for a gentler flame effect.
- Keep the flame points thin and curved.
Items Used
- Milky nude polish
- Pink gel paint
- Fine detail brush
9. Holographic Smiley Sparkle
Scattered holographic glitter and tiny smiley faces make this clear manicure cheerful, shiny and unmistakably nostalgic.
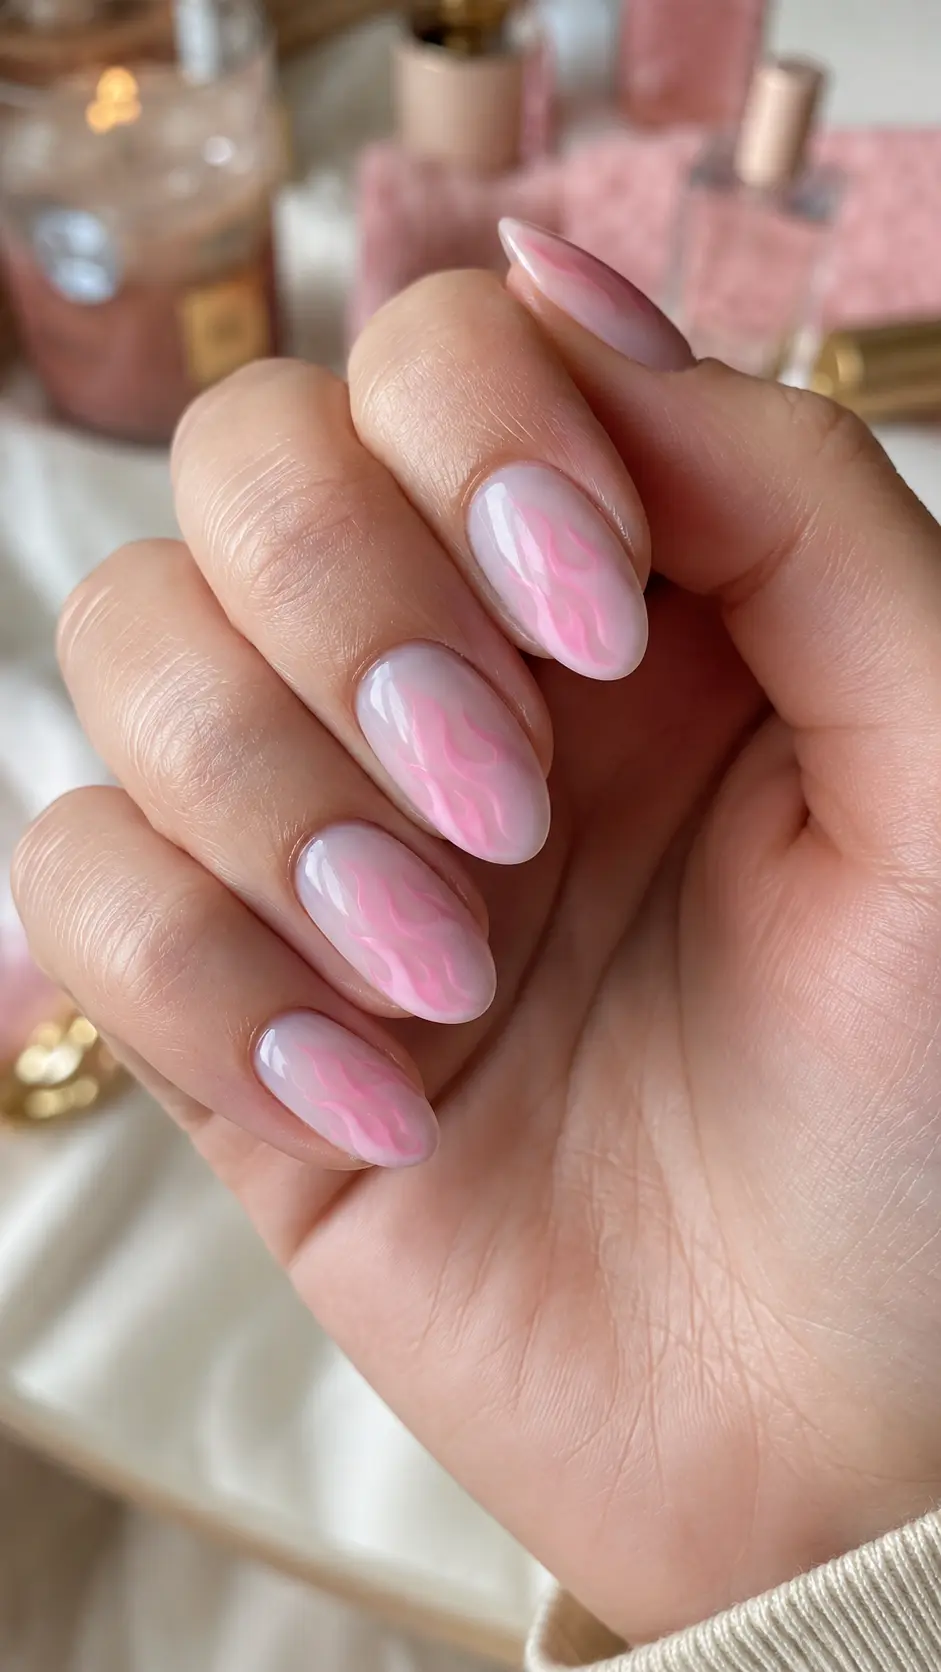
How to Get the Look
Float holographic glitter through a clear base, add miniature smiley faces to two accent nails and cover with a smooth top coat.
Tips
- Use sparse glitter so the smileys remain visible.
- Encapsulate decals to prevent lifted edges.
Items Used
- Clear builder gel
- Holographic glitter
- Smiley nail decals
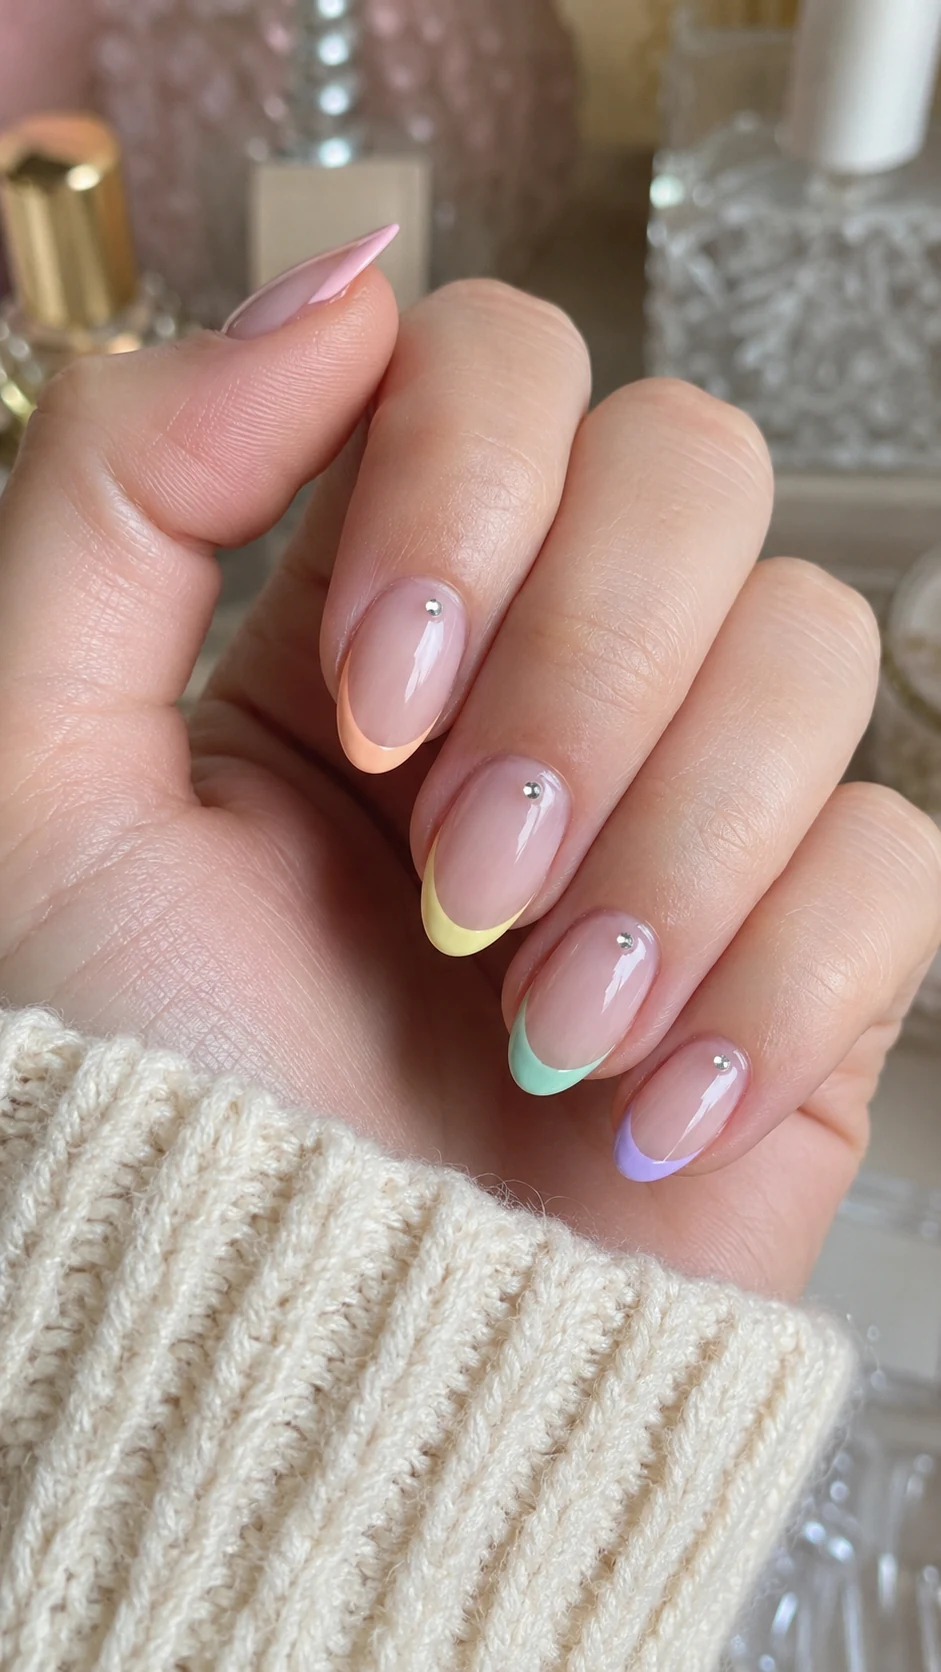
10. Pastel Rainbow Tips
Each nail gets a different pastel micro tip, with tiny crystal dots adding a clean jewel-like finish.
How to Get the Look
Paint slim tips in pink, blue, lilac, yellow and mint, then attach one small crystal near the base of each nail.
Tips
- Choose colors with a similar softness for cohesion.
- Use nail glue or builder gel under each crystal.
Items Used
- Five pastel polishes
- Mini nail crystals
- Detail brush
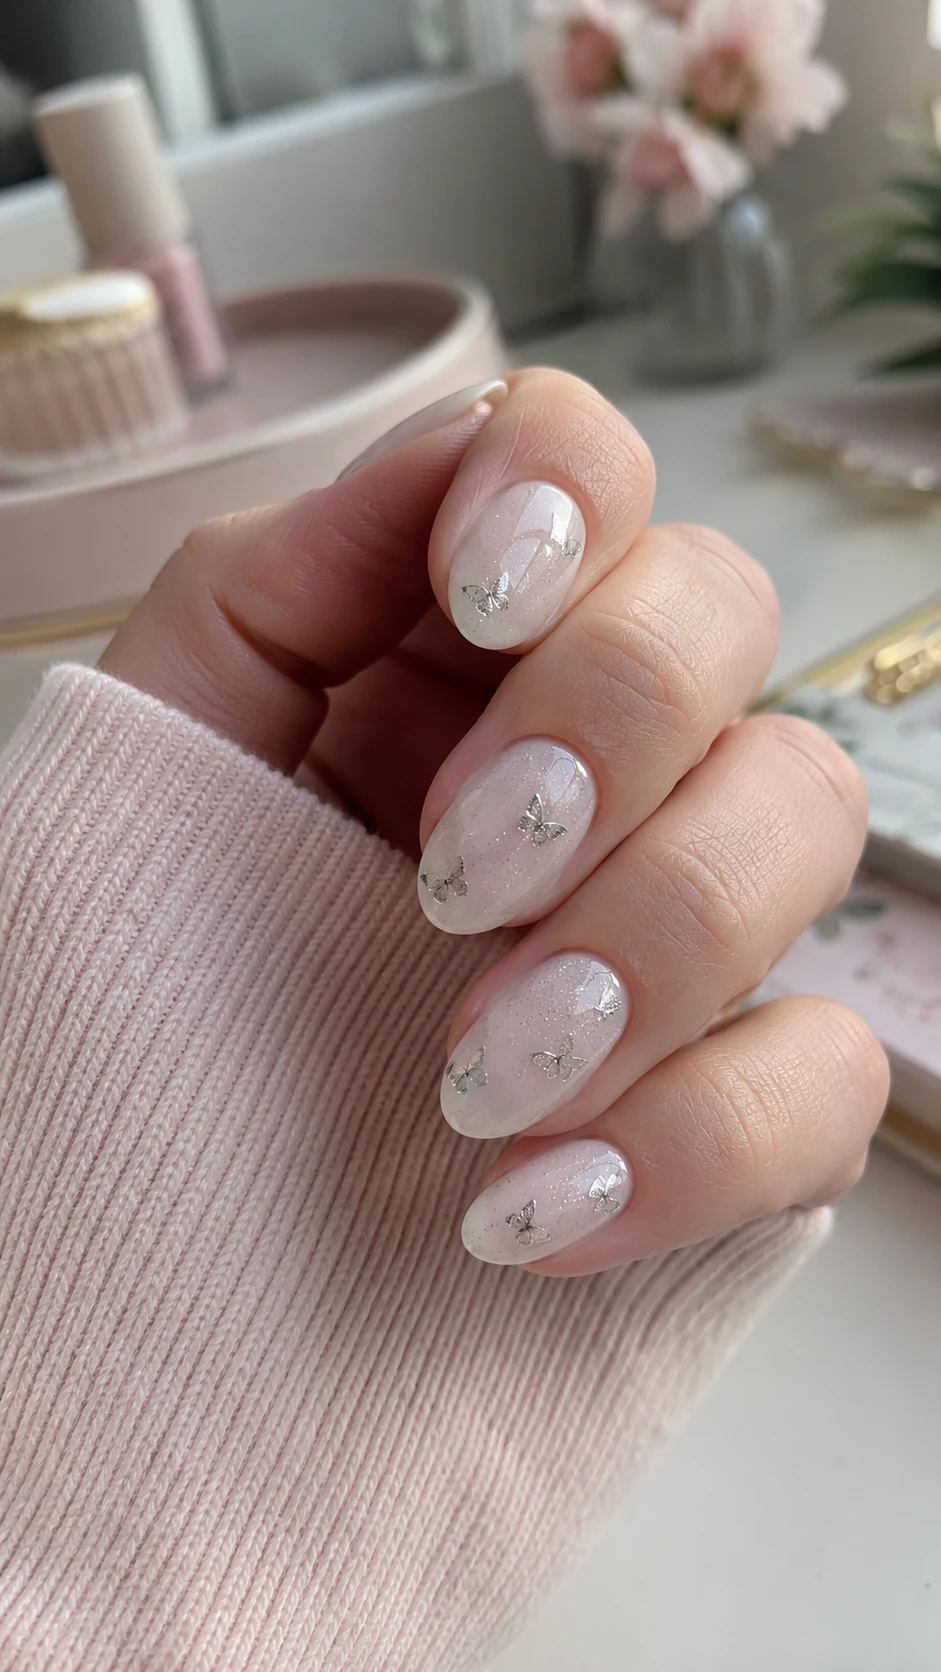
11. Milky Butterfly Sparkle
Milky-white nails with miniature silver butterflies feel dreamy and delicate, especially with a dusting of fine shimmer.
How to Get the Look
Layer milky white polish, place butterfly decals at different angles, add fine sparkle and seal the design carefully.
Tips
- Avoid placing a butterfly on every nail.
- Choose very small decals for short nail beds.
Items Used
- Milky white gel
- Silver butterfly decals
- Fine shimmer
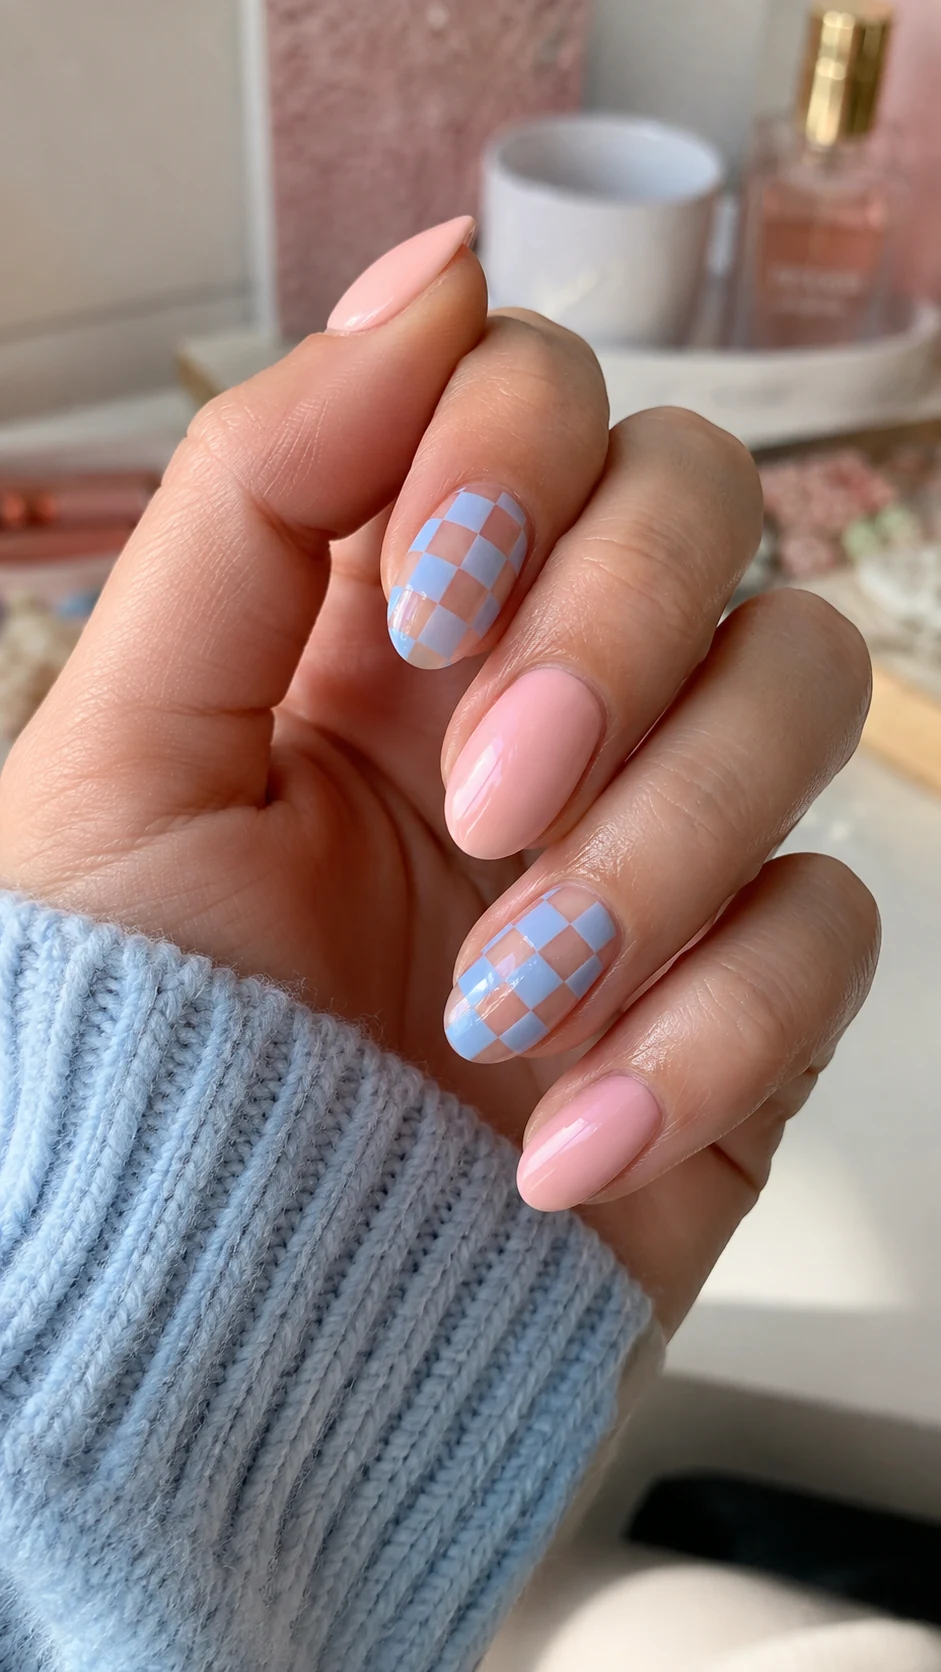
12. Baby Blue Checkerboard
Baby-blue checkerboard accent nails pair with glossy pale-pink nails for a sweet graphic finish inspired by retro accessories.
How to Get the Look
Paint two accent nails in alternating blue and sheer squares, keep the remaining nails pale pink and finish all with high shine.
Tips
- Map the grid lightly before filling each square.
- Use only one or two checkerboard nails to keep it simple.
Items Used
- Pale pink gel
- Baby blue gel
- Short detail brush
How to Keep Simple Y2K Nails Balanced
The easiest way to make a nostalgic manicure feel current is to choose one hero detail and repeat it with restraint. If chrome is the main feature, keep the stars tiny. If colorful swirls are the focus, use a clear or sheer base. This gives every detail room to show without making the nails look crowded.
Nail length also changes the mood. Short almond and rounded shapes make Y2K art feel cute and practical, while longer shapes create a more dramatic editorial finish. Keep the placement scaled to the nail bed so stars, hearts and checkerboard squares never look squeezed.
A consistent finish ties mixed designs together. Even when every nail has a different motif, using the same glossy top coat and repeating two main colors makes the set feel intentional. For an even quieter look, decorate only the ring and middle fingers and leave the others in a jelly shade.
How to Make the Manicure Last
Preparation matters before any design work begins. Gently remove shine from the nail plate, clean away dust, push back the cuticles and keep polish off the skin. Thin, fully cured layers reduce lifting and preserve the crisp look of small details.
Chrome, decals and crystals need extra sealing. Float top coat over the art rather than dragging the brush through it, cap the free edge and reinforce raised decorations with a small amount of builder gel. Avoid using the nails as tools during the first day.
Daily cuticle oil keeps the surrounding skin soft and helps a detailed manicure look fresh in close-up. Wear gloves for cleaning, limit long hot-water exposure and file a rough edge immediately so a small snag does not turn into a larger chip.
Related Content
Frequently Asked Questions
What colors work best for simple Y2K nails?
Pastel pink, baby blue, lavender, lime, silver and milky white are easy starting points. A sheer nude base keeps brighter details balanced.
Can Y2K nail art work on short nails?
Yes. Micro French tips, tiny stars, chrome glaze and small decals suit short nails especially well because they do not require a large canvas.
How can I make Y2K nails look more grown-up?
Limit the palette to two or three colors, use negative space and choose one recurring motif rather than mixing every trend at once.
Do I need gel polish for these looks?
Regular polish works for many ideas, although gel makes detailed lines, chrome powder and attached embellishments easier to control and longer lasting.
How long should a Y2K manicure last?
A careful gel manicure can last two to three weeks. Regular polish usually lasts several days to a week depending on preparation and daily wear.
Final Thoughts
Simple Y2K nails prove that nostalgic beauty can still feel fresh and easy to wear. Start with one detail you love—chrome, stars, swirls or pastel tips—and let the clean base keep everything balanced. Whether you choose a soft jelly manicure or a playful checkerboard accent, the best result is the one that fits naturally into your own style.